The short answer
Product photography is photographing goods so that buyers can see what they are getting. That's it. Everything else is detail.
In e-commerce, it covers four jobs that most sellers end up needing: packshots (the clear, plain main image), lifestyle shots (the product in use or in a setting), detail shots (close-ups of texture, stitching, finish) and scale shots (so people can judge size). Get those four working and you've covered most of what a shopper wants to know before they click "buy". Skip them and you're asking customers to guess.
The main types of product photography
There isn't one correct style. There are several, and each does a different job. Here are the ones you'll meet most often.
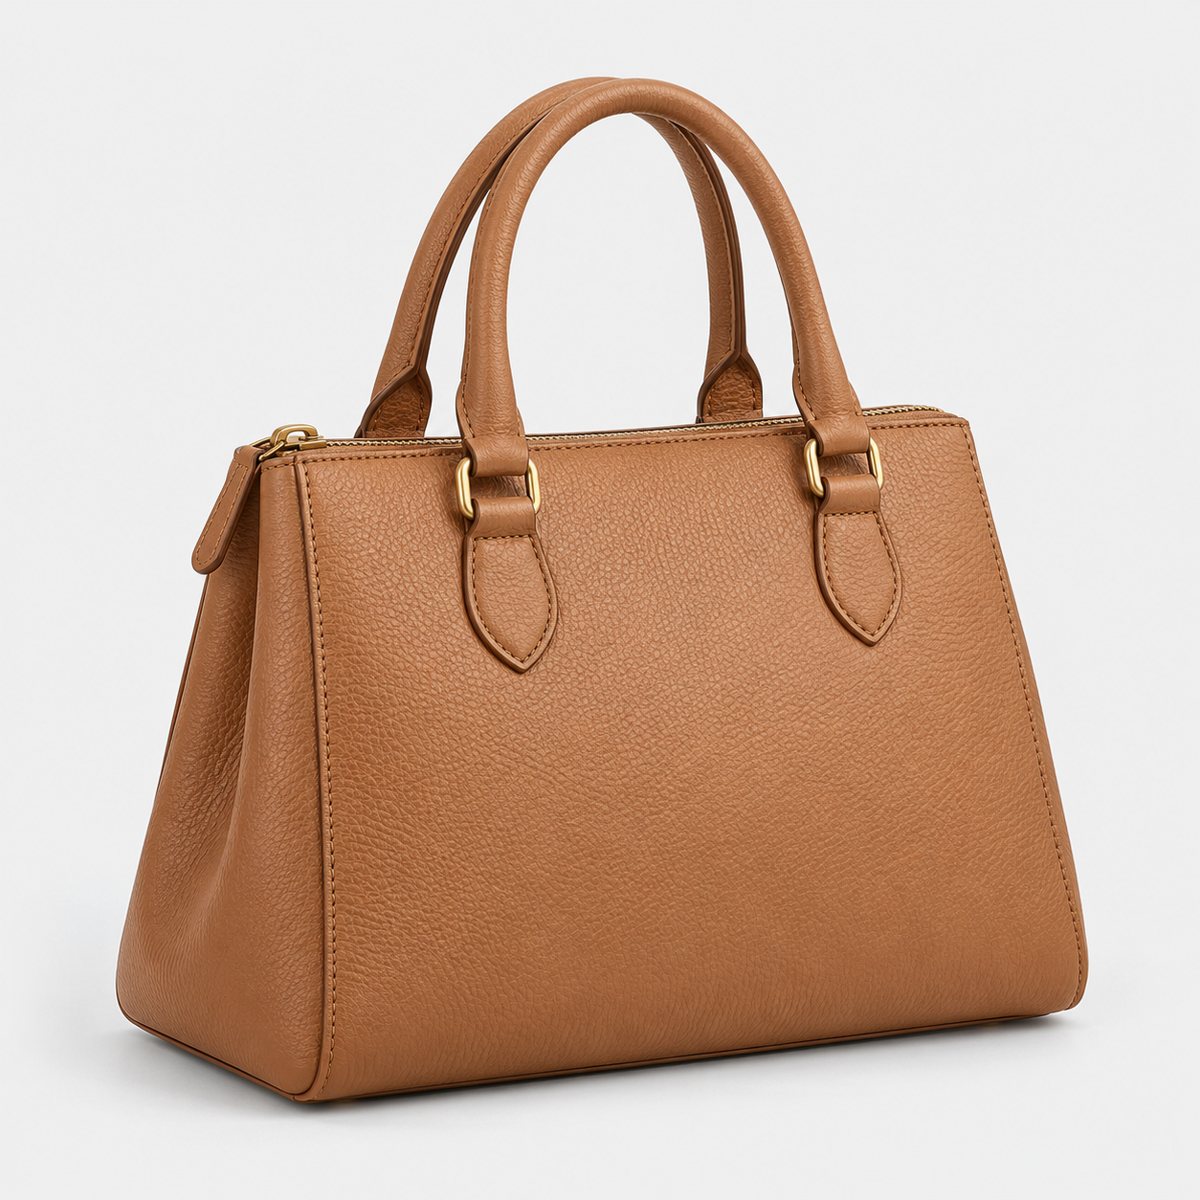
Packshot or white-background. The workhorse. The product sits on a plain, usually white background, lit evenly, with nothing to distract. It's clear, plain and consistent, and many marketplaces ask for it, so check each one. If you want the full method, the white background guide walks through it.
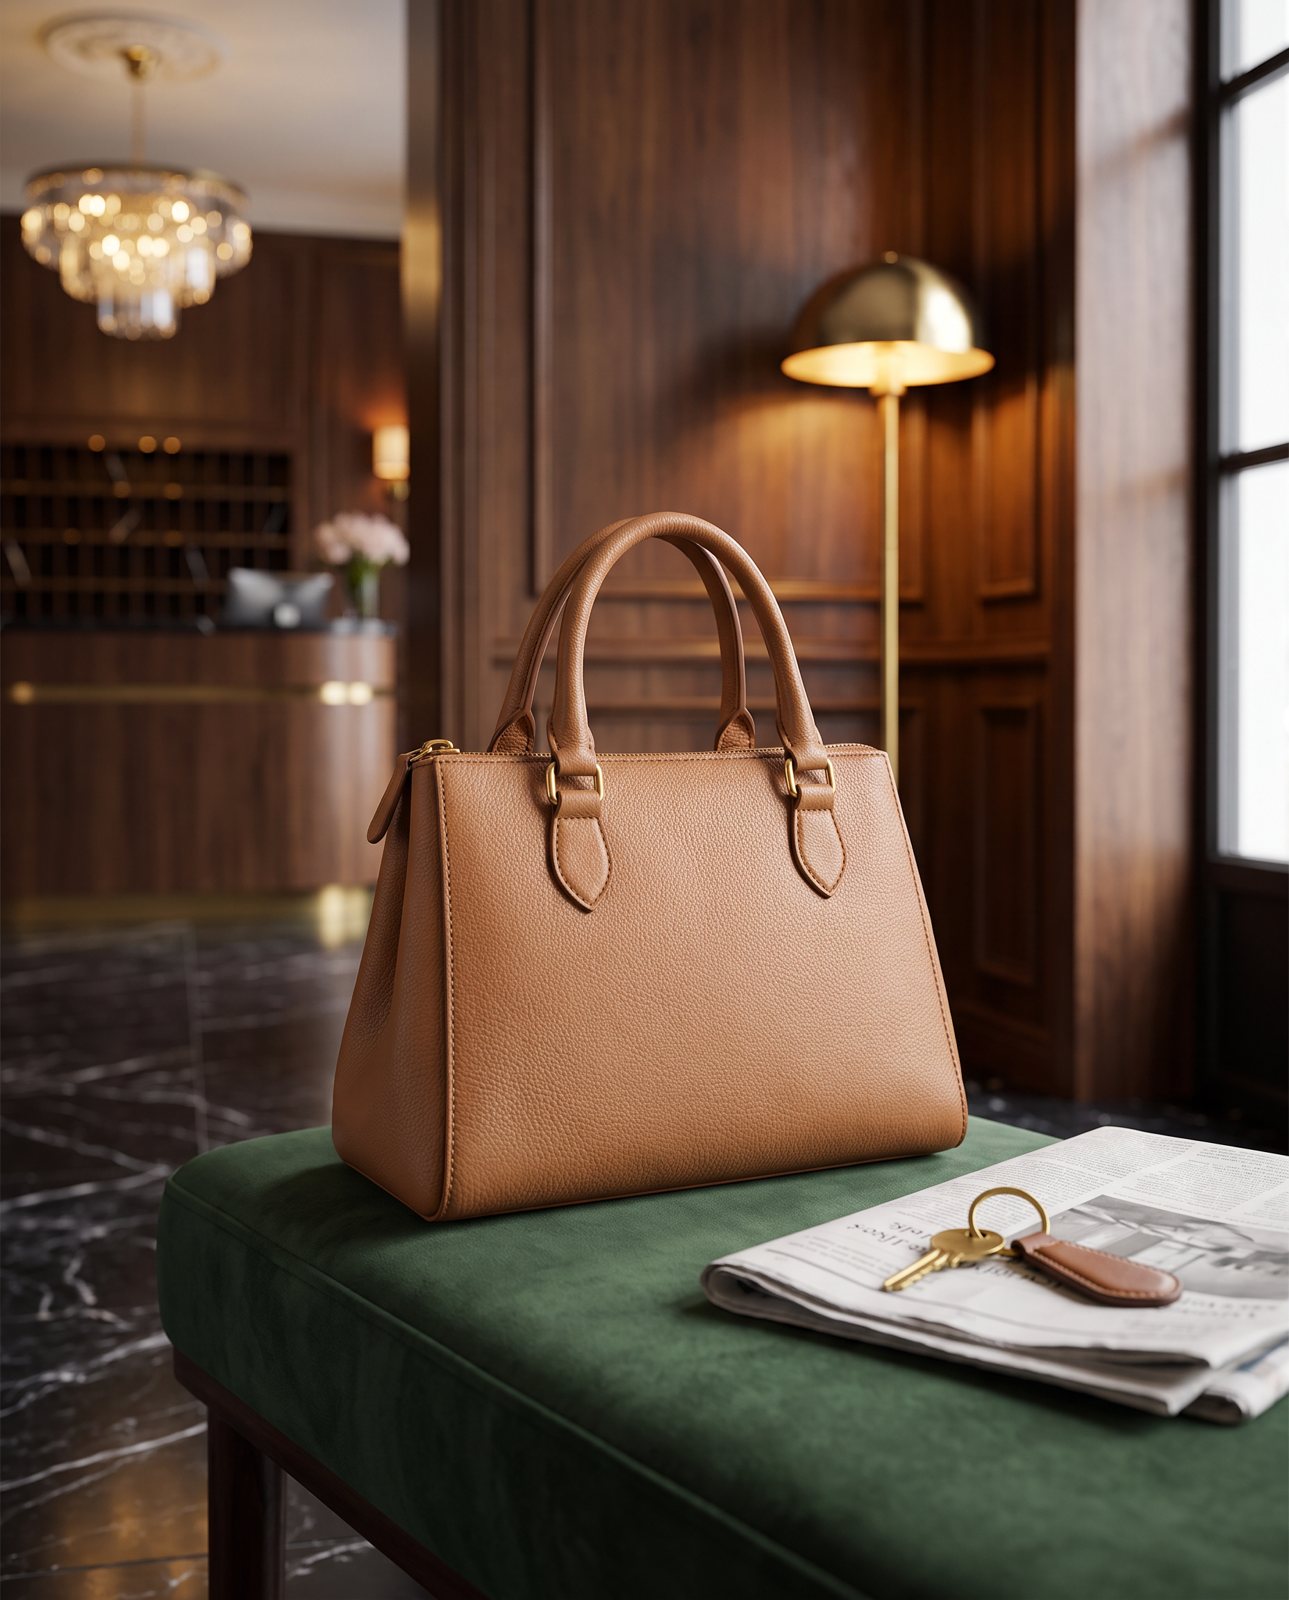
Lifestyle or in-context. The product in a real-looking scene: a mug on a kitchen table, a candle on a shelf, a bag on a shoulder. It sells the feeling of owning the thing, not just the thing itself. We cover this properly in our guide to lifestyle photos.
Detail or macro. A close crop on the bit that proves quality: the weave of a fabric, the clasp on a necklace, the grain of the wood. Buyers who can't touch the product use these to judge it.
Flat lay. The product laid flat and shot from directly above, often with a few props arranged around it. Popular for stationery, cosmetics, jewellery and clothing. Tidy, graphic and easy to do at home.
Scale shots. The product next to something familiar: a hand, a coin, a pen. This one is underused. Buyers can misjudge size from a photo, and a scale shot helps cheaply.
Group or range shots. Several products together, showing a set, a collection or all the colourways at once. Handy for bundles and for category pages where you want a neat, coherent look.
360 or spin views. The product rotates so the buyer can see every side. Useful for items where shape matters, such as trainers or gadgets. It takes more setup than the others, and it's the one most small sellers can safely leave for later.
Where product photos are used
Wherever you sell, you'll need pictures. And the same photo rarely works everywhere.
Your own online shop is the obvious home: the product page, the category page, the homepage banner. Marketplaces come next. Then social posts, where a lifestyle scene can suit the feed better than a plain packshot because it looks like content rather than a catalogue entry. Email campaigns, paid adverts, print catalogues and even packaging all call on the same stock of images, cropped and reworked to fit.
Here's the catch. Platforms have their own rules about what an image must look like, and those rules change. We don't repeat them here, because a rule quoted on this page could be out of date by the time you read it. Check the platform's own help page instead. Our guides point you to the right place: Amazon product image requirements, Etsy listing photo size and Shopify product image size.
A practical habit helps: shoot more than you think you need, in a few shapes. A square crop suits some places, a tall one suits others. It's far easier to start with options than to try to stretch one image to fit everything.
What makes a product photo good
Good product photography isn't mysterious. It comes down to a short list, and you can check your own images against it in a couple of minutes.
- Accurate colour and shape. The product in the photo must look like the product in the box. If the "sage green" arrives as grey, you may get a return and an unhappy review. Honest colour matters more than a flattering edit.
- Sharp focus. Soft images read as cheap, even when the product isn't. Make sure the part that matters is crisp.
- Even light. Harsh shadows and blown-out highlights hide detail. Soft, even light shows the product as it is.
- A clean product. Dust, fingerprints, creases and stray threads all show up. Wipe it, press it, lint-roll it before you shoot. Fixing this afterwards is slower than preventing it.
- Consistency. Same angle, same light, same background across a range, and your shop looks like one brand.
- It answers the buyer's questions. What's it made of? How big is it? How does it look in use? What's on the back? The best photo is the one that removes doubt.
To be fair, a photo can tick the first five and still fail the sixth. A beautiful image of a bag that never shows the inside is a bag people hesitate over. Think about what you'd want to see if you were buying it, and shoot that.
Ways to get product photos
You've got three realistic routes. Each has honest strengths and honest costs, and plenty of sellers mix them.
Do it yourself with a phone. This is the cheapest way to start and it's genuinely good enough for many products. You control the timing, you can reshoot whenever you like, and you learn what your product needs. The downside is time. Setup, lighting, editing and file management add up, and they multiply across a large catalogue. If you want to try, our iPhone guide covers how to get decent results without special kit.
Hire a photographer or studio. You get skill, proper lighting and consistent results, which is hard to beat for your main images. The trade-offs are cost and logistics: you have to send products, wait, and pay again if you add new lines later. Pricing models vary (per image, per product, or by the hour), so it pays to know which one you're being quoted. Our cost guide explains how they differ. For a hero image that has to be right, it's often worth it.
Make scenes from one photo with AI. You supply a photo of your real product and a tool builds new settings around it. This is quick and lets you produce lots of scenes without props, locations or a day spent shooting. The weakness is accuracy: AI can quietly change a product, altering a logo or a colour, so every image has to be checked against the real thing. It suits lifestyle and campaign scenes better than plain packshots. We go deeper in our guide to AI product photography.
Most sellers end up combining routes. A studio or a careful DIY shot for the hero image, phone shots for the long tail of the catalogue, and AI for extra scenes. That mix can keep costs down.
Choosing the right type for your product
The right mix depends on what you sell and how far along you are. Here's a plain way to think about it.
Small, flat or shiny things like jewellery, stationery and cosmetics do well with a clean main image, a detail shot to show finish, and a flat lay for social. Clothing and soft goods need a clear front view and a detail shot of fabric and fit, plus a lifestyle image so people can picture wearing it. Homeware and furniture benefit most from scale and context: a packshot to show the product honestly, then a room scene so buyers can judge how it sits in a space. Food, drink and consumables lean on lifestyle and group shots, because the appeal is the occasion, and the pack alone says little. Gadgets and anything with parts need clean angles and, if you can manage it later, a spin view.
Stage matters too. If you're just starting, don't try to do everything. Start with a clear main image and one lifestyle scene. The main image earns trust and meets marketplace expectations; the lifestyle scene gives the product personality and gives your social posts something to use. That pair covers a surprising amount of ground.
As you grow, add detail shots, scale shots and range images. Once you've got a proper catalogue, think about consistency across the lot. And if you only do one thing this month, make sure your first image is honest and sharp. Everything else can wait.
How Product Photo Shots helps (and what it doesn't do)
We fall in the AI route, and we'll be plain about what that means.
From one photo of your real product, we make lifestyle and campaign scenes. You choose from four shapes: square 1:1, portrait 4:5, story 9:16 and wide 16:9. Every shot is reimagined with AI and labelled as such, and the files carry standard AI-provenance metadata, so nobody is misled about how the image was made. If you want to see what that looks like in practice, you can put the product in a new scene.
Before you pay, we study your photo and list what must stay the same, such as the shape, the logo and the colour. That check is free and takes about a minute (we measured our own at 11 seconds on 2026-10-01). If a shot changes the product, it's remade with a specific fix, up to three attempts in all. If it's still wrong, a person checks it. It is never delivered as is. You also get one free redo per delivered shot.
Pricing is simple. Three shots cost £19 (£6.33 a shot), five cost £29 (£5.80 a shot) and ten cost £49 (£4.90 a shot). A custom order of 11 to 40 shots comes in at £4.50 a shot. All prices include VAT.
Now the limits, because they matter. We don't make white packshots. We don't make detail macros. We don't make 360 spins. If your main image needs to be a plain white-background shot, you'll need to take that yourself or hire someone. And products from well-known brands can't be shot with us. We're a tool for extra scenes, not a replacement for the whole job.