The short answer
Put the product next to a window. Let soft light hit it from the side, not straight on, and keep the background plain: white or pale card, nothing busy. Fill a good part of the frame but leave room around the edges, because every platform crops differently. Tap the product to focus, then lock focus and exposure so the phone stops second-guessing itself. If the white areas look blown out, drag the exposure down a touch. No flash. No filters.
That's the whole recipe. The rest of this guide is how to do each step properly, with the iPhone settings that help and the checks that catch problems before a customer does. You can finish it this afternoon with things you already own. And to be fair, most of the improvement comes from the light, not the phone.
What you need
Not much. Here's the list.
- Your iPhone.
- A window. Any window that gets decent daylight will do.
- White card or paper, big enough to act as a backdrop.
- A second piece of white card or paper to use as a reflector.
- Something to raise or prop the product: a box, or a stack of books.
- A soft cloth to clean the lens.
Optional, but useful: a small tripod, or a pile of books to rest the phone on. Anything that keeps it still.
The lens cloth sounds trivial. It isn't. A phone lives in pockets and bags, and a smeared lens gives you a hazy, low-contrast photo that looks like bad focus. Wipe it before you start.
Light: start with a window
Light does more for a product photo than any camera setting. So get it right first.
Position the product beside a window, so the light comes in from the side. Side light shows shape and texture: the weave of a bag, the curve of a mug, the grain on a wooden spoon. Light from straight behind the phone flattens everything. Light from behind the product turns it into a silhouette.
Avoid direct sun. A hard beam through glass gives you sharp-edged shadows and bright patches that lose detail. If the sun is hitting the window, hang a net curtain over it, or tape thin white fabric across the glass. A white bedsheet works. You want the light to look like an overcast day: bright, but soft.
Next, turn off the room lights. This catches people out. Indoor bulbs are warmer or cooler than daylight, and when the two mix, you get a yellow cast on one side of the product and a blue one on the other. Daylight only. That's how you keep colours true.
Now use your second piece of white card. Stand it on the side opposite the window, angled towards the product. It bounces light back into the shadow side and lifts the dark areas. Move it closer and the shadow gets lighter; move it away and it deepens. Try a few positions and watch the screen. You'll see the difference straight away.
Why no flash? Because it's a small, hard light pointing straight at the product, and that does two things you don't want. It flattens the shape, so the product loses all its depth. And on anything glossy (glass, metal, plastic, varnished wood, packaging with a shiny finish) it bounces straight back as a white glare. Window light wraps around the product instead. It's softer, and it's far kinder to shiny surfaces.
Background and set-up
The cleanest look comes from a sweep. Take a large sheet of white or pale card and curve it: flat on the surface where your product sits, then rising up the wall behind it in one smooth bend. No hard corner means no horizon line, so the product seems to float on a seamless background. Tape the top edge to the wall or prop it against a stack of books.
Plain beats clever. A busy tablecloth, a patterned worktop or a cluttered shelf behind the product pulls the eye away from it. Keep it simple and let the product do the work.
Before anything goes on the set, clean it. Dust, lint and fingerprints are invisible in the room and obvious in a photo, especially on dark, glossy or transparent items. Wipe it down, and check it again once it's in position, because handling it will leave new marks. A soft cloth does the job.
Raise the product if it helps. A small box under the card puts it nearer the height of the phone, which makes shooting level easier. Just make sure the sweep covers it, so the box never shows.
Then place the product in the middle of the set, with space around it. Resist the urge to fill the frame edge to edge. Marketplaces and shops crop images to different shapes, and a photo with room around the product can be cropped square, wide or tall without chopping off a corner. Etsy, for one, is fussy: Etsy crops its thumbnails, and a product jammed against the edge will lose bits of itself. Leave a generous margin and you've solved the problem before it starts.
iPhone camera settings that help
You don't need to dig deep into settings. A handful of choices make the difference, and most take seconds.
Grid and Level. Go to Settings > Camera and turn on Grid and Level. The grid helps you centre the product and keep lines straight, and the level shows when the phone is held flat. After shooting, the Photos app can also straighten a photo and adjust its perspective, so a slightly crooked shot isn't a disaster.
Focus and exposure. Tap the screen where you want the focus. Beside the focus area, you'll see a small control: drag up or down to adjust exposure. Dragging down darkens the photo, which is exactly what you want when white areas look blown out and flat. To stop the phone changing its mind, touch and hold the focus area until you see AE/AF Lock. That locks focus and exposure together. Tap the screen to unlock it again.
Aspect ratio. The Camera offers 1:1, 4:3 and 16:9. Swipe up from the camera modes, or tap the controls button, then choose Aspect. You have two sensible options: pick the ratio you need before you shoot, or shoot in 4:3 and crop afterwards. If you sell on several platforms, 4:3 with plenty of space around the product gives you the most room to crop.
Flash. The Flash control offers Auto, On or Off. Set it to Off and leave it there. Auto will fire when it decides the room is dim, and that's precisely when you don't want it to.
Filters and Photographic Styles. Depending on your model, you can shoot with a filter or a Photographic Style. A Photographic Style applies to every photo until you change it or close Camera, so a strong one can quietly tint a whole batch. For product photos, leave filters off and use no strong Photographic Style. You want colours that match the real thing, because customers will judge the product against what they see on screen.
Formats. Under Settings > Camera > Formats, High Efficiency captures HEIF, and Most Compatible makes new photos JPEG. If a website won't accept HEIF, Most Compatible is the easy answer. More on that in the questions below.
Timer. The timer offers 3, 5 or 10 seconds. Set it to 3. Pressing the shutter button nudges the phone, and on a close-up that tiny shake can soften the image. With a timer, you press, let go, and the phone takes the shot once it's settled.
Taking the shot: angle, distance and focus
For your main photo, shoot straight on, with the phone at the same height as the product. Square to it, not tilted down. This is the honest, clear view people expect, and it keeps shapes looking right. Then take a second shot from a slightly raised angle, so the top of the product shows too. Together they cover most of what a shopper wants to see.
Now, distance. It's tempting to push the phone close to fill the frame. Don't. Wide-angle lenses stretch shapes when you're near the subject: a bottle gets a fat middle, a box looks like it's leaning. Step back instead, and let the product fill a good part of the frame while still leaving room around it. You can crop a little later; you can't un-stretch a distorted shape.
For texture, use macro. On supported models, Camera uses the Ultra Wide camera for macro: you can get as close as 2 centimetres, and it switches automatically. There's a macro button if you want to turn automatic switching off. If the photo goes blurry, back up a little. Macro is brilliant for stitching, grain, engraving or a fabric weave. Save it for detail shots, not the main image.
Portrait mode can blur the background, and it's tempting. Portrait mode applies a depth-of-field effect that keeps the subject sharp and blurs what's behind. The Depth control adjusts how strong the blur is, and you can turn the effect off afterwards in Photos. Use it with care. It can misjudge edges, especially thin handles, chains, hair-fine details or anything transparent, leaving a soft halo where the product should be crisp. If you try it, zoom right in on the edges afterwards.
Then keep the phone still. Use the timer, a small tripod, or rest it on a pile of books and shoot from there. A steady phone gives sharper detail and, just as helpful, identical framing from shot to shot, so your listing images look consistent.
And take plenty. Several angles, a few of each. Front, side, back, top, a close-up of the label, one showing scale. Storage is cheap; reshooting a sold-out batch isn't.
Check the photo before you use it
Don't judge the photo on the small preview. Open it and look properly.
- Zoom in on the label and edges. Is the text sharp enough to read? Are the edges crisp, with no soft halo? If not, it's a focus or shake problem, and you'll want to reshoot.
- Compare the colour with the real thing. Hold the product up near the window, in daylight, and look at the screen. Does the photo match? If it looks yellow, blue or washed out, check your lighting and your style settings.
- Look for glare, dust and marks. Shiny spots, specks and fingerprints show up under zoom. Wipe the product and shoot again.
- Check the horizon. A crooked line behind the product makes the whole image feel off. If it's slightly tilted, straighten it in Photos.
- Make sure the whole product is in frame. Check every corner. A cut-off edge is easy to miss.
One rule helps here: reshoot rather than over-edit. Heavy editing rarely rescues a weak photo, and it tends to wreck colour accuracy. Two minutes spent moving the card and retaking the shot beats twenty minutes pushing sliders.
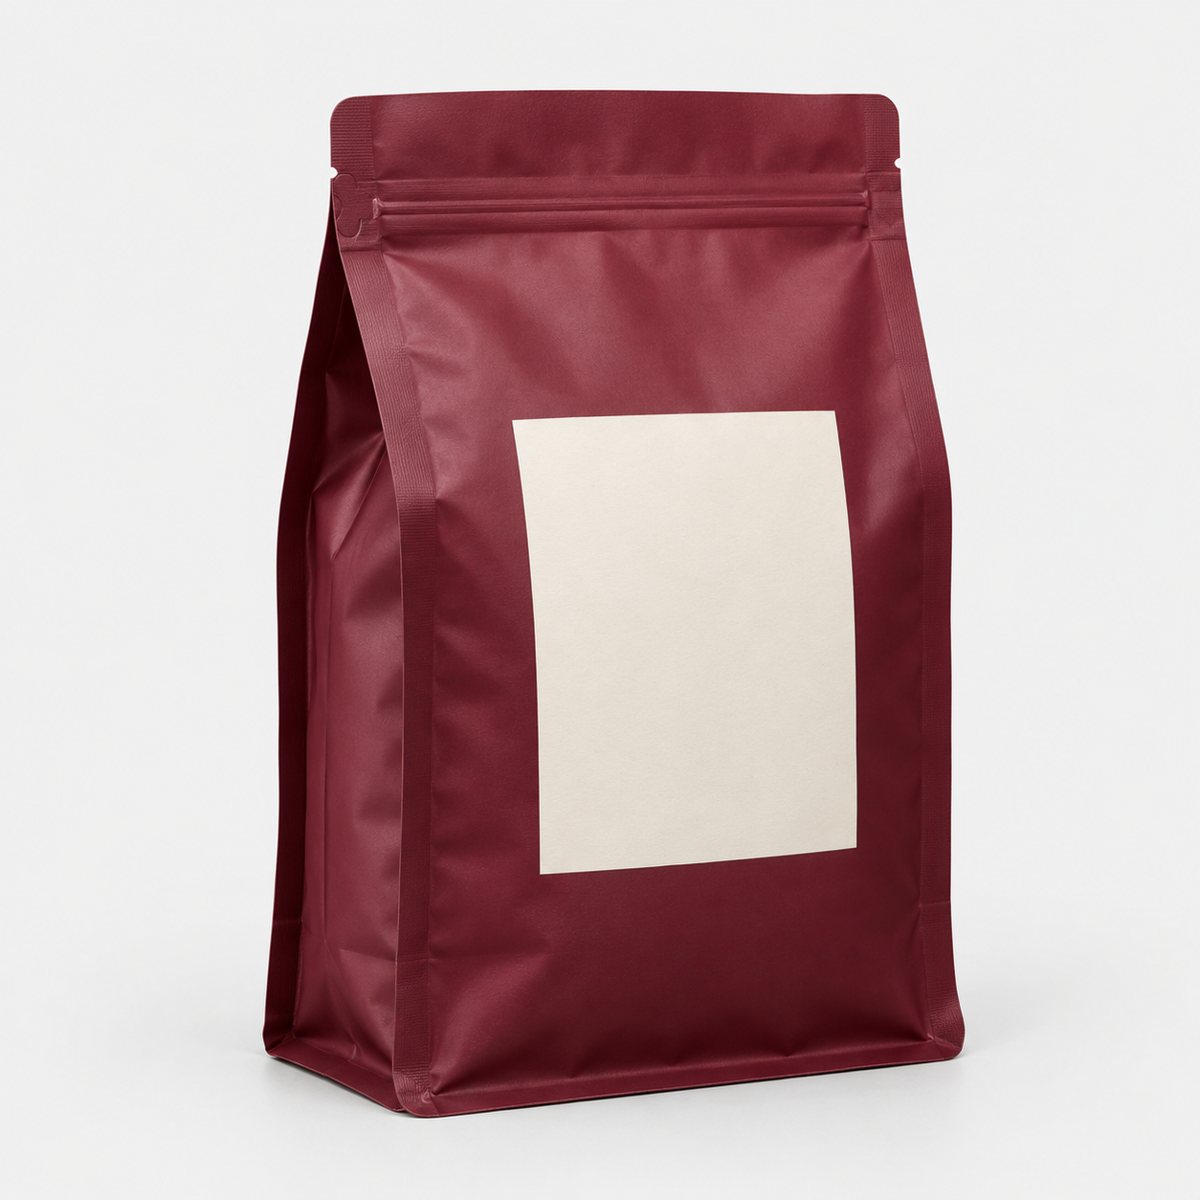
The whole product in frame, space around it, soft light from one side and no glare on the label: a photo like this crops cleanly and gives an accurate starting point.
How Product Photo Shots helps (and what it doesn't do)
A good iPhone photo is exactly what we start from. If you've followed this guide, you already have the right raw material.
Here's how it works. You upload 1 to 3 photos of the product, as JPG, PNG, WebP or HEIC, up to 15 MB each, so photos from your iPhone's default High Efficiency (HEIF) setting upload as they are. Before you pay, we study the photo and list what must stay the same, so the product comes out looking like itself. That check is free and takes about a minute. It also lists problems with the source photo itself, such as blur, crop or glare, so you hear about them early.
If a shot changes the product, we remake it with a specific fix, up to three attempts in all. If it's still wrong, a person checks it. It's never delivered as is.
Pricing is simple, and prices include VAT:
- 3 shots for £19 (£6.33 a shot).
- 5 shots for £29 (£5.80 a shot).
- 10 shots for £49 (£4.90 a shot).
- A custom number from 11 to 40 shots at £4.50 a shot.
What we do: we make lifestyle scenes from your photo. If you'd like to put the product in a new scene, that's the job. And if you only want a quick cut-out to try something yourself, your iPhone can do it: on iOS 16 or later, touch and hold the subject in a photo, then tap Copy to lift it from its background.
What we don't do: we don't fix a blurry or badly lit photo, and we don't produce the plain white main image. Those are down to the original photo, which is why the earlier sections matter. You can start here when you've got a photo you're happy with.