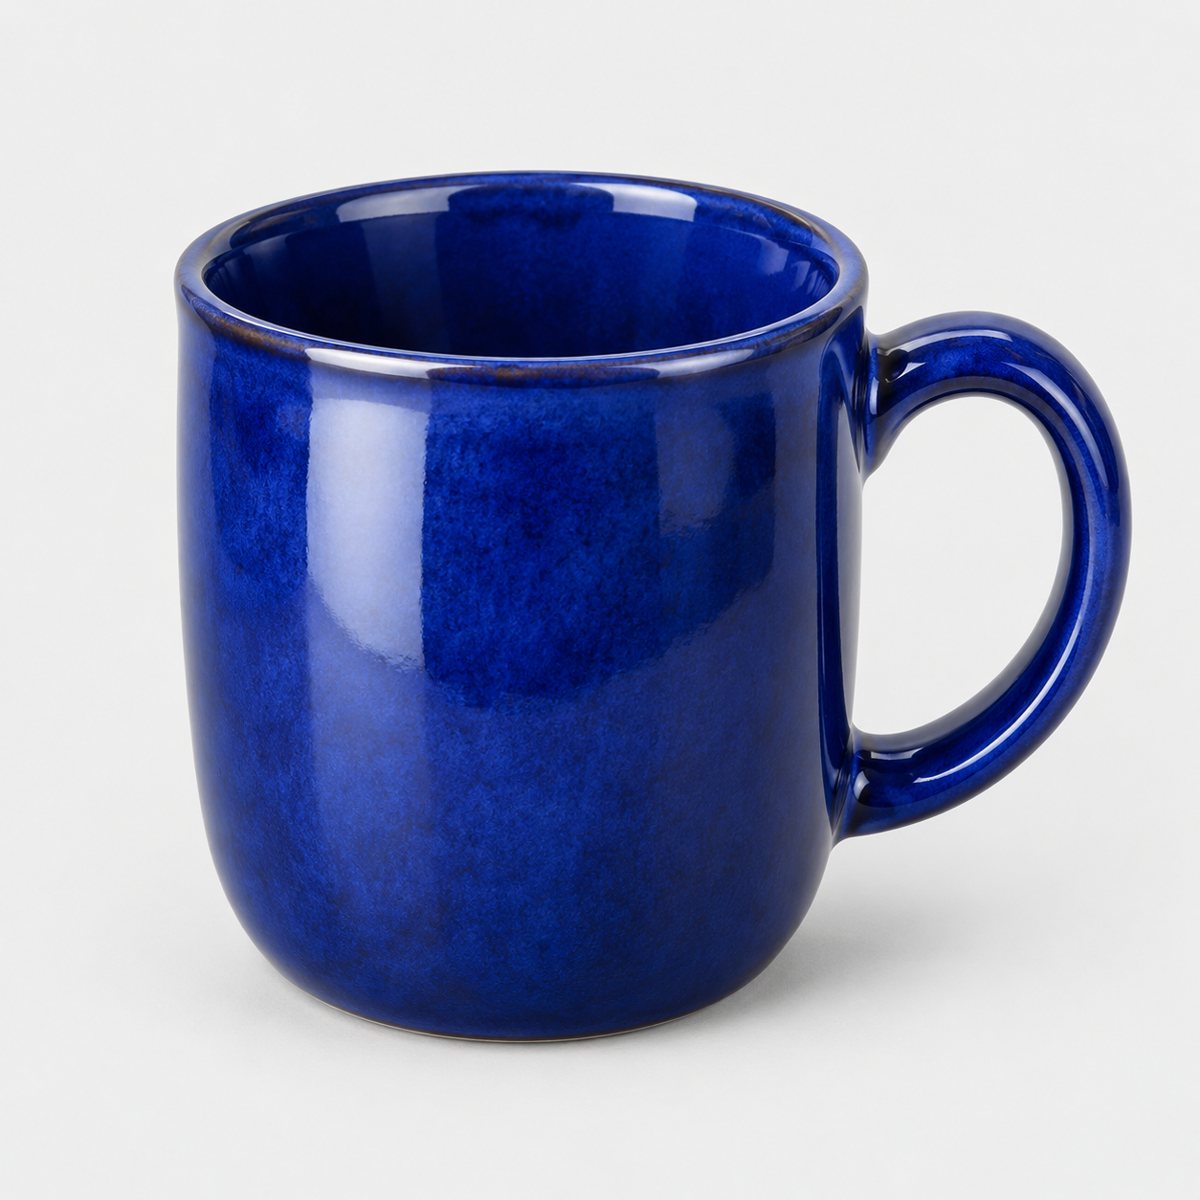
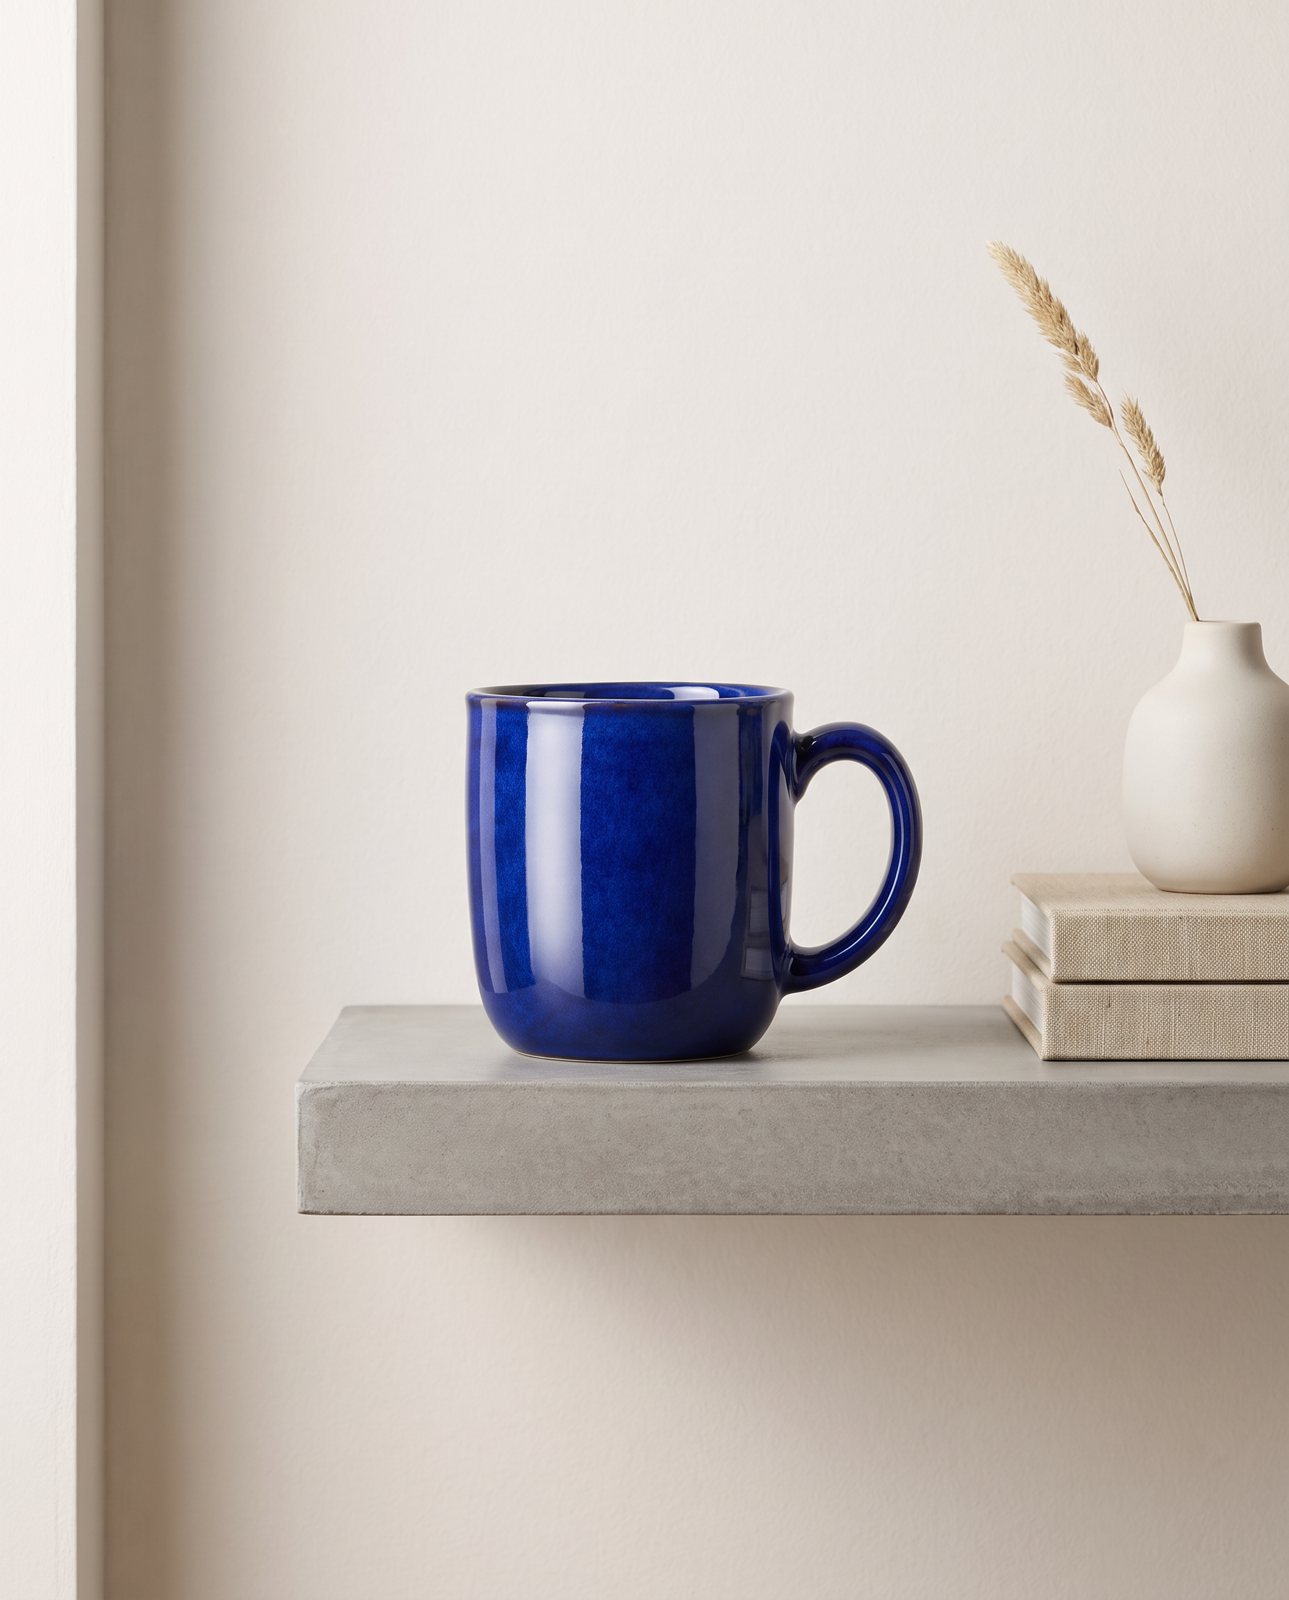
The short answer
There are three routes. You can cut the product out of your photo and place it on a new background yourself. You can use a background remover or editing app to do the cutting for you. Or you can have an AI generate a whole new scene around the product. All three work. Each has a price in time, effort or risk.
One rule matters more than the rest: the product itself must not change. Same colours, same shape, same words on the label. A lovely lifestyle shot of a product that looks slightly wrong is worse than a plain photo of the real thing, because the customer who receives the real thing feels cheated. So every method below ends with the same question: is this still my product?
Why changing a background is harder than it looks
Swapping a background sounds like a ten-second job. Then you try it, and the result looks pasted on. Here's why.
Edges. Take a knitted bobble hat or a wicker basket. The outline isn't a clean line; it's thousands of fine fibres, and each one needs to be kept or lost correctly. Cut too tight and the hat looks shaved. Cut too loose and you get a halo of the old background. Transparent parts are worse still: a glass tumbler or a clear phone case shows whatever sits behind it, so removing the background also removes things that were genuinely part of the object.
Contact shadows. Put a mug on a table and look underneath. There's a thin, dark band where the base meets the surface, softer further out. A cut-out dropped on a new background has none of that, so it floats. Your eye spots it instantly, even if you can't say why.
Reflections. A polished steel kettle mirrors its surroundings. Move it to a new scene and the old reflections go with it, which is wrong for the new room. Glossy products carry their old world around on their skin.
Light direction and colour cast. If your jar was photographed with a window on the left and the new background is lit from the right, the shadows and highlights fight each other. Same with colour: a product shot under warm bulbs looks orange against a cool daylight scene.
Scale. A candle that looks the size of a bin next to a tiny teacup is a scale problem. The background has to suggest a real size, and the product has to fit it.
None of this is impossible. It just means the work is in the details, not the swap.
Method 1: cut out the product and place it on a new background
This is the free, hands-on route. It takes patience, but you stay in full control, and the product never changes because you never let anything redraw it.
- Start with a good source photo. Sharp, evenly lit, shot straight on or at a gentle angle, with the whole product in frame and a plain background behind it. A cluttered or dark original makes the cut-out harder.
- Make a clean cut-out. On an iPhone running iOS 16 or later, touch and hold the subject in the photo, then tap Copy to lift it from its background, ready to paste into whatever you're composing in. In Photoshop, Select Subject and Remove Background are AI selections that don't use generative credits, so you can use them without spending any. Zoom in afterwards and tidy the edges by hand.
- Pick a background photo with matching light. This is the step people rush. Look at where the light comes from in your product photo, then find a background lit from the same side, at a similar angle and softness. A hard midday sun scene won't suit a product shot in a soft light box.
- Place and scale it. Set the product where it would naturally sit, on a surface rather than in mid-air, and size it so it makes sense next to anything else in the scene.
- Add a soft contact shadow. Make a new layer beneath the product. Paint a dark, blurred band where the base meets the surface, tight and darker right at the contact point, fading outwards. Lower the opacity until it looks quiet. Too heavy is as obvious as none.
- Match the colour. Nudge the warmth and brightness of the product so it agrees with the background. Go gently. You're matching the light, not recolouring the item, and the product's true colour still has to be right.
Trade-off: it's free and faithful, but it eats time, and results depend on your eye. Fine for one shot. Tiring for thirty.
Method 2: a background remover or editing app
Background removers and editing apps do the cutting for you, usually in a click or two. They're quick, and for the right job they're excellent.
What they do well: taking a product off a plain backdrop and giving you a clean white or flat colour background. That's exactly what marketplaces often want for a main image, and a decent tool handles it in seconds with tidy edges. Many also let you drop the cut-out onto a ready-made backdrop or a solid colour.
Where they fall down is the list from earlier. Busy original scenes confuse them, because the tool can't tell where the product stops and the clutter starts. Glass and other transparent items come out patchy or oddly solid. And shadows are a weak spot: some tools strip the natural shadow and leave the product floating, others keep a chunk of the old one that doesn't fit the new background.
So treat a remover as a fast first step, not a finished image. Zoom in on the edges, check anything see-through, and add your own contact shadow if the tool didn't produce a convincing one. Used like that, it solves the cutting problem, and Method 1's finishing steps do the rest.
Method 3: generate a new scene with AI
This is the one with the most potential and the most risk, so it's worth understanding how it works.
In plain words: you give an image model your product photo and a description of the scene you want, say "on a pale oak shelf in morning light". It builds a new image. It's not pasting your product onto a background the way you would. It's producing a fresh picture in which something that looks like your product appears in a scene it has invented. That's why the lighting, shadows and reflections can look so natural. The model draws them as part of one image, so nothing has to be matched by hand.
It's also the source of the danger. If the model is drawing the whole image, it's drawing your product too, and it can get details wrong.
General AI chat tools such as ChatGPT and Gemini can restage a product, but they redraw it in the process, so labels, logos and colours can change. There is also no built-in check against the original. You get a picture back and it's down to you to spot what moved. If you've tried one of these and ended up with a product that was subtly off, that's why.
What the technique does well: believable lighting, natural-looking surfaces, and scenes you couldn't easily shoot or composite yourself.
Where it fails, from our own testing:
- Small text. In a test with a famous-brand trainer, small printed text on the product (a tongue label) came out garbled on most shots. Logos and large text held up.
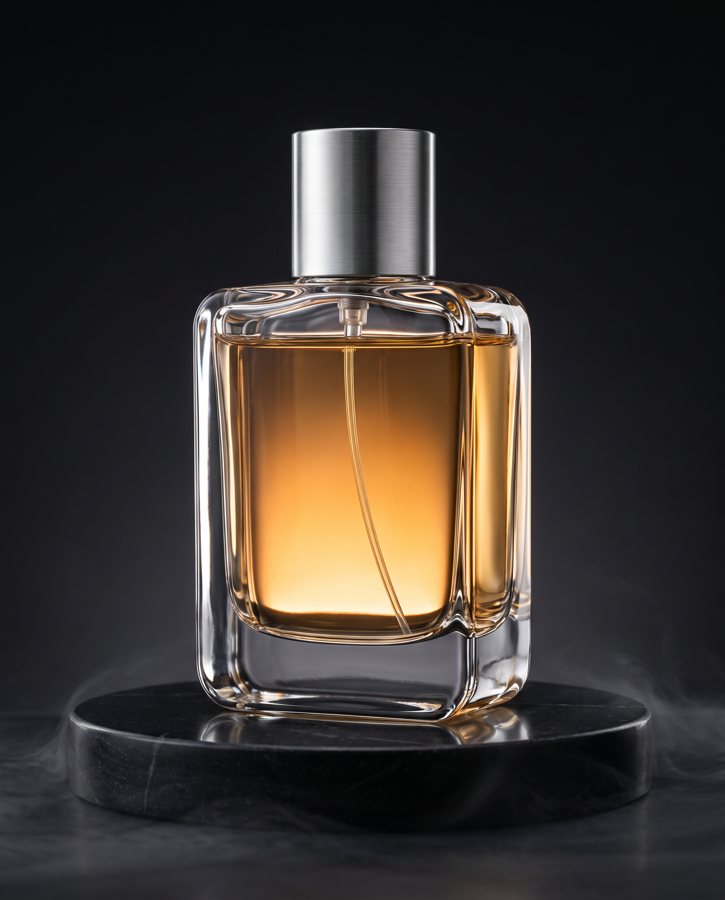
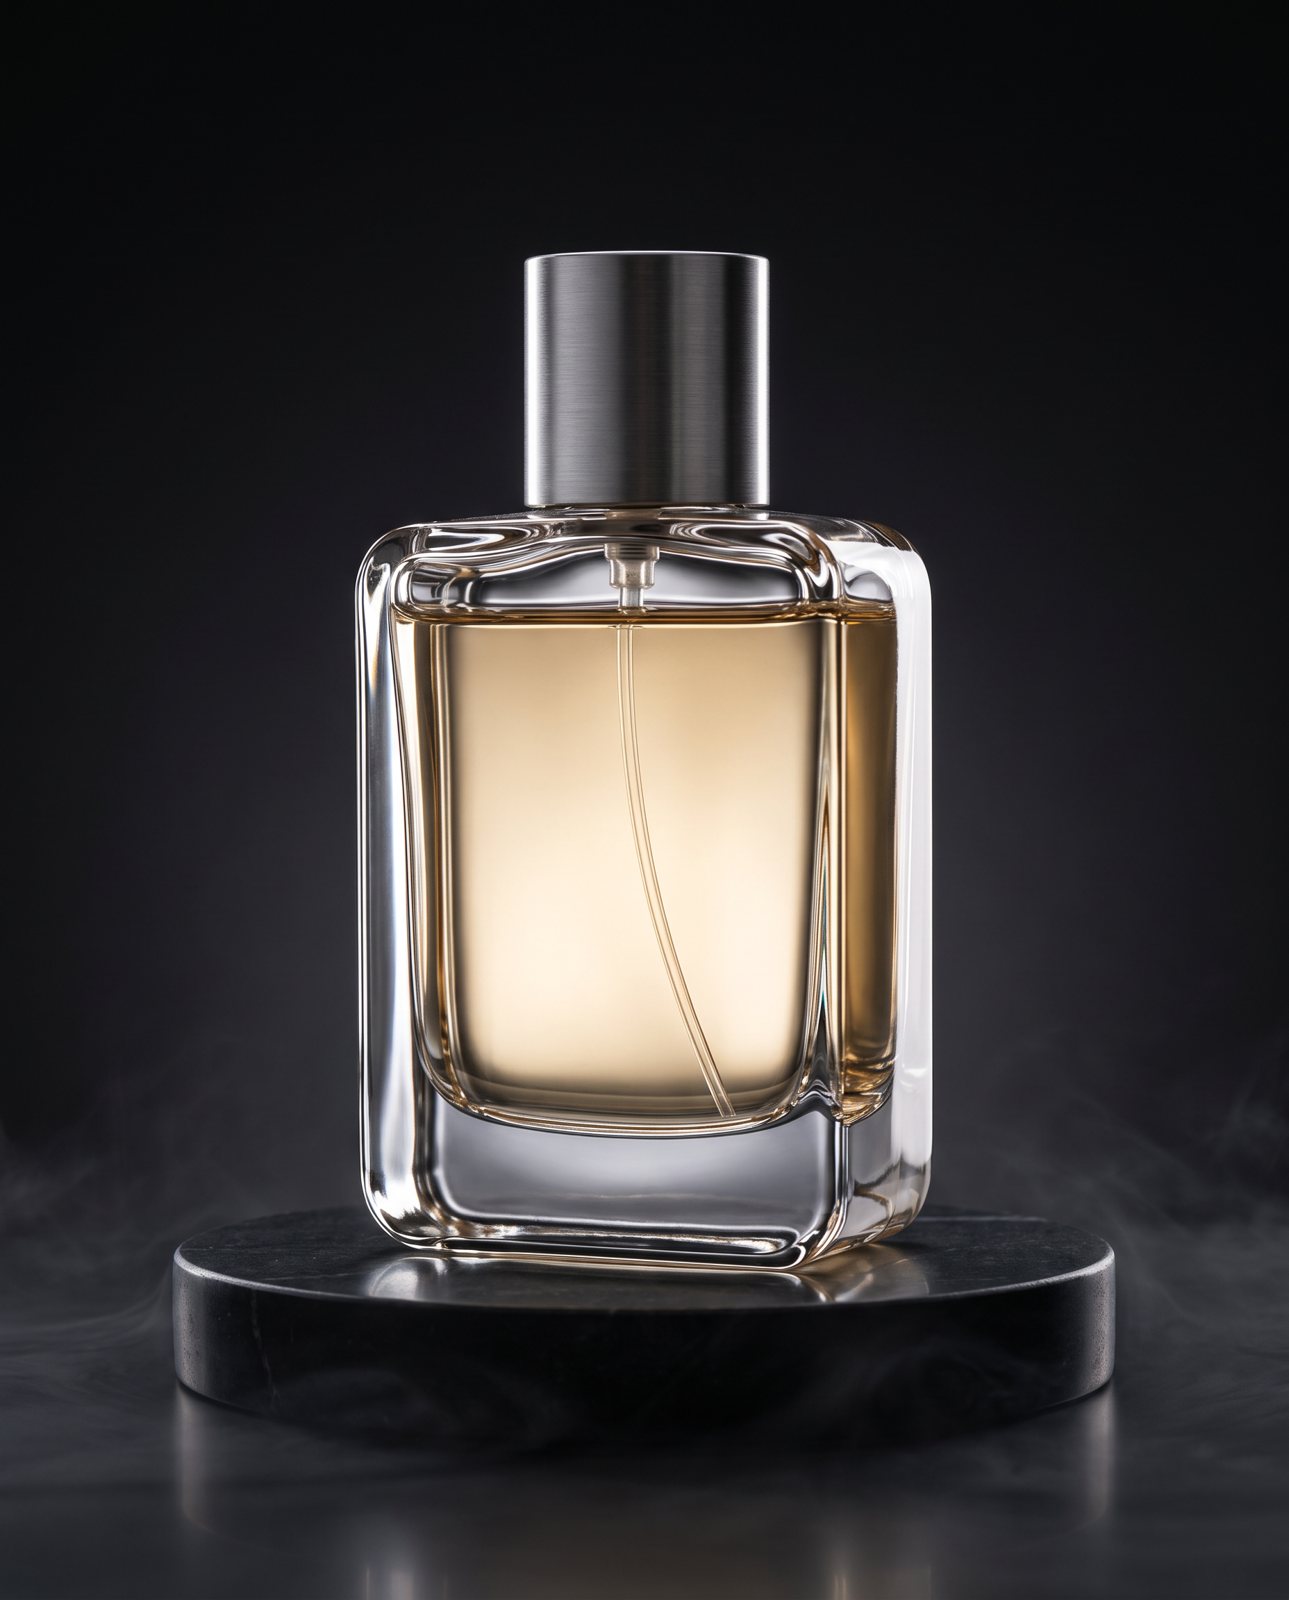
- Colour drift. In our demo run, a coral skincare jar and amber perfume both drifted in colour. One perfume attempt was rejected as "colour wrong".
- Brushed steel. Steel picked up its surroundings. Two steel bottle scenes failed all three attempts and were never delivered.
- Brand refusals. In the same famous-brand test, image services refused 5 of 14 generations. An unbranded product had none refused.
This is the route Product Photo Shots takes, with a check added: we do it for you, and every shot is compared against your original. Before payment we study the photo and list what must stay the same; that's free and takes about a minute. If a shot changes the product, it's remade with a specific fix, up to three attempts in all. If it's still wrong, a person checks it. It's never delivered as is. Every shot is reimagined with AI and labelled, and the files carry standard AI-provenance metadata. Prices come to £6.33 a shot on 3 shots (£19), £5.80 on 5 (£29) and £4.90 on 10 (£49), with custom orders of 11 to 40 shots at £4.50 a shot, all including VAT. We can only shoot products you own or sell; well-known brands' products can't be done because the image services refuse them, and customers are told before paying.
How to check your product didn't change
This section works on any result, from any method or tool. Do it every time, and do it before you fall in love with the picture.
Write the checklist before you generate or composite anything. Look at your original and note what has to survive. If you write it afterwards, you'll find yourself excusing the differences because the new image looks good. Writing it first keeps you honest.
Then run these checks:
- Colours, side by side. Put the original and the new image next to each other on one screen. Compare the product's main colour, then any accent colour. A coral going a shade off, a pale liquid turning deep amber, navy going black: shifts like these are easy to miss when you look at the new image alone.
- Every word and logo. Read each word on the product, letter by letter, against the original. Check the brand name, the product name, any small print, any barcode or symbol. Garbled or invented text is the classic failure. If a logo has been added that was never there, that's a fail.
- Shape and proportions. Is the lid the same height? Is the handle the same curve? Is the bottle as slim as it was? Overlay the two images at half opacity if you can; any mismatch shows up as a ghost outline.
- Finish. Matte should stay matte and gloss should stay gloss. Look at how light sits on the surface. A satin ceramic turned shiny, or a polished metal turned dull, is a changed product.
- Small details. Count the stitches along a seam, check the rings on a necklace, look at rivets, ribbing, texture, zips, buttons. These fine features are the first to be simplified or invented.
- Nothing added. Scan the product for anything that wasn't there, like an extra label or a second strap. Then scan for anything missing.
In an adversarial test, our own check rejected a product recoloured blue ("colour wrong") and a product with a made-up logo added ("added text"). Those are the kinds of change to hunt for. If any item on your list fails, don't tweak and hope. Redo the shot.
Shadows, reflections and light: making it believable
Even a faithful product can look fake if it doesn't sit in its scene. Here's how to spot the problem and fix it.
Floating. If the product seems to hover, the contact shadow is missing or too light. Fix it by adding a dark, tight shadow right at the base, fading outward. Keep the edge soft; hard-edged shadows look like cut paper.
Shadows pointing the wrong way. Find the light source in the scene, then check that the shadow falls away from it. If the background is lit from the right and your shadow falls to the right too, flip or redraw it.
Highlights that disagree. A bright reflection on the left of a bottle, in a scene lit from the right, gives it away. Choose a background whose light matches the product photo, or reshoot the product with the light you need.
Reflections from the wrong world. Glossy and metallic items need the most care. A steel bottle should reflect a plausible version of the new room, not the grey sweep of your original backdrop. If you can't make that work, a simple, plain-ish surface with soft light is far safer than a busy one.
Colour cast. Warm product, cool scene, or the reverse? Shift the product's overall temperature a touch toward the scene, then re-run the colour check above. You want harmony without changing what the item really looks like.
A quick test: shrink the image to thumbnail size, then look again. Thumbnails hide fine detail but show big problems fast, like floating, odd brightness or a colour that doesn't belong.
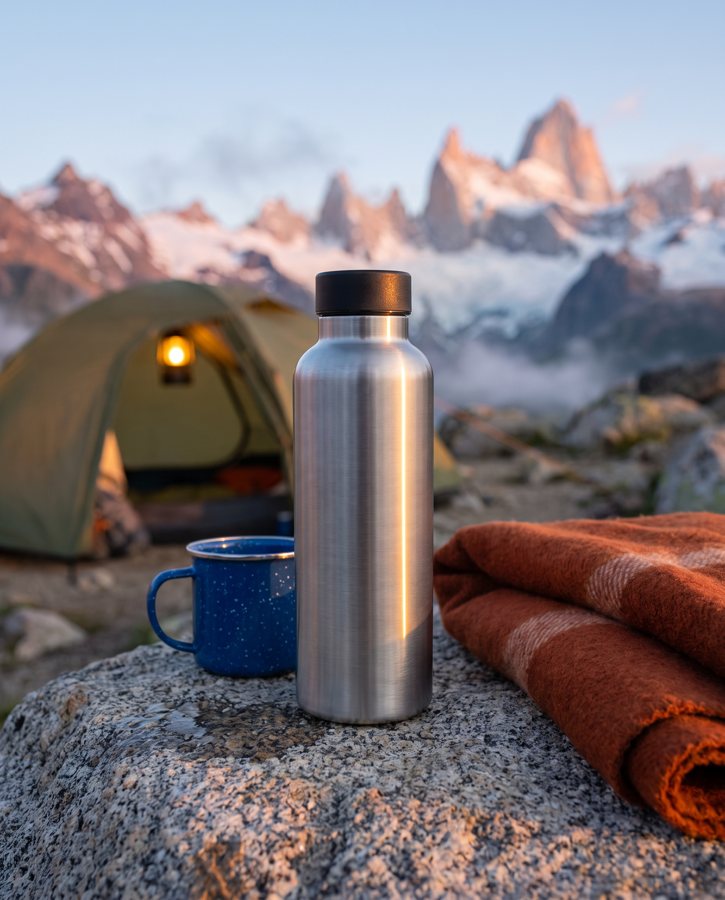
Brushed steel picks up its surroundings. Two steel bottle scenes, this one included, failed all three attempts and were never delivered.
Which method should you use?
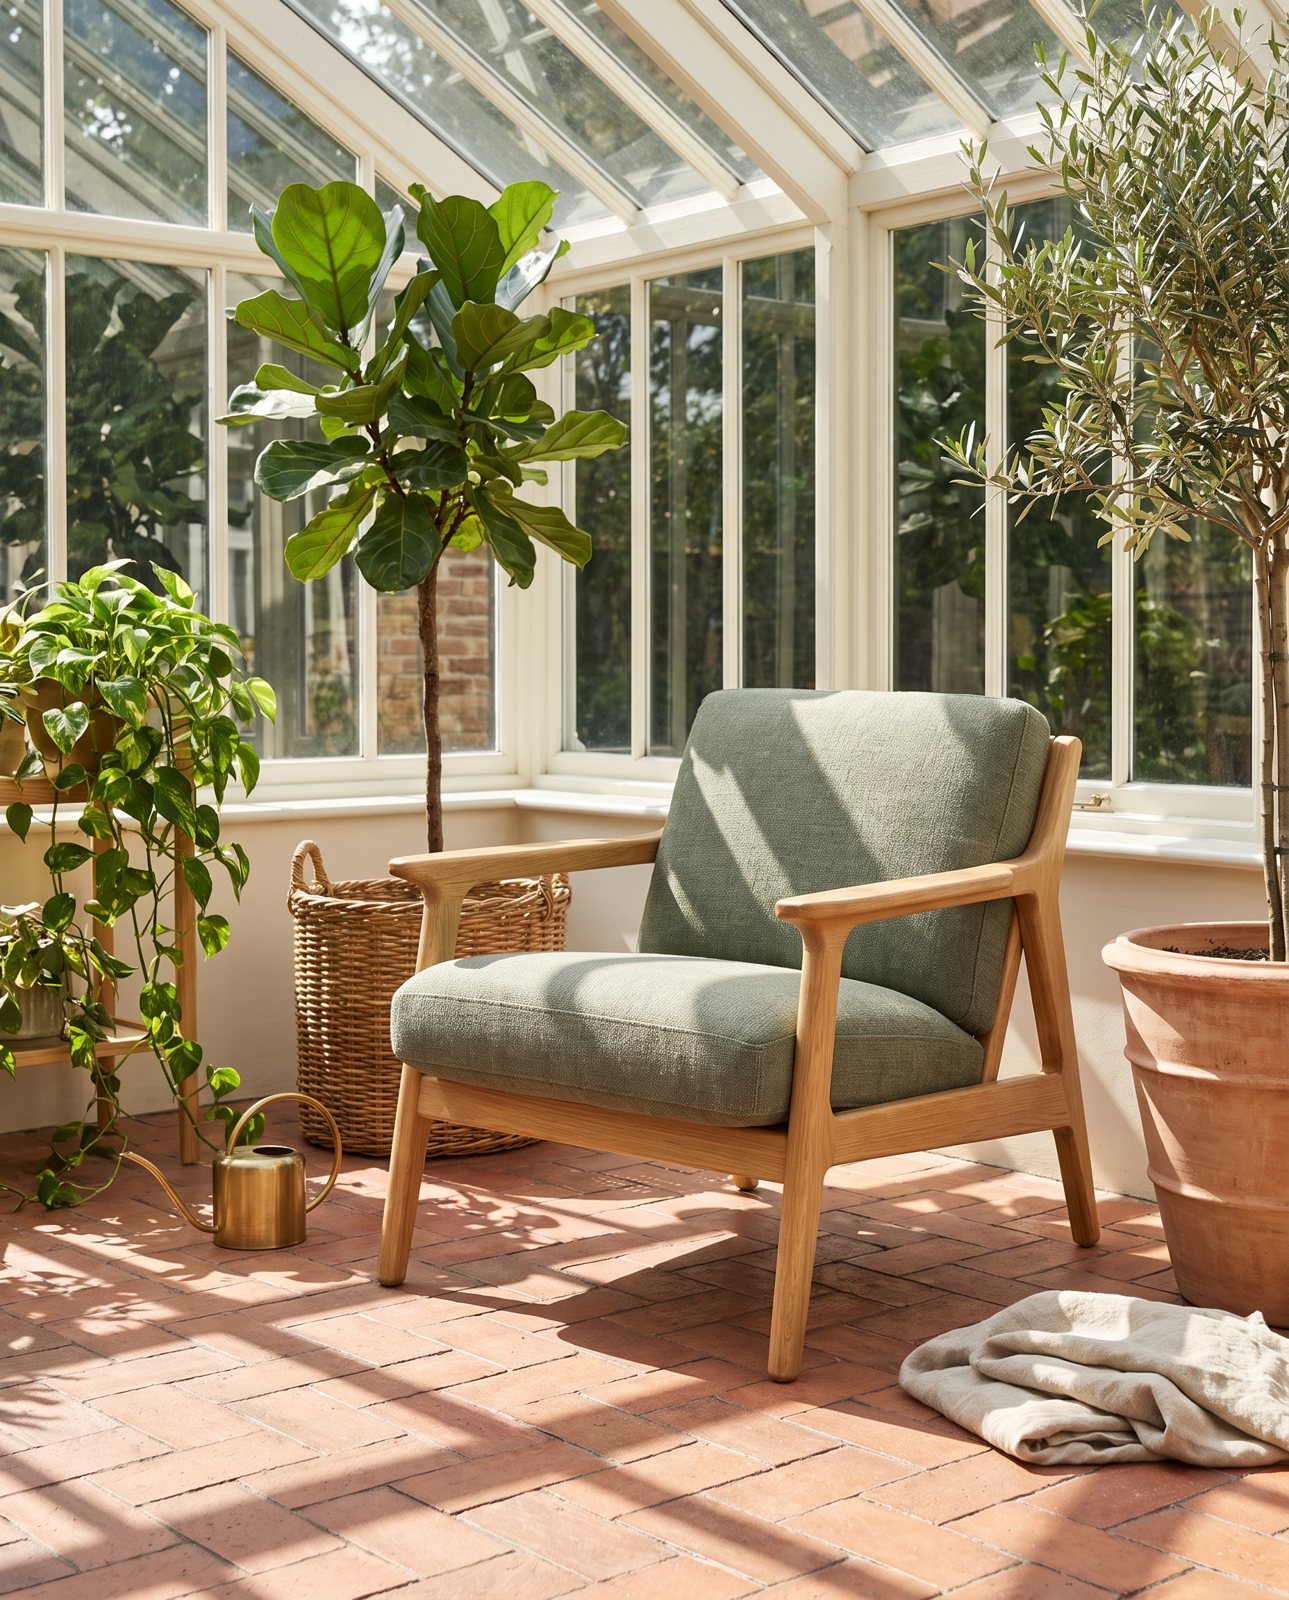
From our demo set: the chair's shadow falls the same way as the plants', away from the windows, which is what makes it sit in the room.
It depends on what you need.
- You need a plain white background. Use a background remover (Method 2). It's quick and tidy, and a white backdrop hides most of the problems. Check the edges and keep a faint shadow if the marketplace allows it.
- You need one lifestyle shot. Do it yourself with Method 1, or use a remover for the cut-out and finish by hand. One image is manageable, and you keep full control of the product.
- You need a set of campaign shots across scenes. This is where doing it by hand gets slow. AI generation (Method 3) is built for it. We run the same product through several scenes and check each one against your original. In our demo run, 10 products across 3 scenes each gave 30 shots; 27 were delivered and 3 were held back by the check. The trainer, chair and most of the mug, headphones and necklace scenes passed on the first attempt. A 3-shot order took about 4 minutes in testing.
- Your product has small text or a tricky material. Be careful with AI. Garbled small print, colour drift on coral and amber, and brushed steel picking up its surroundings are all things that go wrong. Method 1 keeps your real product untouched, so it's the safest choice. If you do use AI, run the checklist hard. To see how your photo would be handled before paying anything, the free check lists what must stay the same.