The short answer
Soft side light, a curved white backdrop lit brighter than the product, a steady phone with focus and exposure locked, then a small edit to take the background to exactly 255.
That's it. Everything below is how to do each of those four things without fuss, and what to check when one of them goes wrong. The setup does most of the work. The edit just finishes it.
When you need a white background (and when you don't)
Start with the hard rule. Amazon's Seller Central product image guide says the main image must have a pure white background, RGB 255, 255, 255. The product has to fill 85% of the image. The whole product sits in frame, shown once, with no props that aren't included in the sale. If you sell there, that's your brief. The full detail lives in our Amazon image requirements guide.
Other marketplaces and catalogues have their own rules, so check each one. Where a buyer scrolls through hundreds of similar items, a consistent white background lets the products do the talking. Same goes for your own shop grid. Twenty items on twenty different backgrounds looks chaotic. Twenty on white looks like a shop.
Now the other half. You don't need white everywhere, and forcing it can hurt. Your own site's hero image and banners often suit a scene better. Social posts too; nobody stops scrolling for a floating mug. And the extra listing slots, the ones after the main image, are where lifestyle scenes earn their place, because they show scale and use. A candle next to a book tells you its size faster than a measurement. If you want to go that way, our lifestyle photos guide covers it.
So: white for the main image and the grid. Scenes for the rest.
What you need: a minimal kit
Less than you think. Here's the list.
- A window. Daylight is free and soft, and a window gives you one clean direction of light.
- White card or paper. One piece becomes the backdrop. One or two more act as reflectors.
- Tape, to hold the backdrop in place.
- A phone.
- Something to prop the phone on, so it doesn't move between shots. A stack of books works. So does a mug and a rubber band, if you're feeling inventive.
That's the kit. You can start with what's already in the house.
If you want to spend later, two options help. A cheap light tent gives you a ready-made white box with diffused light. Or two daylight lamps of the same colour let you shoot after dark. The "same colour" part matters; mismatched bulbs are how you end up with a yellow side and a blue side. But none of it is required. Window plus card is enough to get a proper result.
Setting up: light, backdrop and distance
Light first, because light does most of the work.
Put a table near a window so the light hits your product from the side. Not from behind, and not from above either. Side light is soft and shows shape. Straight-on light flattens everything and sends glare back at the lens.
Now the backdrop. Tape your white card to the wall or a stack of books behind the table, then let it curve down onto the surface and forward under the product. This is a sweep. You want no visible line where the table meets the wall, because that line is a horizon, and a horizon makes the background read as a room rather than as nothing. One smooth curve. That's the target.
Keep the product forward from the backdrop. Pull it well clear of the curve so its shadow doesn't land on the card behind it. Shadow on the backdrop is a grey patch you'll fight later. A bit of distance solves it for free.
Shadows on the product itself are the other issue. The side away from the window will go dark. Fix that with a reflector: stand a piece of white card on the shadow side, angled towards the product, and it bounces light back in. Move it closer for a stronger fill, further for a softer one. A second card on the other side or above helps if the product is tall.
Here's the part people skip. Light the background so it comes out brighter than the product. White card in dim light turns grey, however white it is. Angle the setup so the backdrop catches plenty of window light, maybe slightly more than the product gets. A background that's a touch brighter than the subject is what lets the phone push it towards white without blowing out the product.
Last thing: turn off the room lights. Ceiling bulbs are usually a different colour from daylight, and mixing the two gives you a warm cast on one side and a cool one on the other. Daylight alone keeps the colour clean.
Camera settings on a phone
Your phone wants to get this wrong, and it helps to know why. A phone camera sets exposure by averaging the whole scene towards a middle tone. Point it at a mostly white frame and it assumes the scene is too bright, so it darkens everything. White comes out grey. That's a common cause of a grey background, and it isn't your card's fault.
So take control. On an iPhone, Apple's guide to the camera tools says to tap the screen where you want the focus, then drag the exposure control next to the focus area up or down. Drag it up a little and the white brightens. Then touch and hold the focus area until you see AE/AF Lock. That locks focus and exposure, so the phone stops hunting between frames. Tap the screen to unlock when you're done.
Nudging exposure up helps, but watch the product. There's a line. Brighten too far and the highlights on the product itself burn out to flat white, and that detail doesn't come back. A background that's too grey is fixable in editing. A product with blown-out edges is not. So push the exposure until the background looks near-white, check the product still shows texture, and stop there. If the product loses detail before the background gets white, don't push further; finish the job in the edit.
Distance matters too. Phone lenses distort when you get close; edges stretch and shapes warp slightly. Stand further back and zoom in a little instead. It's a small thing that makes boxes look square and bottles look like bottles.
Then take several frames. Four or five at least. Tiny movements, a bit of wobble, a shifted reflection: any one frame can be slightly off. Shoot a handful and pick the sharpest. It costs you nothing. For more on phone settings, see our guide to product photos with an iPhone.
Getting to pure white in editing
Here's where the 255 happens. Open your best frame in any editor that has a colour picker, which includes most free ones. Click on the background. Read the values.
Don't trust your eyes on this. Remember our own demo photos: they looked white and read about 237 to 239 on each channel. If you see anything under 255 on the background, you're not there yet.
There are two routes.
The first is to push the background up. Use levels or curves, drag the white point until the background reads 255, 255, 255, and check again. This works well when your backdrop is already close and evenly lit. Take care that the product doesn't brighten along with it.
The second is to cut the product out and place it on a clean canvas. On an iPhone running iOS 16 or later, touch and hold the subject in a photo, then tap Copy to lift it from its background. Paste it onto a canvas filled with pure white at 255 and you're done. In Photoshop, Select Subject and Remove Background do a similar job; Adobe's generative credits FAQ says these are AI selections that don't use generative credits, so they cost you nothing extra. Zoom in and check the edges either way. Hair-thin gaps, strap holes and transparent parts are where cutouts slip.
If the platform allows it, keep a soft natural shadow under the product. A shadow grounds it. Without one, the product floats, and floating products look fake. Amazon's main image wants a clean result, so check the current rules in our Amazon image requirements guide before you decide.
Then crop. For Amazon, the product should fill about 85% of the image. Crop in until it does, keeping the whole product in view.
Finally, export. Amazon says images of 1,000+ pixels on the longest side enable zoom, with a minimum of 500 and a maximum of 10,000. Don't enlarge a small image to hit the number; that's artificial and it looks soft. Save as JPEG, and export in sRGB. Shopify's Help Center explains why: colour profiles are removed when images are shown on the store, and browsers assume sRGB. If you use another profile, your colours may shift. If you're sizing for a store, our Shopify image size guide has the details.
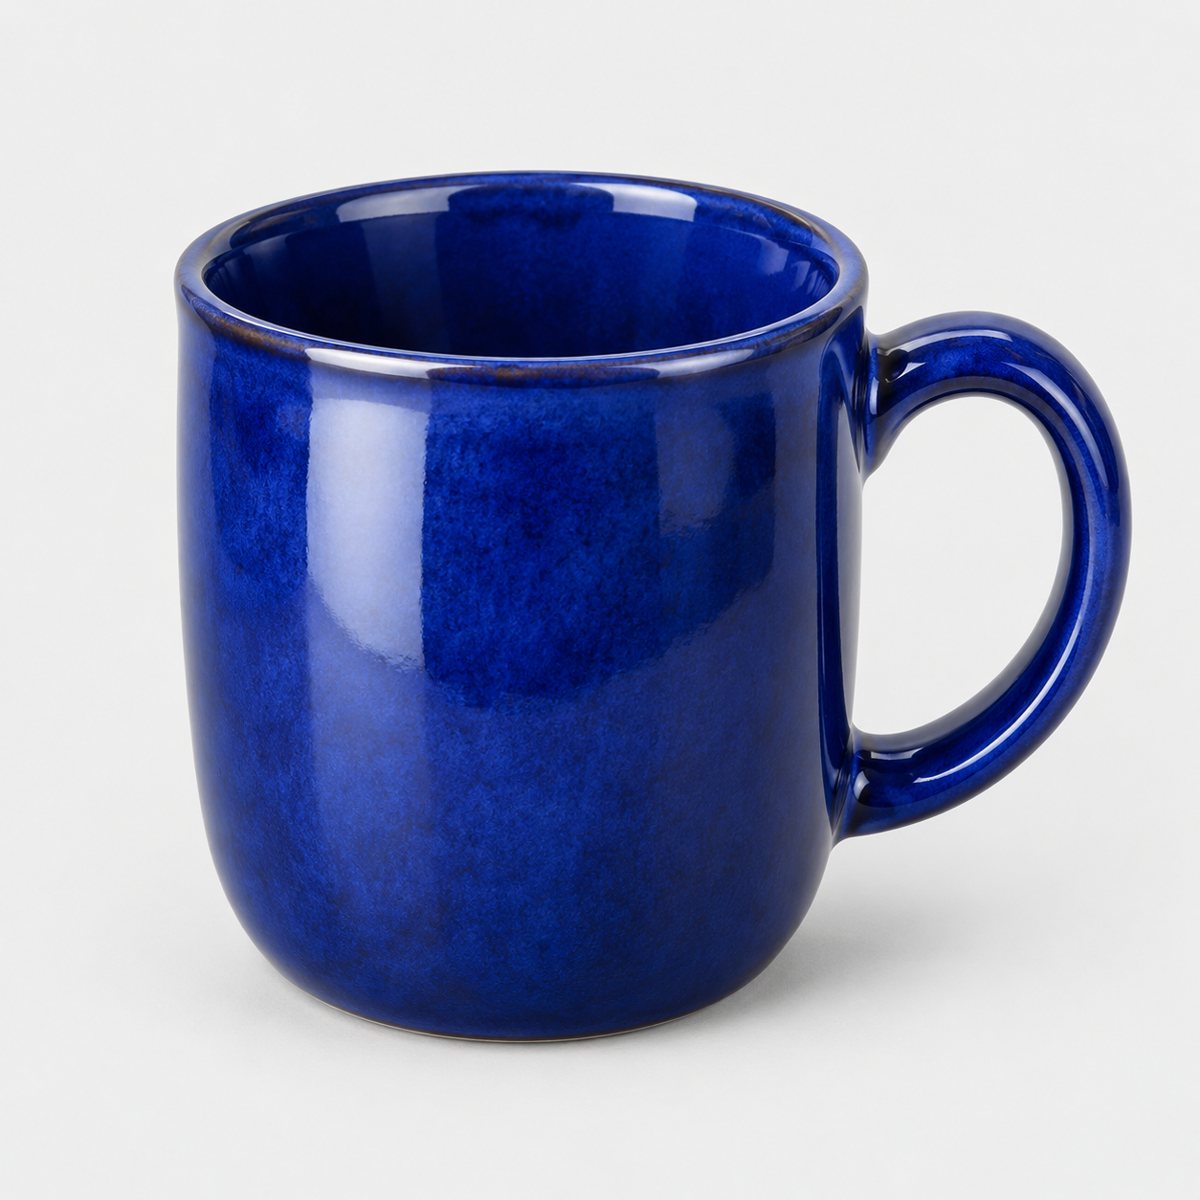
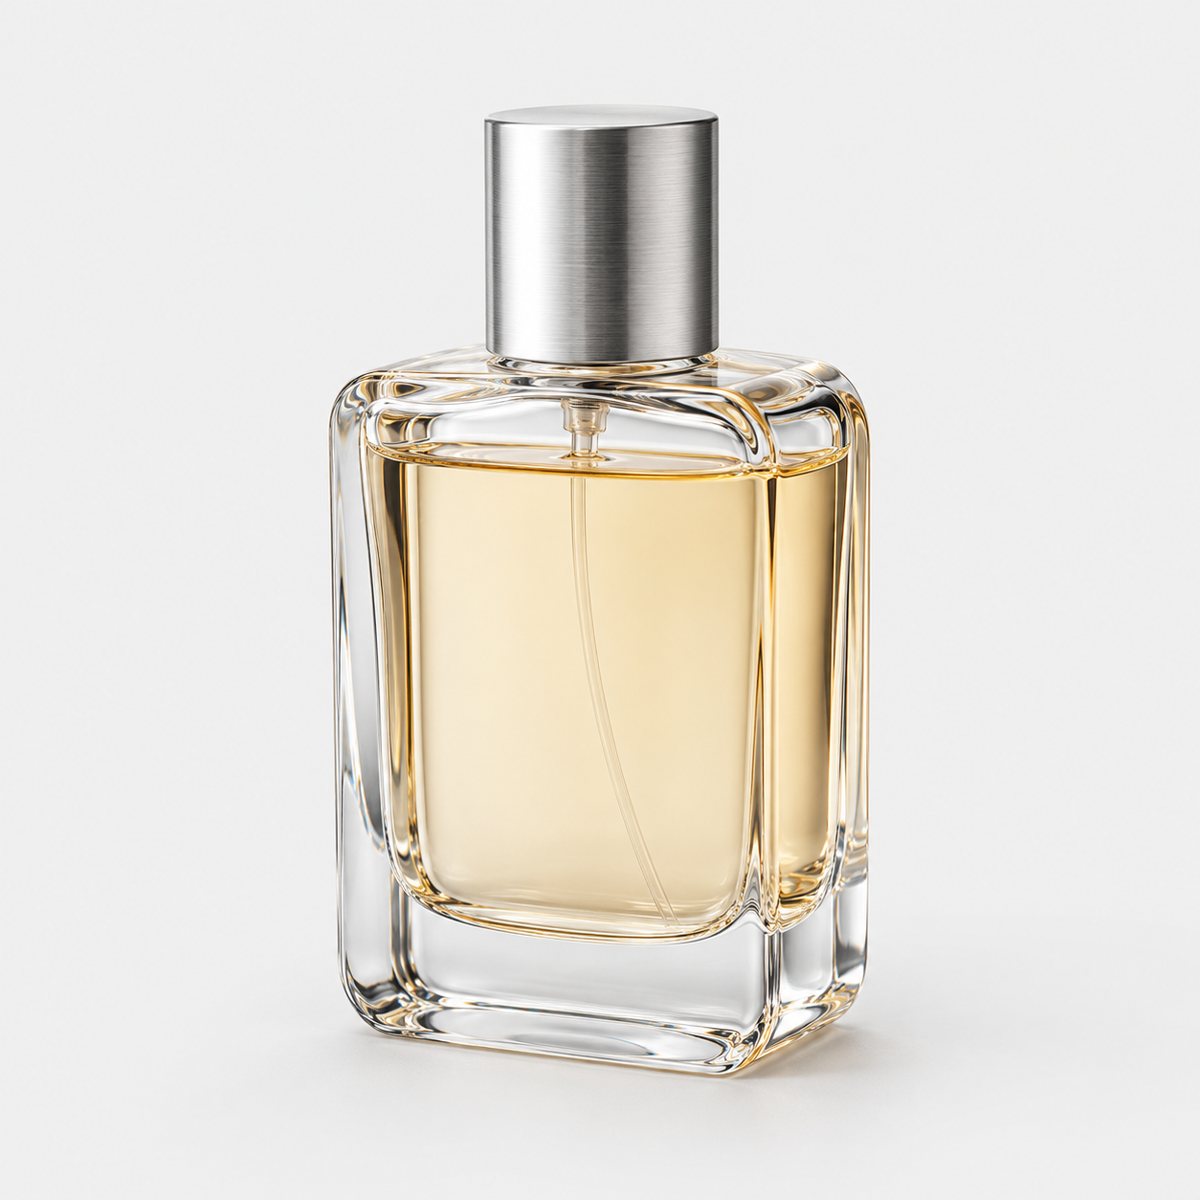
Our own demo original. On a white page it passes for white, but a colour picker reads the background at about 237 to 239 on each channel. Amazon's main image rule asks for 255.
Common problems and how to fix them
Grey background. The phone averaged the scene down. Drag exposure up with the exposure control, light the backdrop more strongly, and finish with levels in the edit.
Colour cast. Usually mixed light. Switch off room lights and shoot by daylight only, or use lamps that match each other. A white card held beside the product shows you the cast quickly.
Product edges blown out. You pushed exposure too far. Pull it back and let the edit finish the background instead.
White product disappearing on white. This one's genuinely awkward. A white mug on a white sweep has no edge. Keep a soft shadow underneath, light from the side so one edge falls slightly darker, and don't over-brighten. Shape comes from shade, so leave some in.
Reflections on glossy or metal products. Shiny surfaces mirror whatever is around them, including you and your window. Move the reflectors, and shoot from a slightly different angle. Surround the product with white card so what it reflects is white, not clutter. Brushed steel is the hard case; it picks up its surroundings badly, and we saw it fail in our own testing, which I'll come back to below.
Hard shadows. Light that's too direct or too small. Keep direct sun off the product, or diffuse the light with a sheet of thin white paper over the glass.
Dust and fingerprints. They look huge at full size. Wipe the product and the backdrop before you shoot, and zoom to 100% in the edit to catch what's left.
Soft focus. Tap to focus on the product, lock it with AE/AF Lock, and prop the phone so it can't shift. Then take several frames. One of them will be sharp.
How Product Photo Shots helps (and what it doesn't do)
Let's be straight about this. We don't make white-background packshots. The setup on this page does that job well, and it's free. If all you need is a clean main image, you have everything above and you don't need us.
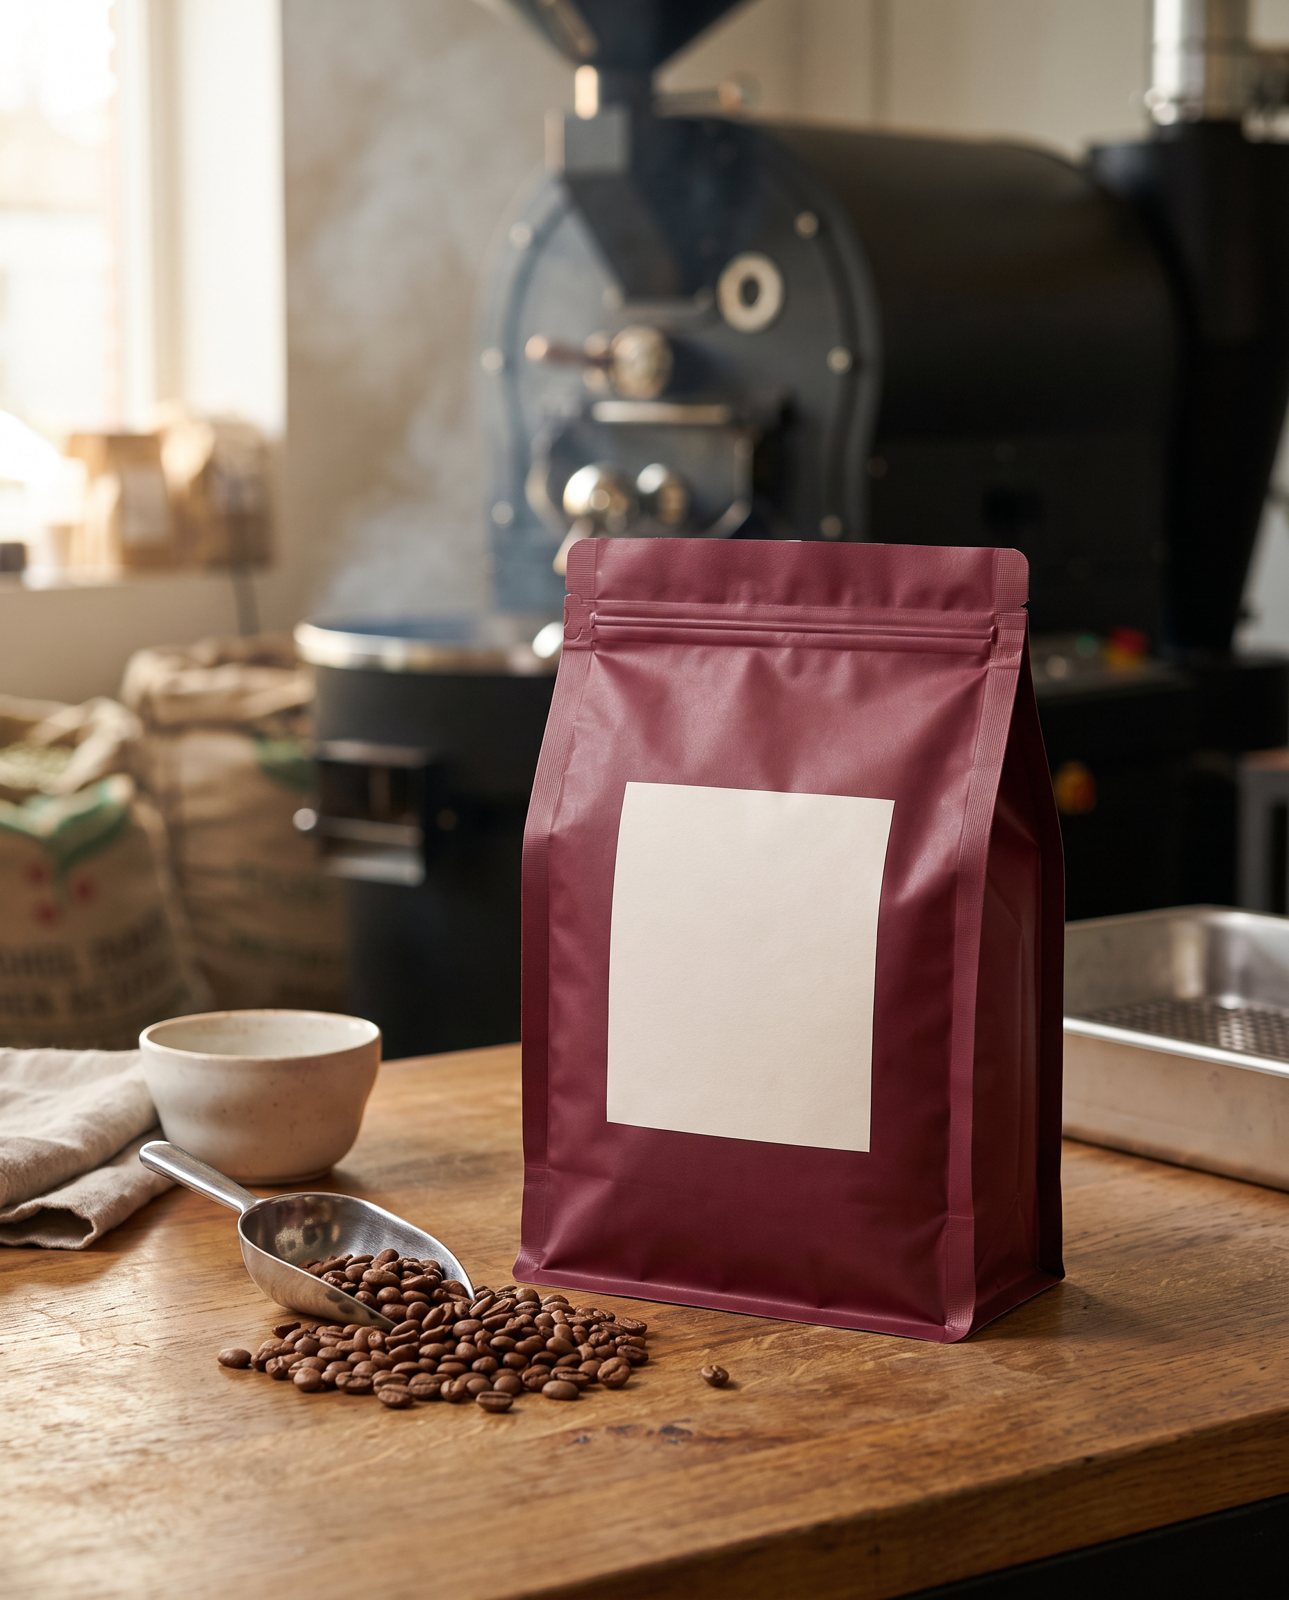
What we do is the other slots. Once you have a sharp photo of your product (it doesn't need to be on white; any background works, as long as the whole product is in view), we place that same product into lifestyle and campaign scenes. Those are the images for your listing's extra slots, your site and your social posts. You upload one to three photos of the product.
Before you pay, we study the photo and list every colour, shape and mark that must stay the same. It's free and takes about a minute. Every shot is then checked against your original. A shot that changes the product is remade with a specific fix, up to three attempts in all; if it's still wrong, a person checks it. It is never delivered as is. You also get one free redo per delivered shot. Every shot is reimagined with AI and labelled as such.
Shapes come in square 1:1, portrait 4:5, story 9:16 and wide 16:9. Packs are 3 shots for £19 (£6.33 a shot), 5 for £29 (£5.80), and 10 for £49 (£4.90), with custom orders of 11 to 40 shots at £4.50 a shot. Prices include VAT. A 3-shot order took about 4 minutes in testing. There are examples to look at and pricing laid out in full.
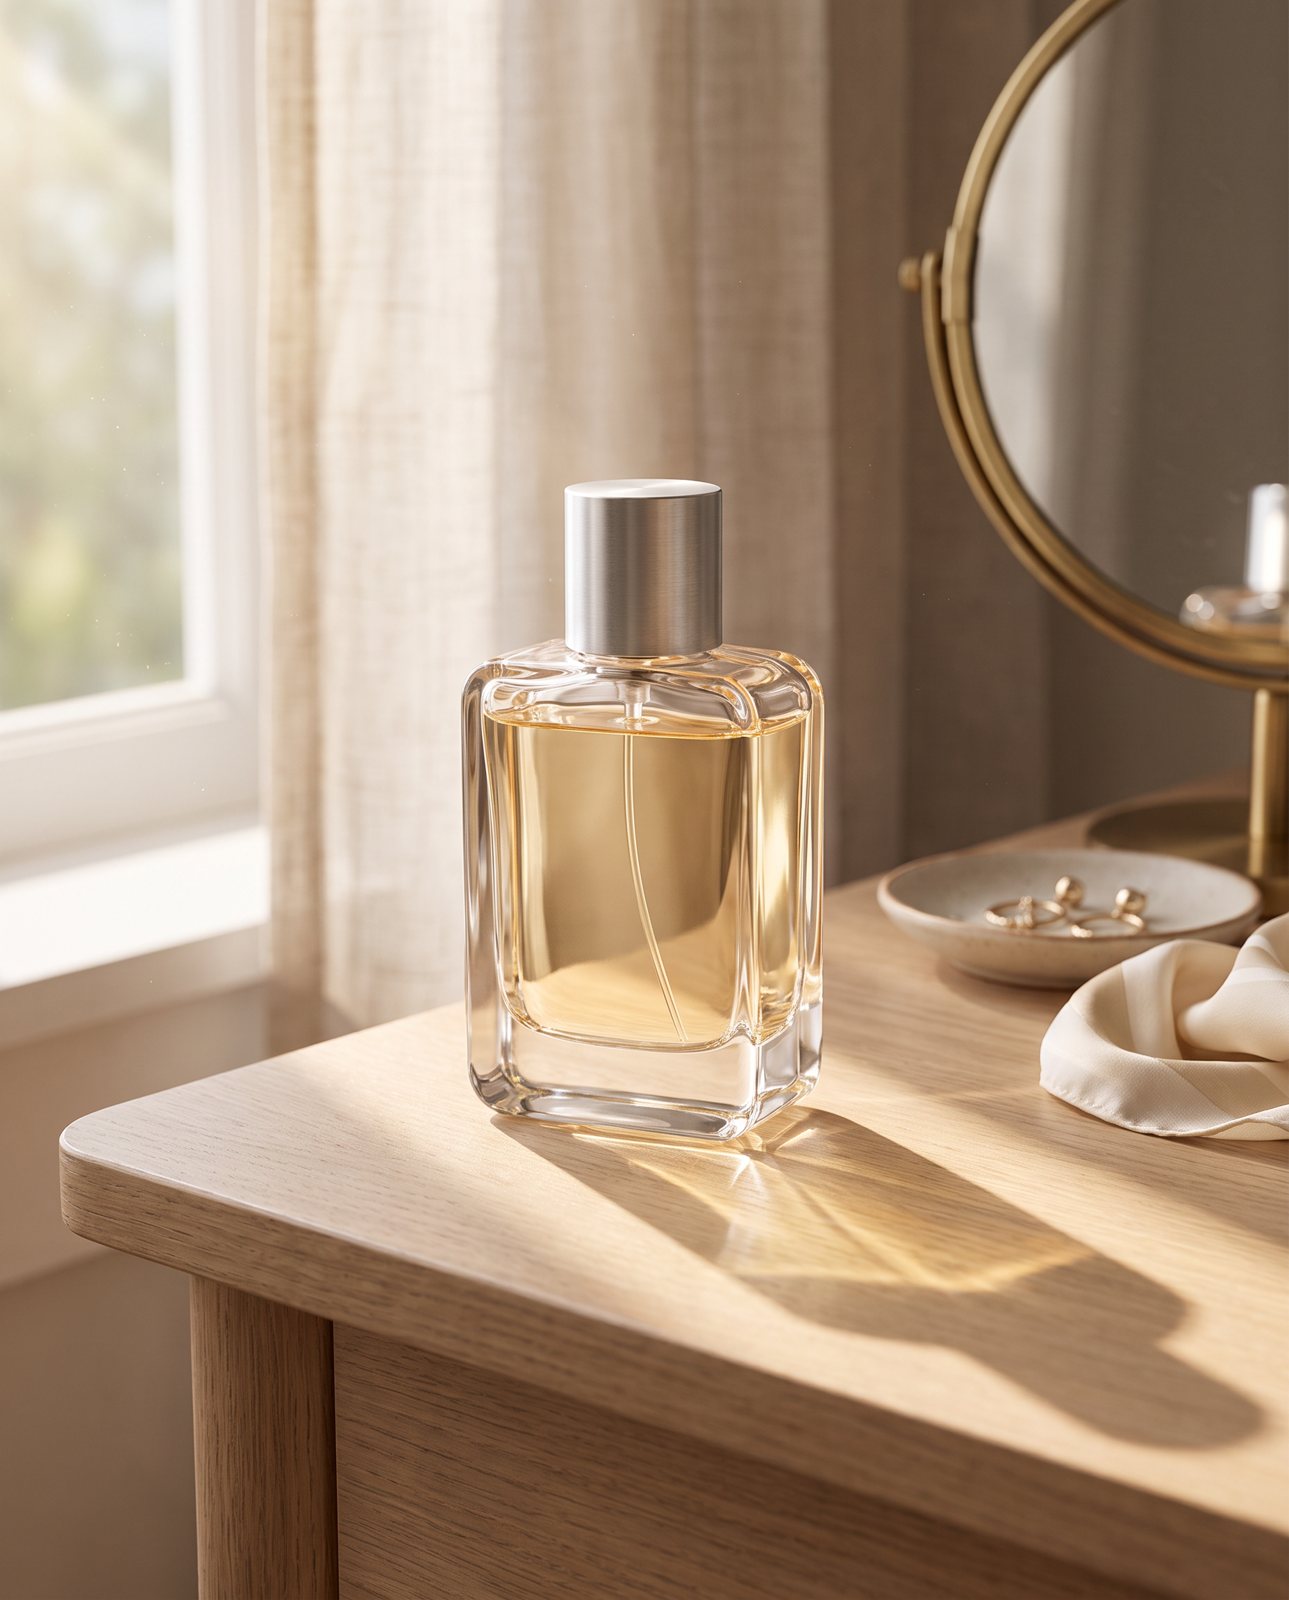
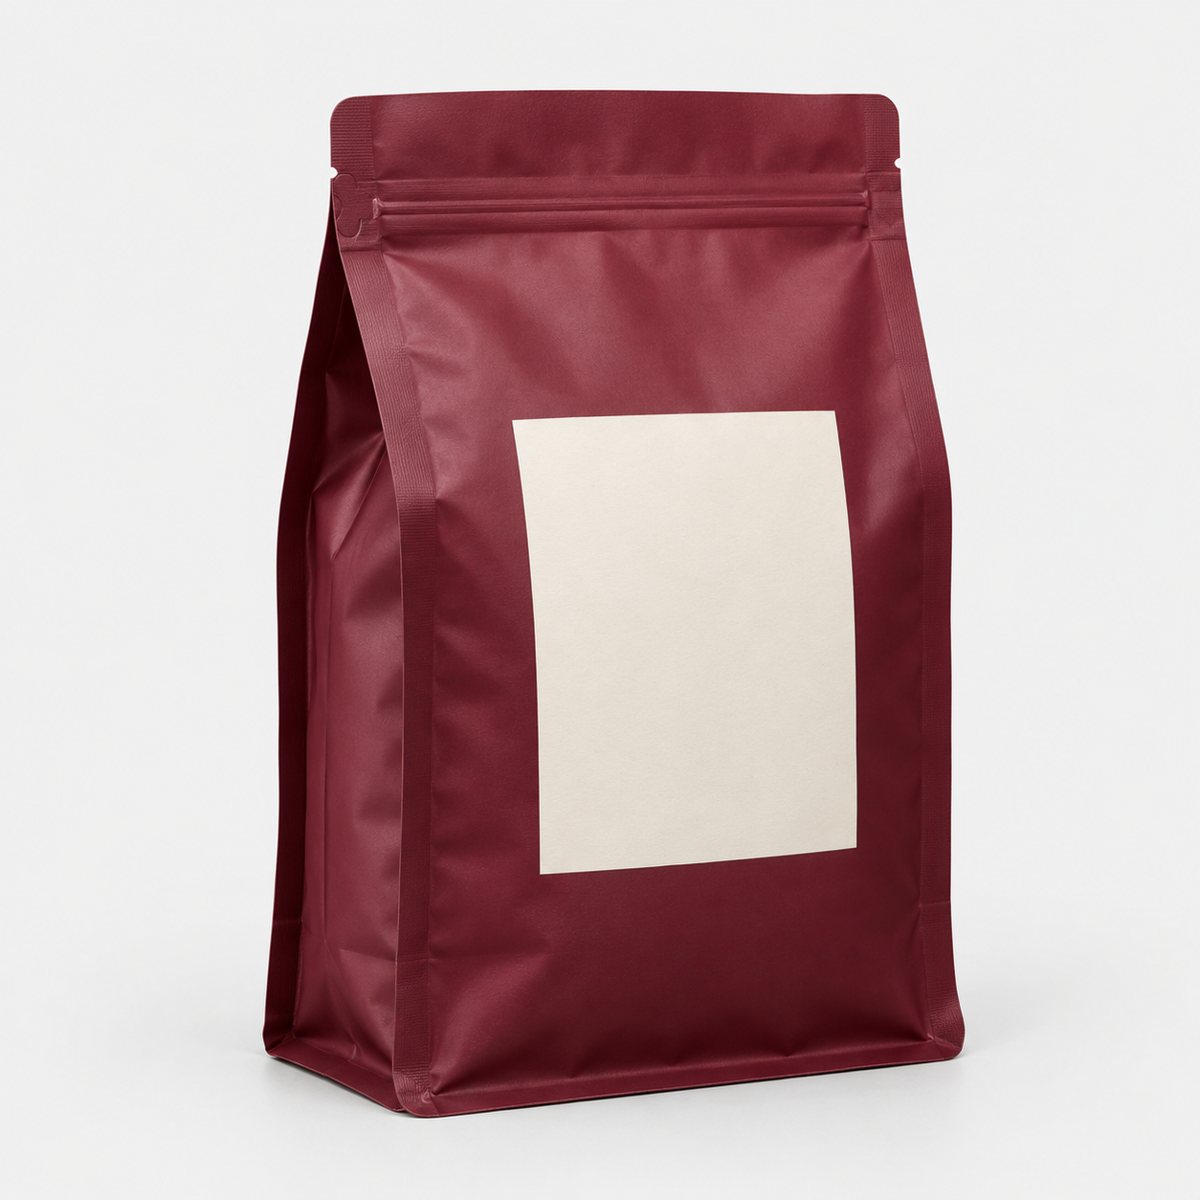
We'll also tell you where it struggles. In our demo run on 2 October 2026, we used 10 products (a perfume bottle, skincare jar, trainer, handbag, mug, steel bottle, coffee pouch, headphones, chair and necklace) across 3 scenes each. That's 30 shots; 27 were delivered and 3 were held back by the check. Colour drift needed extra attempts on a coral skincare jar and amber perfume. Brushed steel picked up its surroundings, and two steel bottle scenes failed all three attempts and were never delivered.
There are limits on what we'll shoot, too. It has to be a product you own or sell; well-known brands' products can't be shot. In a 1 October 2026 test with a famous-brand trainer, image services refused 5 of 14 generations, and small printed text came out garbled on most shots. Fine print is a weak spot. If your product's label is its whole identity, keep that in mind.
If you're weighing up costs for all this, our cheap product photos guide compares the options, and the guide to changing a product photo's background covers the other route.