The short answer
Cheap photos look cheap because of light, clutter, blur, colour and inconsistency. The camera barely comes into it. Your phone is already good enough; what it needs is soft daylight, a plain backdrop and a steady hand. A window, a sheet of white card and a stack of books cover all three.
Spend your money, if you spend any, where the buyer notices. That means accurate colour, sharp detail and a set of photos that looks like it belongs together. Everything else is polish. Get those three right and a shop on a tight budget can look like it has a studio behind it.
What makes a product photo look cheap
Let's name the problems, because you can't fix what you can't spot. Most of them show up the moment you look at a shop with fresh eyes.
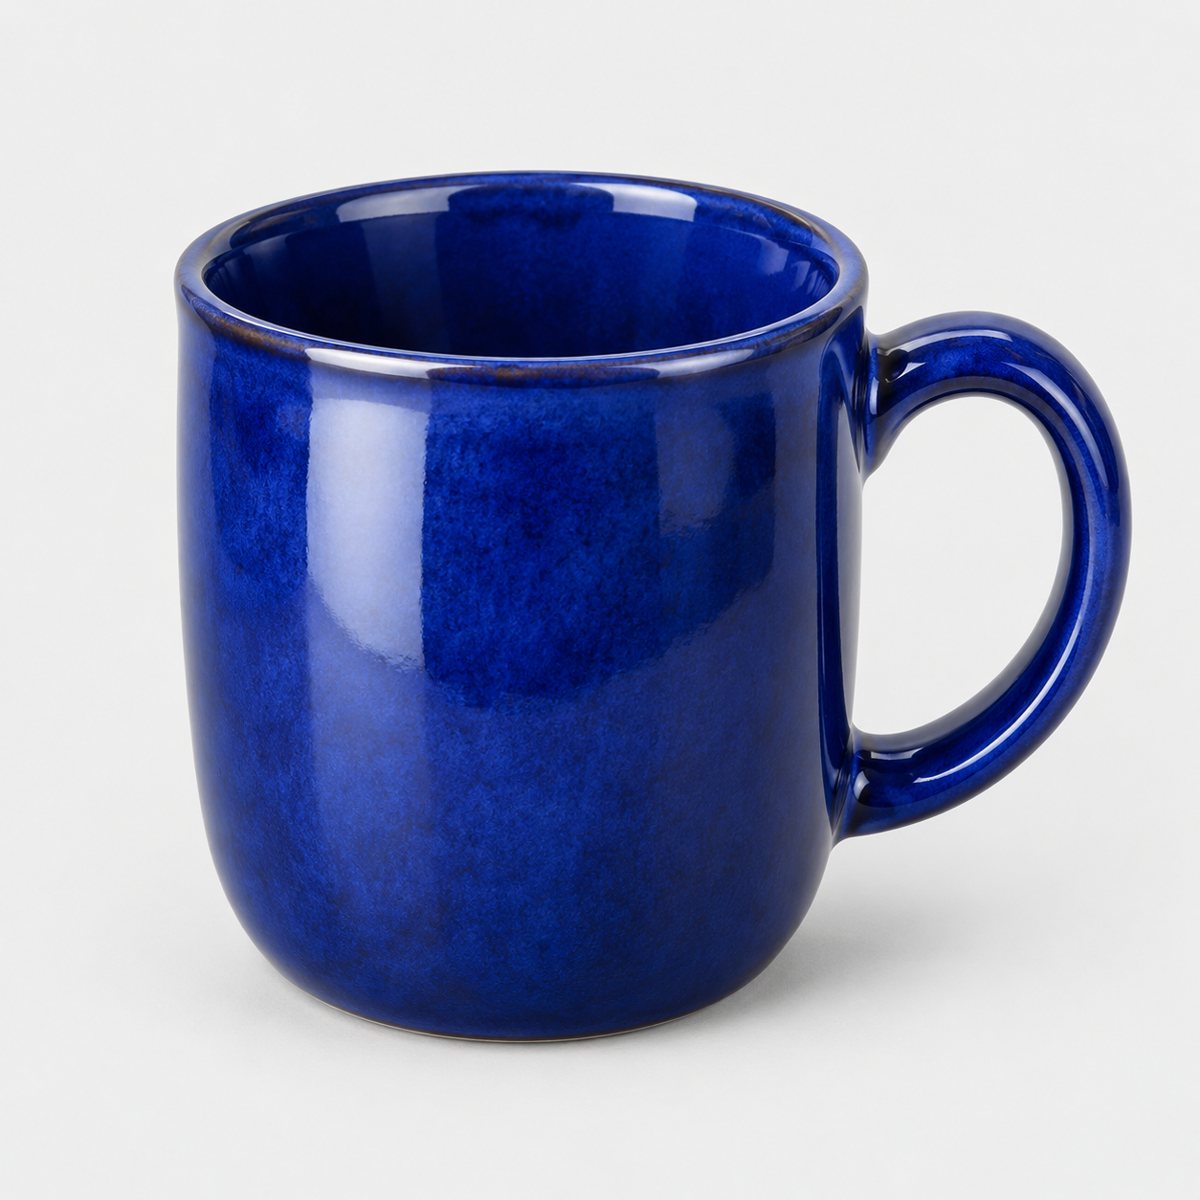
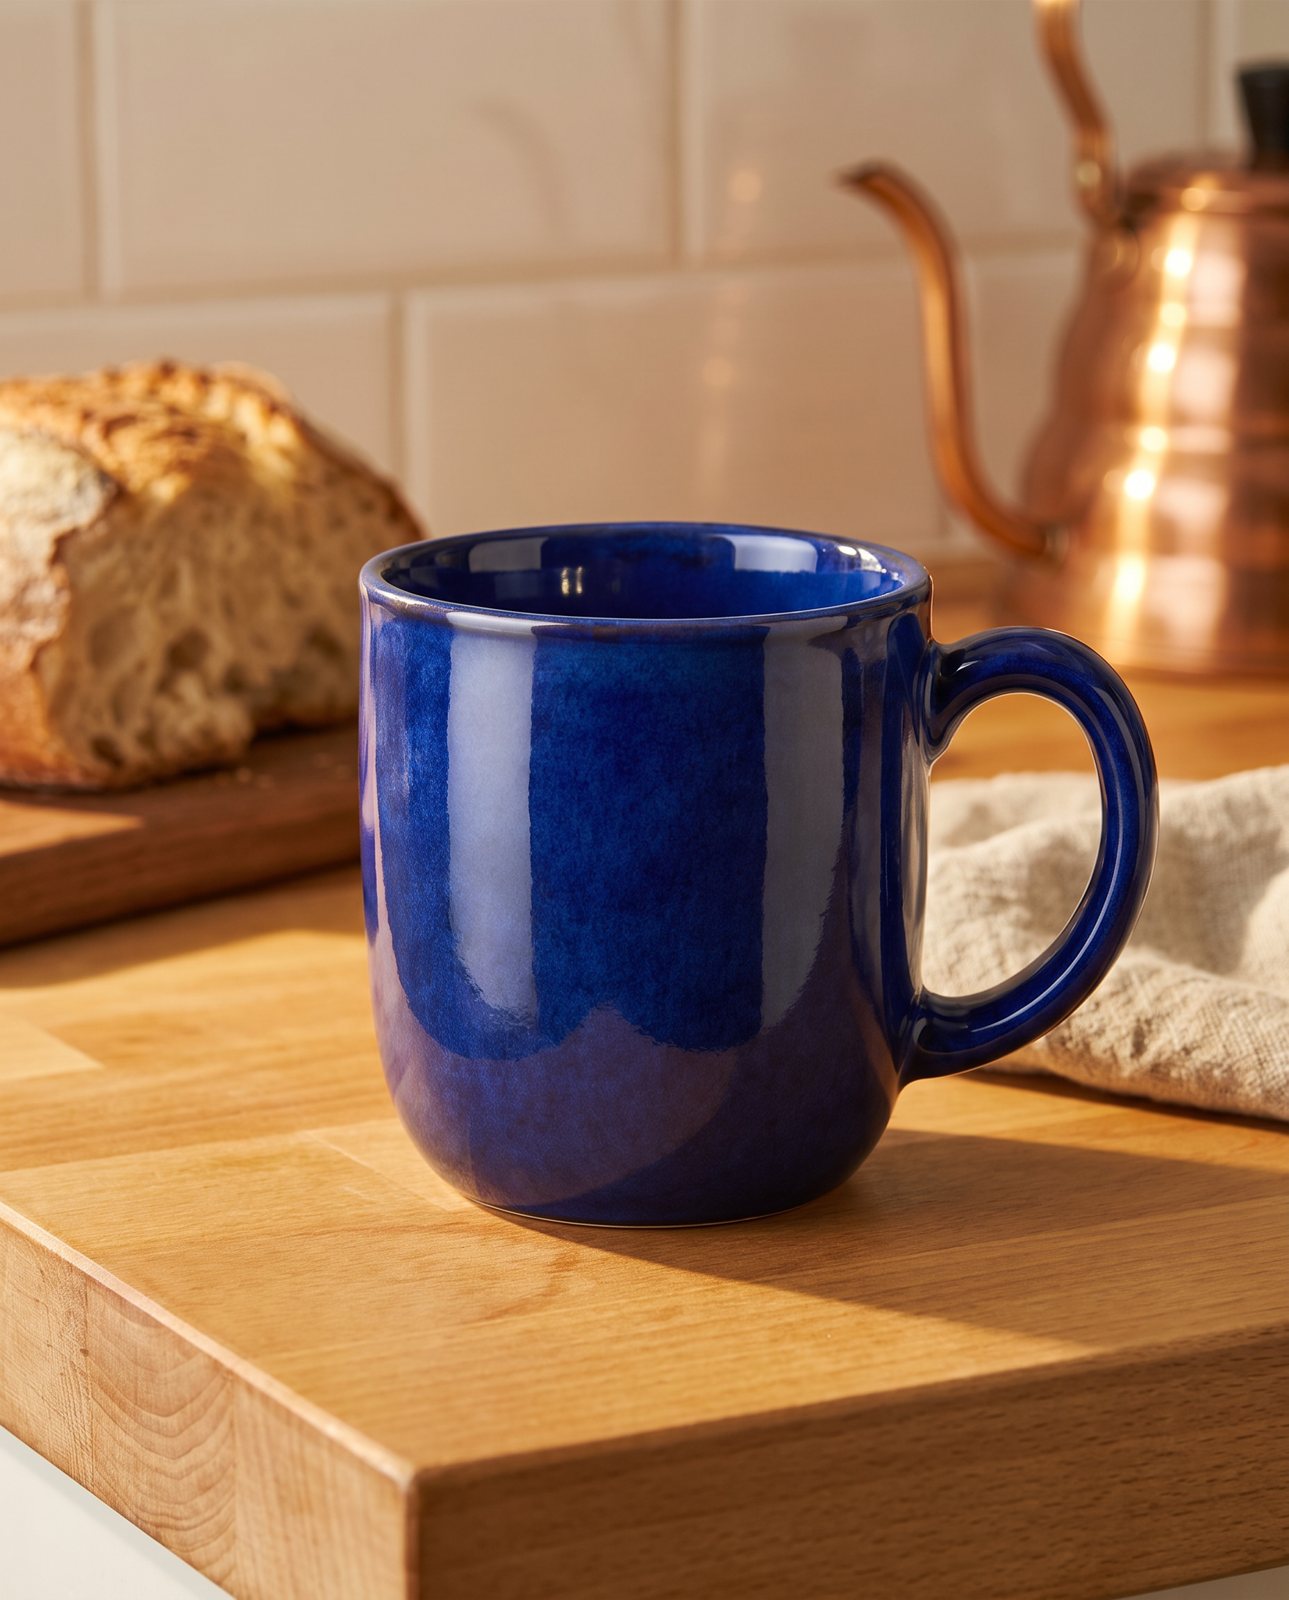
Harsh flash and hard shadows. Built-in flash fired at a ceramic mug gives you a white hotspot on the glaze and a dark, hard-edged shadow behind it. It screams "snapshot". Soft window light does the opposite: gentle shadows, even surfaces.
Mixed light colours. Photograph a knitted scarf under a warm lamp while daylight pours in from the side, and one half of the wool goes orange while the other stays grey-blue. Your eye ignores it in the room. A camera doesn't.
Busy backgrounds. A candle on a cluttered desk, with a mug, a charger cable and a half-read book all competing for attention. The buyer's eye goes everywhere except the candle.
Crooked angles. A leather wallet shot from slightly above and slightly to one side, with the horizon of the table sloping downhill. Nothing is quite square, so nothing looks careful.
Blur and noise. A silver ring photographed in dim light, the phone hunting for focus, the result grainy and soft. Nobody can see the stones or the engraving, and buyers assume the quality is as fuzzy as the picture.
Wrong colour. A sage-green tote bag that comes out looking grey because the white balance drifted. Shoppers order what they see, so a colour miss turns straight into disappointment.
Inconsistent crops across a shop. One soap bar fills the frame, the next sits tiny in the middle, the third is cut off at the corner. On a collection page it looks like six different sellers.
Tiny, low-resolution files. A ceramic vase uploaded at thumbnail size, so it turns to mush the moment someone zooms in. Zoom is how buyers inspect things, and a small file takes that away.
None of these needs money. All of them need a bit of attention.
What costs nothing: light, a backdrop and your phone
Four things you already own or can get for free will carry you a long way.
Daylight from a window. This is your studio light. Window light is soft, it's free, and it's the same colour all the way across the product. Pick a window that isn't getting direct sun, since a bright patch of sunlight brings the hard shadows straight back. A bright overcast day is ideal. Turn off the room lights so you aren't mixing colours.
White card or paper as a backdrop and reflector. One sheet does two jobs. Curved behind your product, it makes a clean, shadow-free background. Held opposite the window, it bounces light back into the dark side of the product. A sheet of white A3 card from a stationery shop, or even a clean sheet of printer paper taped up, will do. Plain beats clever here.
A phone camera. Whatever you've got in your pocket. Clean the lens first (really, wipe it; a smeared lens makes every photo hazy). Then use the tools built into the camera, because they matter more than the megapixel count.
On an iPhone, Apple's guide to the camera tools says it plainly. Tap the screen where you want the focus, then drag the exposure control next to the focus area up or down to adjust exposure. To keep those settings for the next shots, touch and hold the focus area until you see AE/AF Lock. Tap the screen to unlock (our guide to product photos with an iPhone goes further). That one gesture stops the phone refocusing and brightening and darkening between frames, which is a big reason a set of photos looks consistent. Android camera apps have their own versions of these controls, so check your phone's camera help for the names.
A stack of books as a tripod. Handheld shots wobble, and wobble is blur. Prop the phone against a pile of books at the right height, or lean it on a mug, and the shake disappears. Use the self-timer or a volume button so your finger doesn't nudge it.
That's the whole kit. It costs nothing, and it beats a pricey camera used badly.
A free home setup, step by step
Here's an afternoon's worth of work. Follow it in order and you'll have a usable set of photos by tea time.
- Set a table near a window. A small table or desk, pushed up to the window so the light comes in from the side. Side light shows shape and texture. Light from straight behind your phone flattens everything, and light from behind the product leaves it dark.
- Make a curved card backdrop. Tape one sheet of white card to the wall or a stack of books behind the table, then let it curve down and forward onto the tabletop without a crease. A curve means no hard line where the wall meets the table, so the background fades smoothly out of focus.
- Add a reflector card opposite the window. Stand a second sheet of white card on the far side of the product, angled toward it. You'll see the shadows on that side lift straight away. Move the card closer for a stronger fill and further for a subtler one.
- Prop the phone steady. Books, a mug, a small box. Get the lens roughly level with the product, or at the height you want the angle to be. Check the phone isn't tilted; straight lines should look straight on the screen.
- Tap to focus. Tap on the most important part of the product: the label on a jar, the stitching on a bag, the face of a watch. Wait for the focus square to settle.
- Lower the exposure slightly if highlights blow out. If the brightest parts of the product have gone pure white and lost their detail, drag the exposure control down a touch. A slightly darker photo is easier to rescue than one with burnt-out highlights.
- Lock it. Touch and hold until AE/AF Lock appears. Now every frame you shoot has the same focus and exposure.
- Shoot several angles. Front, three-quarter, side, top down, and the back if it matters. Take more than you think you need; you can delete the weak ones later.
- Add a detail shot. Get close on the texture, the clasp, the stitching, the print. This is the picture that answers "is it well made?"
- Add a scale shot. Put the product beside something familiar, or in someone's hand. Baymard Institute's usability research found that 42% of users try to judge a product's size from its product images, so a photo that shows scale answers a question buyers are already asking. A hand holding a small candle tells them more than any measurement in the description.
Done. You've got a consistent, well-lit set, and you haven't bought a thing.
Where not to cut corners
Free is great, but a few things are worth getting right, because buyers notice when they're wrong.
Colour accuracy. If the photo says dusty pink and the parcel arrives salmon, you've got a return, a refund and possibly a bad review. Check your photos on more than one screen if you can, and compare them against the real product in daylight. Colour is the one place where "close enough" quietly costs you money.
Sharpness and resolution. Buyers zoom. Amazon's Seller Central image guide says images with 1,000 or more pixels on the longest side enable zoom, and it tells sellers not to artificially enlarge small images. So a sharp, big-enough file isn't a luxury; it's the thing that lets a shopper inspect your product. For Shopify, the Help Center says 2048 x 2048 px usually displays best for square product images. Shoot at your phone's normal full resolution and don't shrink the originals until you have to.
Consistency across a collection. Shoppers browse in grids. Shopify advises using a consistent aspect ratio for all featured images so they display at the same size side by side on collection pages. Pick one shape (square is the easy choice), one background and one angle style, and stick to them. A tidy grid looks professional even when each photo is simple.
Never show something the buyer won't receive. If the photo includes props, don't let it imply they come with the product. If a colour is a limited run, show the colour you're selling. If you've retouched a flaw away, the buyer will find it on delivery. Honest photos protect you from returns and from complaints, and they earn repeat buyers.
If you sell on Amazon, read the Amazon image requirements before you shoot. The main image there has to sit on a pure white background (RGB 255, 255, 255), and Amazon recommends at least six additional images and one video.
Editing without making it worse
Most photos need very little editing. The skill is knowing when to stop.
Your phone's built-in editor covers the basics, and the basics are enough:
- Crop. Trim to your chosen shape and leave a little breathing room around the product. Crop every photo in a set the same way.
- Straighten. Fix a tilted horizon or a leaning product. It's the quickest way to look more careful.
- Exposure. Brighten a slightly dim shot or pull back a slightly bright one. Small nudges only.
- White balance. If whites look yellow or blue, shift the temperature until white card looks white. This is also how you fix colour, so check against the real product.
Now the traps. Heavy filters change the colour of the product, and colour is the thing you can't afford to get wrong. Over-sharpening adds crunchy halos around edges and makes a photo look processed. And upscaling a small file, blowing it up to hit a size target, just makes a bigger blurry picture. If a photo is too small, reshoot it; don't stretch it.
If what you want to change is the background rather than the lighting, that's a separate job with its own pitfalls, covered in the guide to changing a product photo's background. For a clean white background, though, the home setup above does it well, and there's more on that in the white background guide.
When paying for photos is worth it
Doing it yourself is the right call for most small sellers, most of the time. Still, there are cases where paying someone makes sense. Be honest with yourself about which one you're in.
You need many products shot consistently. Fifty items under the same light, at the same angle, in the same crop is a production job. A pro (or a good system) does it faster and more evenly than an afternoon with a window.
Tricky materials. Glass, polished metal and jewellery fight you. Glass picks up every reflection, polished metal mirrors the room, and small gemstones need controlled light to sparkle. If your range is mostly these, expect to struggle at home.
People or models. Anything involving a person, whether worn clothing, hands or a face, adds posing, consent and a lot of retakes.
A campaign with props and locations. If you want the product shown in a styled scene, with a set built or a place found, that's a bigger undertaking than a card backdrop.
We won't quote photographer prices here, because they vary a lot with the job, the location and the number of products. The product photography cost guide walks through what drives the cost so you can judge a quote when you get one.
How Product Photo Shots helps (and what it doesn't do)
Fair warning: this is our own service, so take it with that in mind. Here's what it does and where it stops.
If you have a sharp phone photo of your product, we place that exact product into new scenes. You upload one to three photos, on any background, as long as they're sharp and the whole product is in view. Before you pay, we study the photo and list every colour, shape and mark that must stay the same. That's free and takes about a minute.
Every shot is then checked against the original. If a shot changes the product, it's remade with a specific fix, up to three attempts in all. If it's still wrong, a person checks it, and it is never delivered as is. You also get one free redo per delivered shot. Every shot is reimagined with AI and labelled as such, and you can have square 1:1, portrait 4:5, story 9:16 or wide 16:9. A 3-shot order took about 4 minutes in testing.
Prices include VAT:
- 3 shots for £19 (£6.33 a shot)
- 5 shots for £29 (£5.80 a shot)
- 10 shots for £49 (£4.90 a shot)
- Custom orders of 11 to 40 shots at £4.50 a shot
You can see what the output looks like in the examples, and the pricing is laid out there too. For the broader picture of scene shots, there's a lifestyle photos guide.
Now what we don't do. We don't make plain white-background packshots; a home setup does that well for free, so use the steps above. We can't fix a blurry source photo: we need a sharp photo with the whole product in view. And we can't shoot well-known brands' products; it's only for products you own or sell.
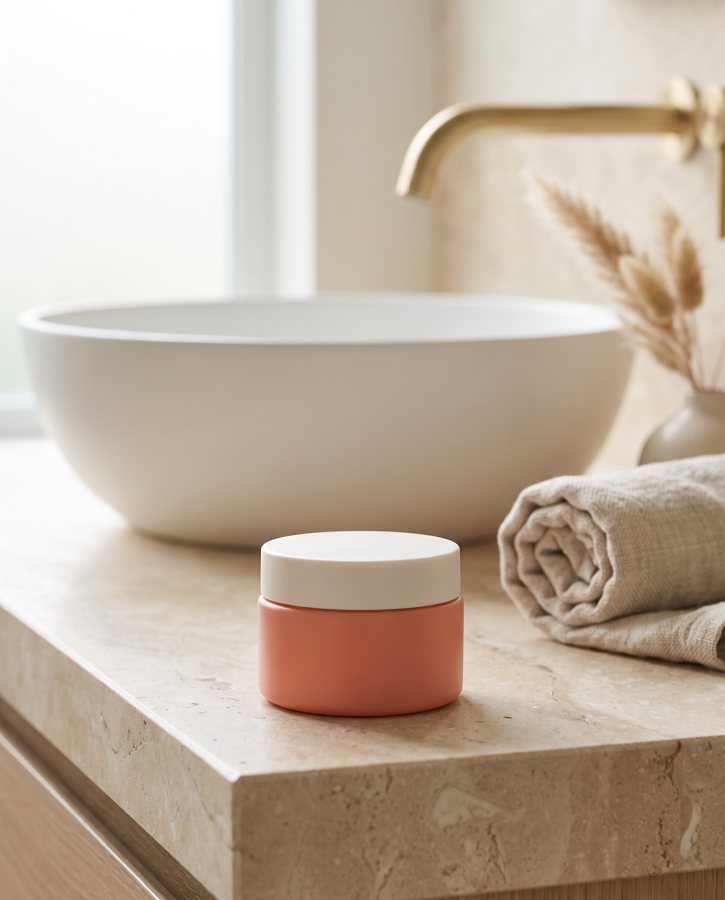
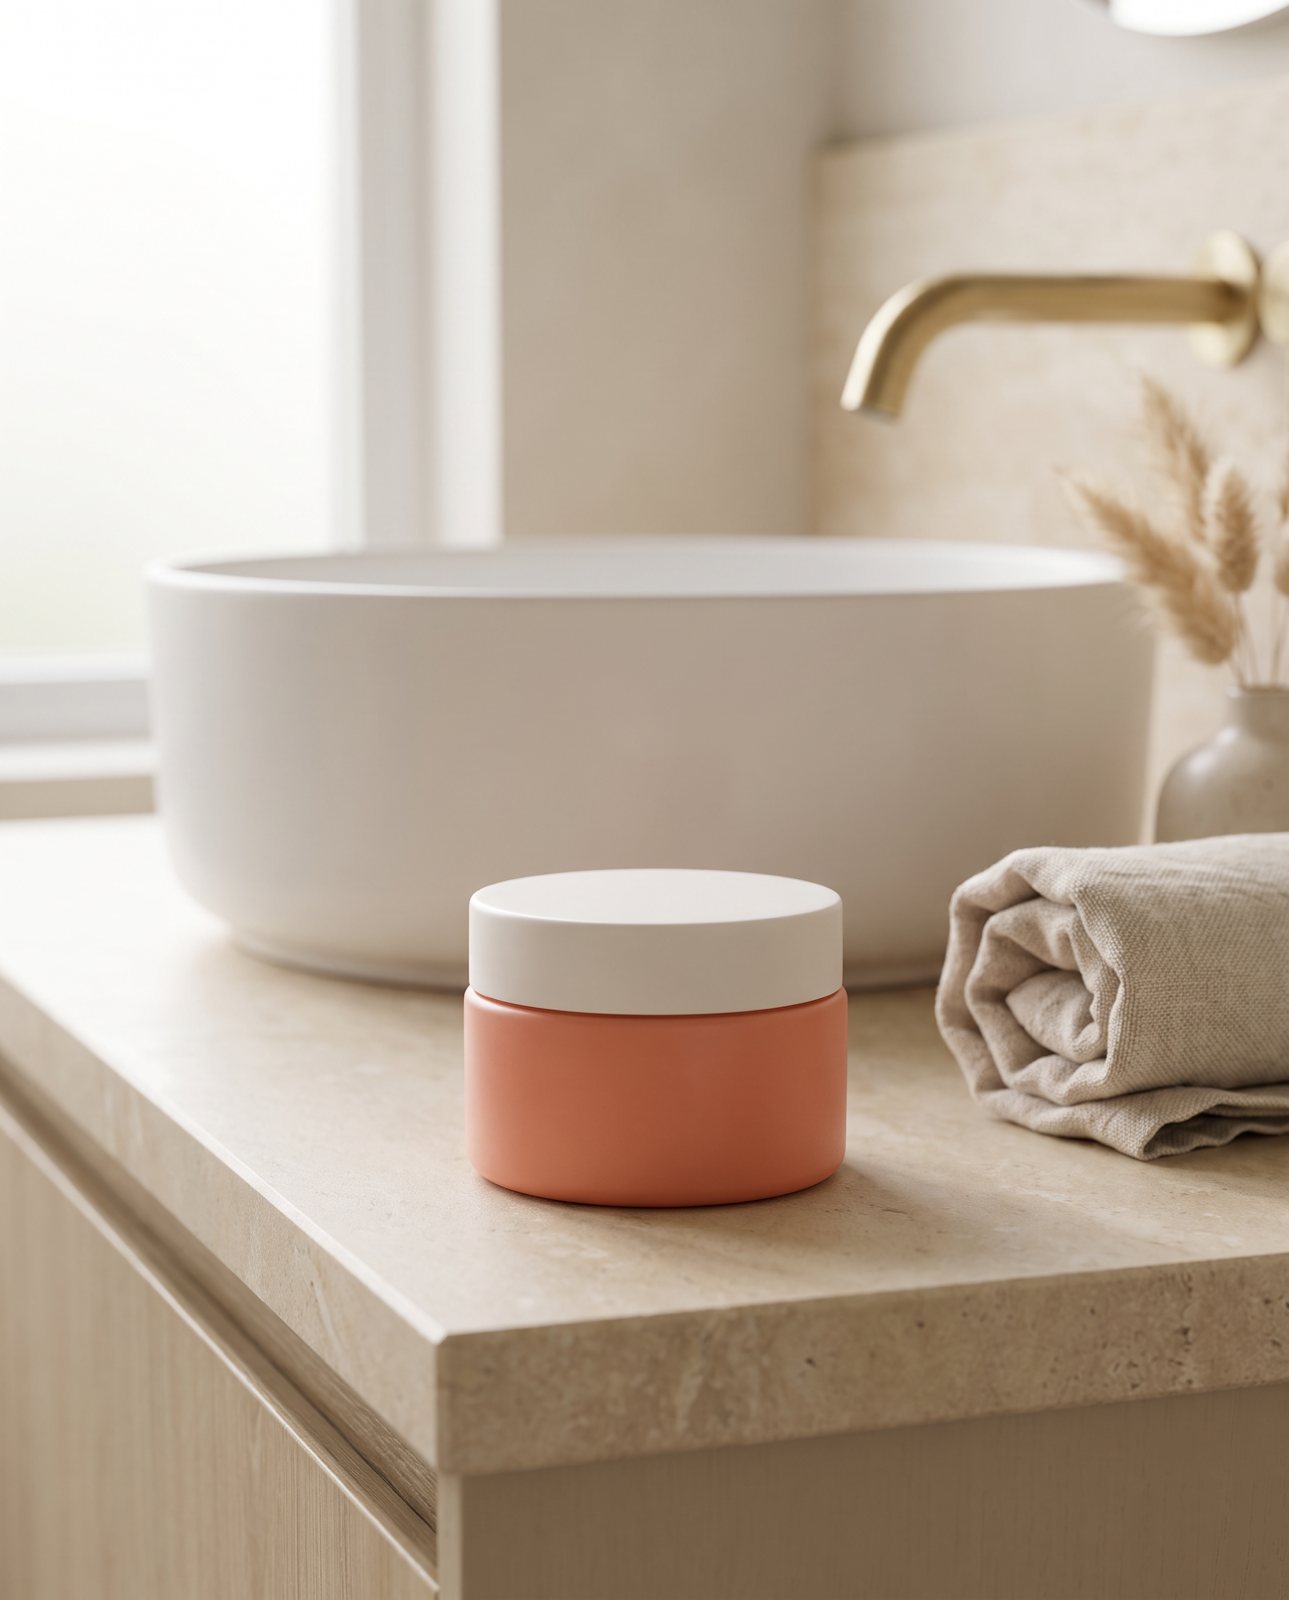
The honest numbers come from a demo run on 2 October 2026. We tried 10 products (a perfume bottle, skincare jar, trainer, handbag, mug, steel bottle, coffee pouch, headphones, chair and necklace), 3 scenes each, so 30 shots. Of those, 27 were delivered and 3 were held back by the check. The hardest materials were the ones you'd expect. Colour drifted on a coral skincare jar and an amber perfume, which needed extra attempts. Brushed steel picked up its surroundings, and two steel bottle scenes failed all three attempts and were never delivered.
A separate test on 1 October 2026 used a famous-brand trainer. Image services refused 5 of 14 generations, and small printed text came out garbled on most shots. So if your product leans on tiny printed lettering, expect it to be the weak spot.
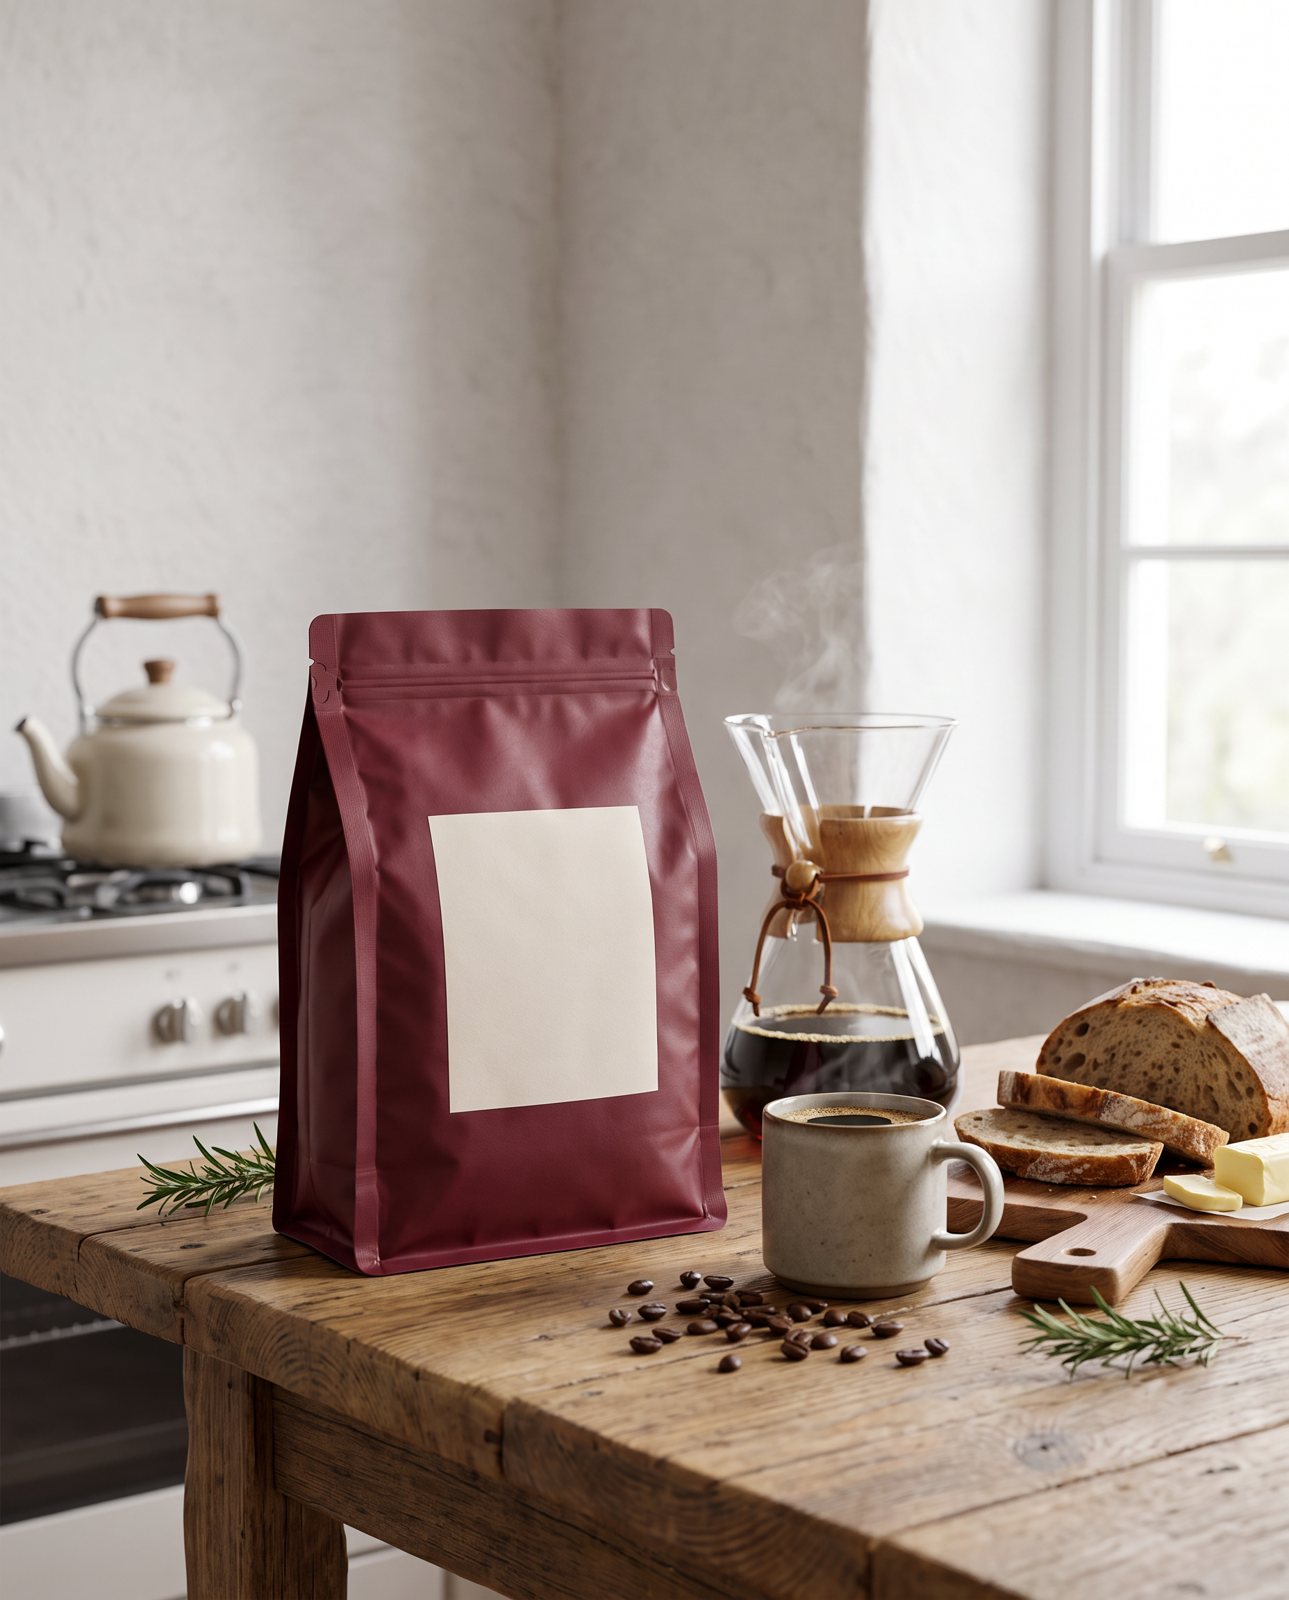
From our demo set: one plain photo of the pouch became this scene, checked against the original before delivery.