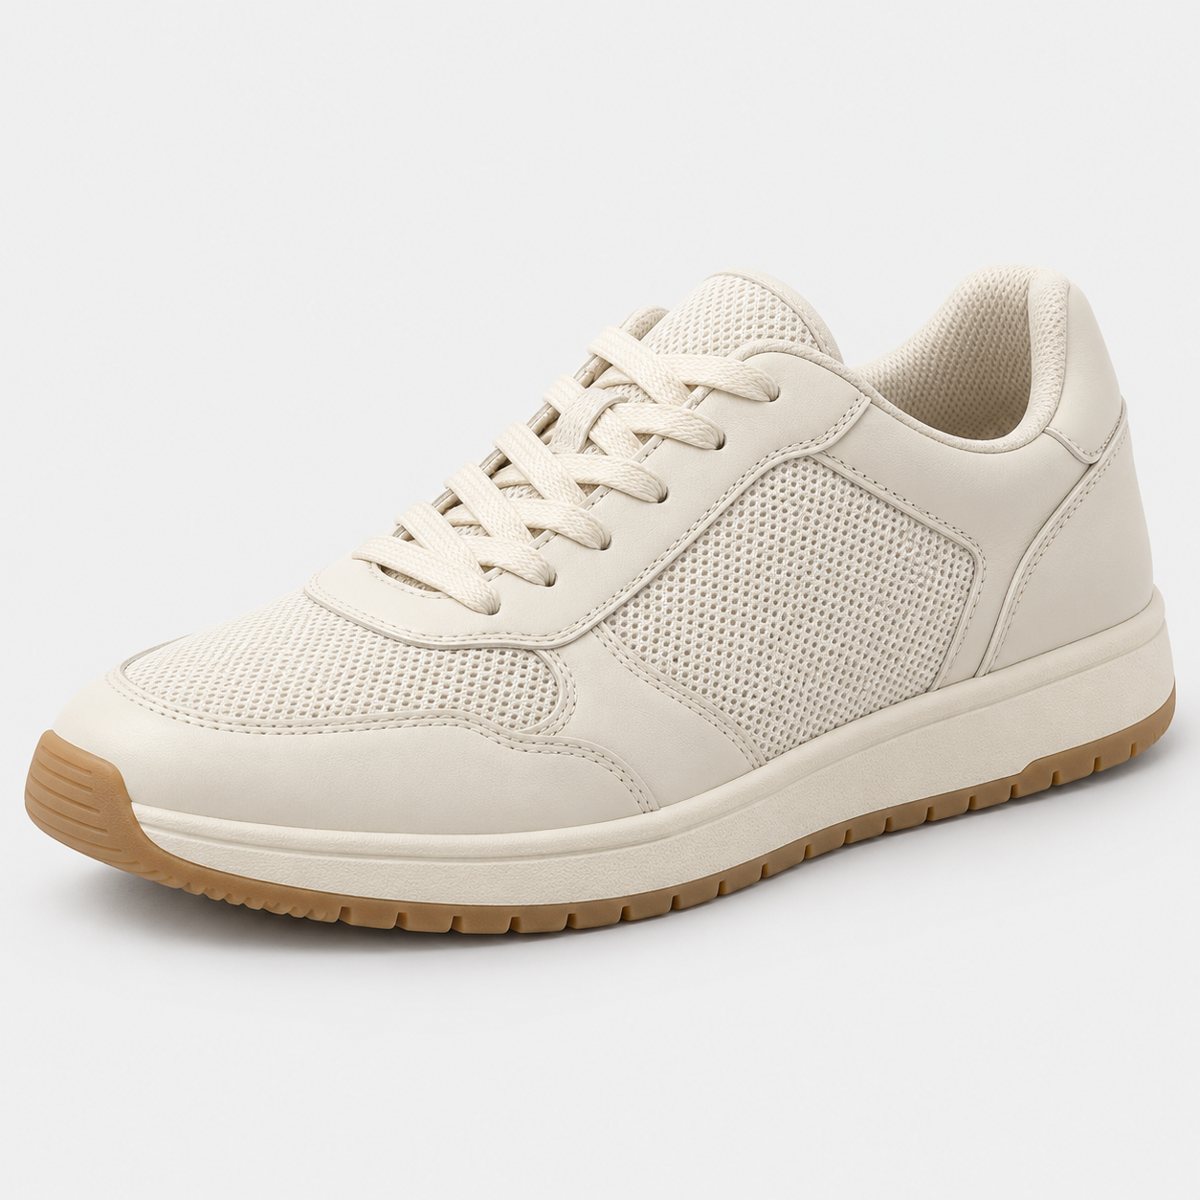
The short answer
Clean the shoe, stuff it so it holds its shape, set the laces neatly, and put it on a plain surface in soft side light. Then shoot a three-quarter view with the camera at shoe height, plus a side profile, a top-down shot and the sole. That's the whole recipe, honestly. Everything else in this guide is just detail on those few moves.
Shoes are fiddly because they're all curves, creases and shadows, and a tired-looking pair photographed badly looks cheaper than it is. But you don't need much kit. A window, a sheet of white card, a plain surface and a bit of patience will get you most of the way there, and a clean shoe in kind light counts for a lot.
What a shoe photo has to show
Think about what a buyer is actually doing when they look at a shoe online. They can't pick it up. They can't turn it over, squeeze the toe box or check the sole. So your photos have to do all of that for them, and the pictures that sell are the ones that answer questions before anyone asks them.
First, shape and profile. Is it a chunky trainer or a slim one? How high does the heel sit, how long is the toe? Buyers care about fit cues, even when they can't say so, which is why showing the whole shoe matters so much. Cropping in tight on the logo area might look arty, but it leaves people guessing about the shape, and buyers don't like to guess.
Second, material and texture. Leather looks different from mesh, which looks different from suede, and a buyer wants to know which they're getting. Soft light from the side does this brilliantly because it picks up grain and stitching without blowing anything out.
Then the sole and tread. This one gets forgotten constantly. A top-down shot and a sole shot tell people about grip, wear and construction, and for anyone buying running or gym shoes it's a big deal. Show the whole sole, not just a corner of it.
If the shoes are second-hand, condition is the other thing the photos have to carry. Scuffs, creasing, worn heels, a bit of fading on the insole: all of it should be visible somewhere in the set. I'll come back to that.
Last, how the shoe sits on the ground. A shoe that tilts, slumps or floats looks wrong in a way people feel before they can explain it. It should sit flat, look planted, and have a soft shadow underneath it. Get that right and the whole image feels trustworthy.
Cleaning, stuffing and laces
This is the unglamorous bit, and it's where most of the quality comes from. Before the camera comes out, spend ten minutes on the shoe itself.
Wipe off dust and light scuffs with a slightly damp cloth, and use a soft brush on suede or mesh. Check the midsole edges, because that's where grime hides and where a camera will find it. Remove any sock lint or fluff from the inside, too. It sounds fussy, I know, but lint shows up as bright little specks under side light and you'll be cloning it out later otherwise.
Now stuff the toe box. Scrunched paper works fine; so does tissue. You want the front of the shoe full and rounded, the way it would look with a foot in it, not collapsed and wrinkled across the top. An unstuffed trainer slumps, and the creases across the toe make it look much more worn than it is. A few balls of paper pushed in until the shape is right will change the photo completely. Go lightly around the ankle opening so you don't stretch anything, and don't let paper poke out where the camera can see it.
Laces next. Tie them neatly, with the bow centred and the loops even, and make sure the eyelets are all threaded and nothing is twisted. If the laces are grubby, either wash them or swap in a clean pair. Fiddly, absolutely, but laces are right in the middle of the frame and every slightly wonky bit of them gets noticed.
Then pick a surface that contrasts with the shoe. A cream trainer on a cream surface vanishes. A black shoe on dark grey does the same. Pale shoes want something mid-toned or a clear colour, and dark shoes want something light. A plain surface that separates the shoe from the background by colour does half the work of making the outline readable.
For second-hand shoes, show the wear honestly. Don't hide the scuff on the toe or the creasing at the flex point; photograph them, close up if need be, and let the buyer see exactly what they're getting. It builds trust, and that's worth more than a flattering angle. Second-hand sellers should also check the platform's own help page for its photo rules, because they differ and they change. I'm not going to state any here, so look them up where you're selling.
Angles, light and shadows
Get the camera down to roughly shoe height. This is the single biggest change most people can make. Shooting from standing height, looking down at the shoe, squashes the profile and makes the toe look huge and the heel tiny. Crouch, or put the shoe on a box and the camera on a stack of books, so the lens is level with the middle of the shoe. If you're using your phone, the guide to product photos with an iPhone covers the practical bits like steadiness and focus.
Your main image should be the three-quarter front view. Turn the shoe so you're seeing the toe and the outer side at once, with the toe pointing slightly towards the camera. It shows the length, the width, the profile and the front all in one frame, which is why it makes a good main image.
After that, build out the set. A clean side profile, straight on, shows the silhouette and the sole thickness. A heel shot shows the back, the pull tab and any wear on the counter. A top-down shot shows the lacing, the width and the toe shape from above. And the sole shot shows the tread. That's five views, and for most sellers it's plenty.
Both a pair together and a single shoe are useful. A pair shows the product as someone would actually buy it, usually with one shoe angled slightly in front of the other. A single shoe gives you a cleaner outline and lets the detail breathe. If you only do one, do the pair for the main image, and then single shoes for the rest.
Now the light. Soft window light from the side is the easiest set-up there is. Put the shoe near a window, with the light coming across it rather than from behind the camera or straight above. Daylight that's diffused, such as a bright overcast day or a window with a thin curtain, gives you gentle shadows and good texture.
Then bounce some of it back. Stand a sheet of white card on the opposite side of the shoe from the window and the shadows on that side open up. Move the card closer for lighter shadows, further away for more shape. It costs next to nothing and it makes a visible difference. The lighting guide goes into much more detail on this.
Keep a soft grounding shadow under the shoe. If you wipe it out completely, the shoe looks like it's floating, and that's a common giveaway of a rushed edit. A gentle shadow under the sole and just behind the heel tells the eye the shoe is resting on something. If you want a clean white backdrop, the white background guide shows how to get there without losing that shadow.
Scenes that put a shoe in context
Plain-surface shots are your workhorses, but shoes are one of those products that really benefit from a bit of context. A trainer on a pavement says something different from the same trainer on a gym bench, and both say something different from one on a coloured block in a studio.
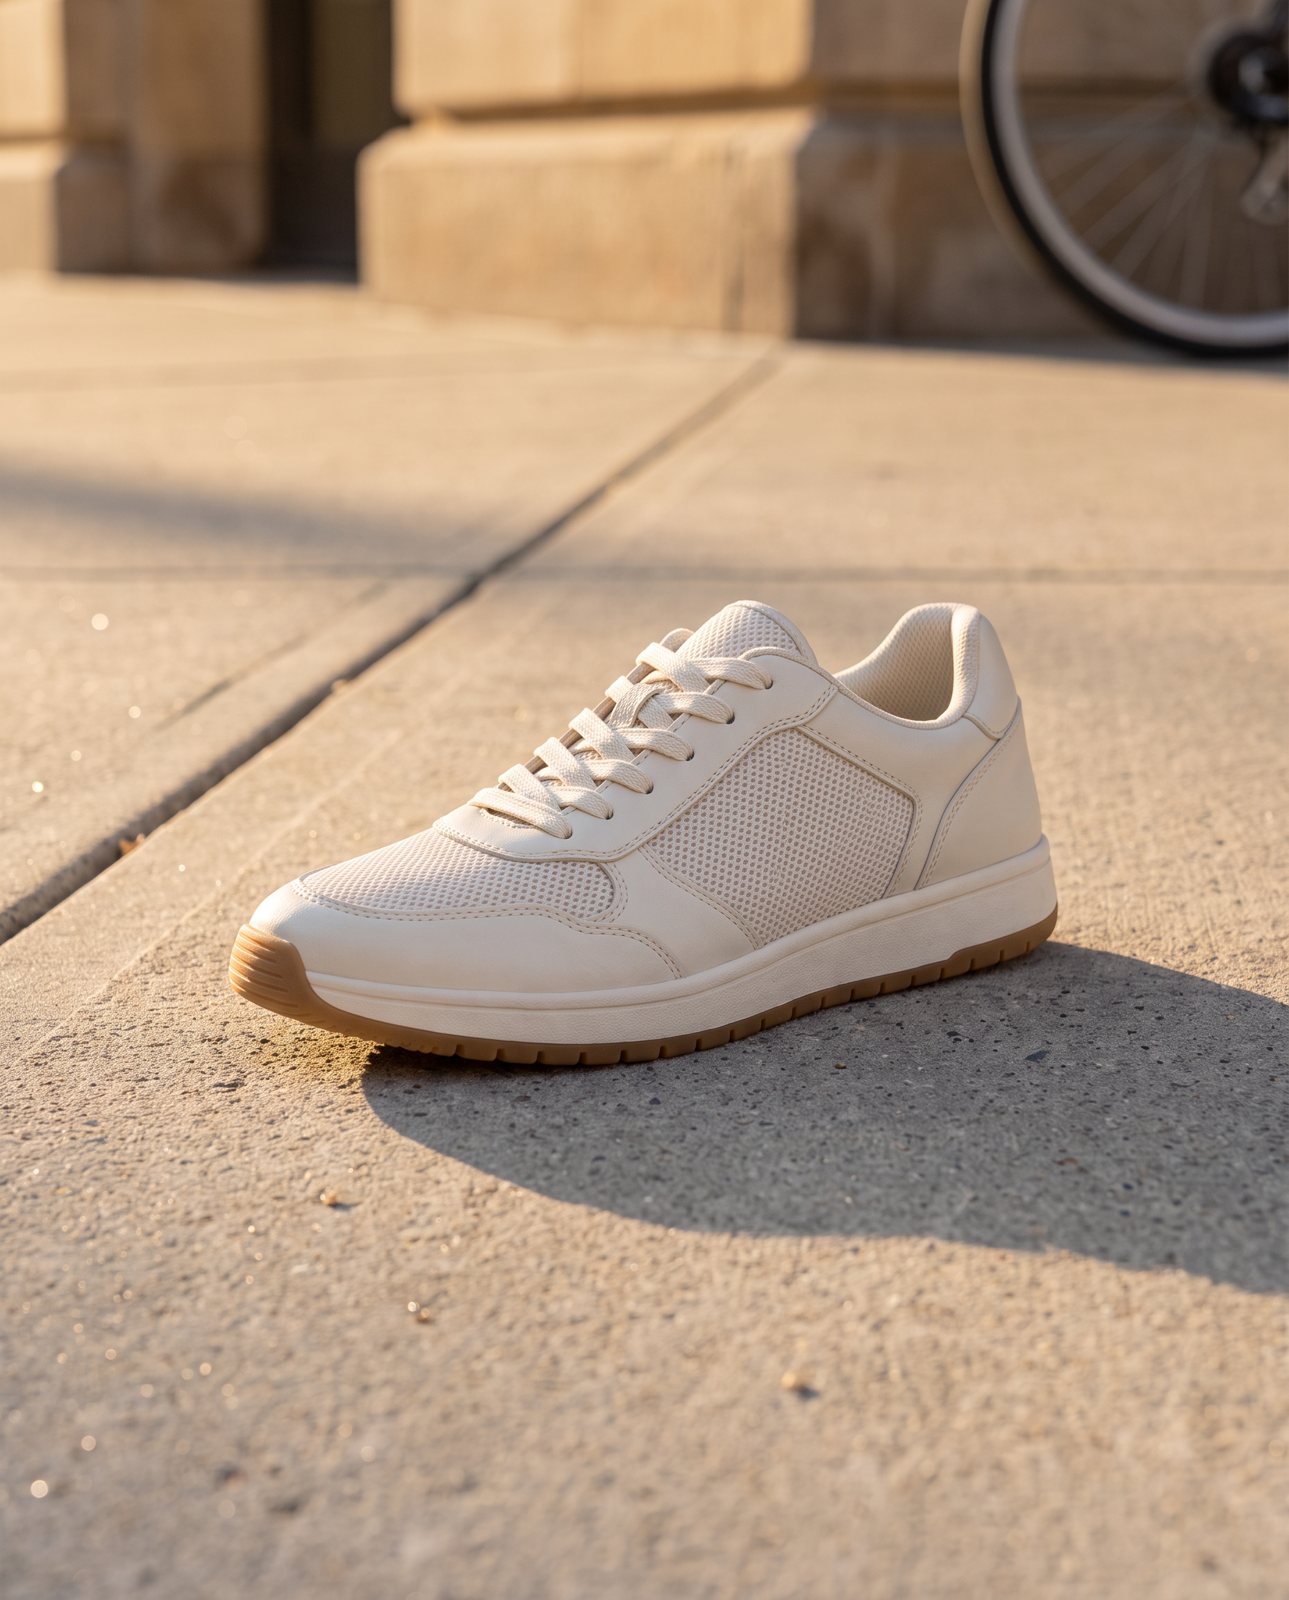
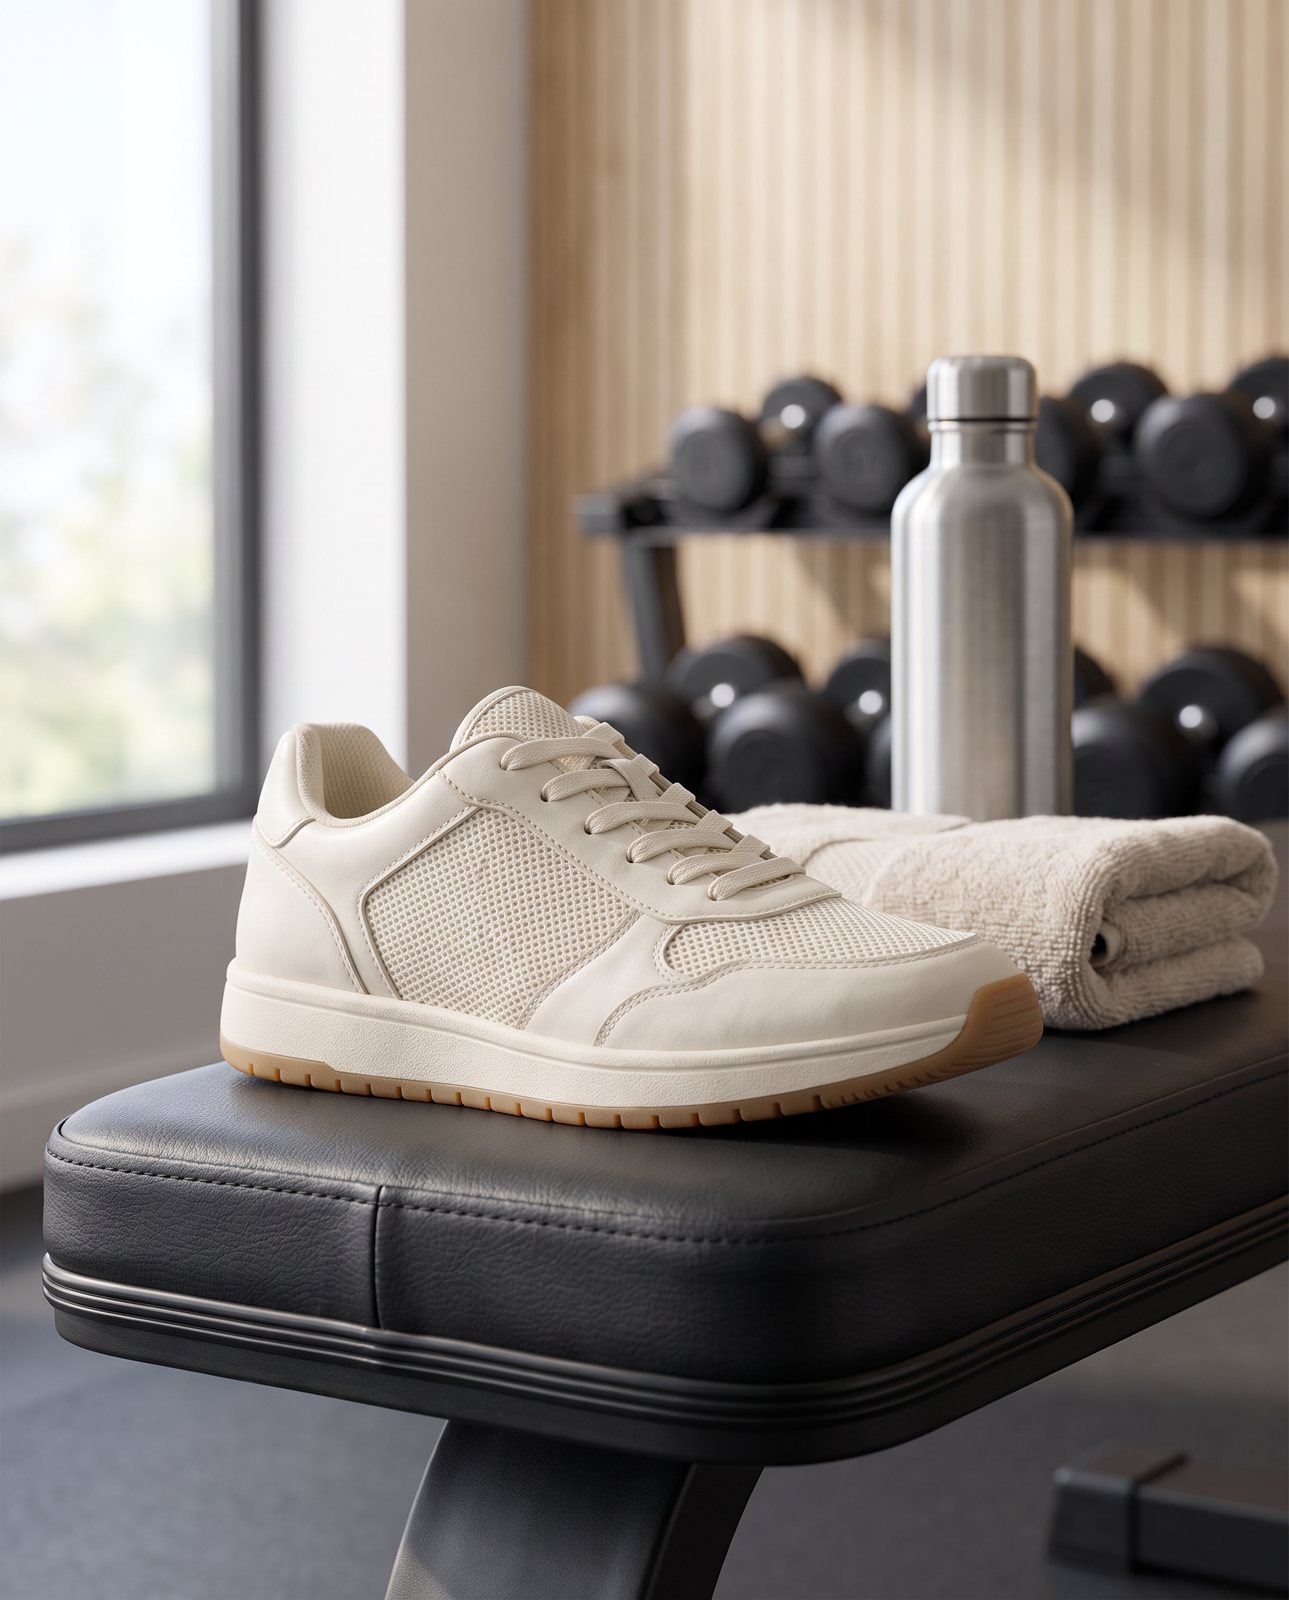
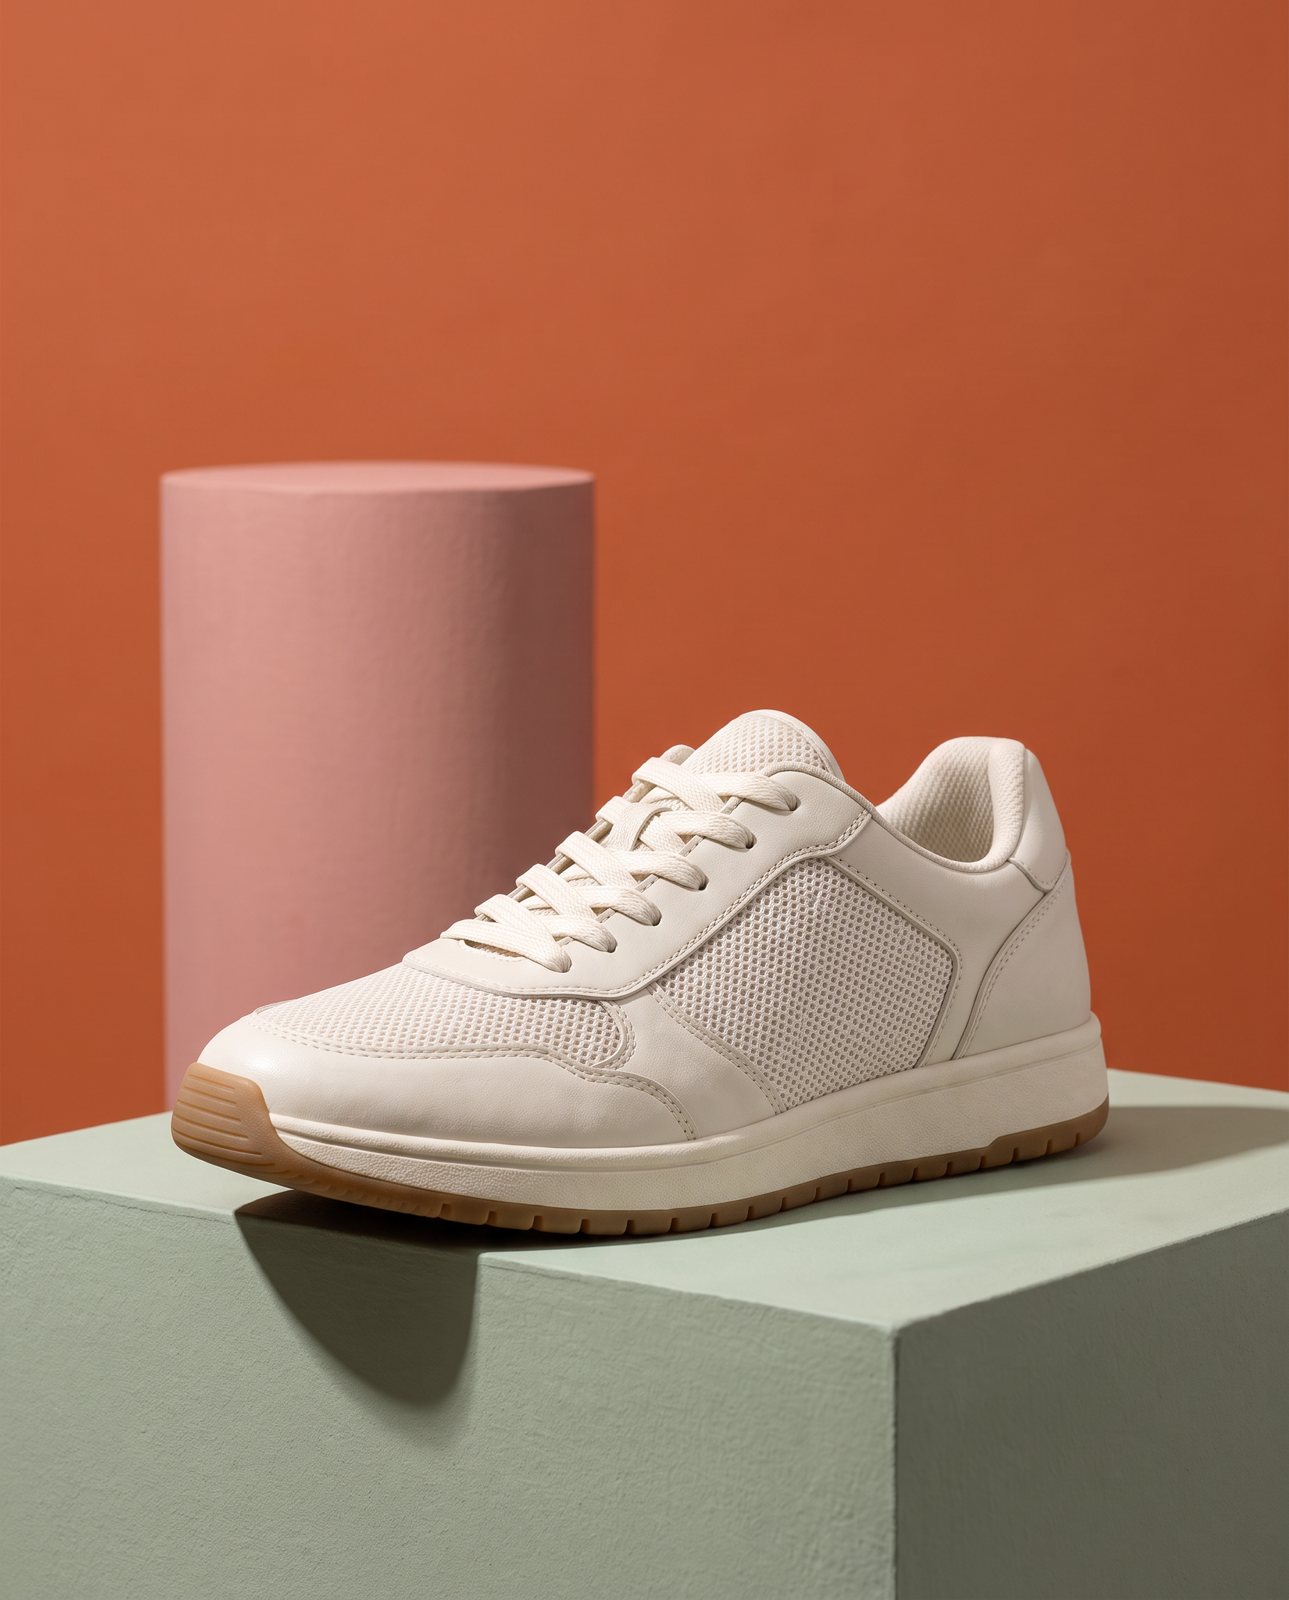
Pavement scenes suit everyday and street-style shoes. Think daylight, a bit of texture underfoot, maybe a kerb edge in soft focus behind. A gym bench works for anything sporty: it suggests use without needing a person in the shot. And a coloured studio with blocks and plinths gives a more editorial look, where the shoe sits at different heights against clean colour. It's the kind of image you see on brand sites and in magazines.
Whichever you choose, two rules matter. Keep the shoe the clearest thing in the picture; if your eye goes to the bench or the background first, the scene is too busy. And keep the shadows consistent with the light. If the light is coming from the left, the shadow should fall to the right, softly and in the right direction. Mismatched shadows are what make a composite look fake, and viewers spot it without being able to say why.
For our own demo, we took one cream trainer and put it in three scenes: a sunlit city pavement, a gym bench and a colourful editorial studio. Same shoe, three completely different moods. More on that in a moment.
How Product Photo Shots helps (and what it doesn't do)
Right, this is the bit where I talk about us, so I'll keep it honest.
Product Photo Shots starts from your one photo of the shoe and puts it in new scenes. That's the job: you give us a decent, clear photo of your product, and we make lifestyle product photos around it. Before you pay, we study the photo and list what has to stay the same, like the colour, the shape, the sole and the stitching. That check is free and takes about a minute (our precheck measured 11 seconds on 2026-10-01).
Every shot is reimagined with AI and labelled as such, and the files carry standard AI-provenance metadata. If a shot changes the product, we remake it with a specific fix, up to three attempts in all. If it's still wrong, a person checks it. It is never delivered as is. You also get one free redo per delivered shot.
In our demo run on 2026-10-02, we used 10 products across 3 scenes each, so 30 shots, of which 27 were delivered and 3 were held back by the check. The trainer was an unbranded everyday one in cream leather and mesh with a gum sole. It went into an urban pavement, a gym bench and a colourful editorial studio, and all three were delivered. The trainer scenes passed on the first attempt, which isn't guaranteed for every product.
Pricing is simple, in US dollars, before any sales tax: 3 shots for $26 ($8.67 a shot), 5 shots for $40 ($8), 10 shots for $67 ($6.70), or a custom run of 11 to 40 shots at $6.10 a shot.
Now the limits, because there are a few. We don't make a pure white packshot better than a lightbox. If all you need is a clean white-background image, a bit of card, good light and a tidy edit will do that job well, and you don't need us for it. Our use is the scenes.
Then brands. We shoot products you own or sell. Well-known brands' products can't be shot, because image services refuse them, and customers are told before paying. In a test on 2026-10-01 with a famous-brand trainer, image services refused 5 of 14 generations, while an unbranded product had none refused. In the same test, small printed text on the product, like a tongue label, came out garbled on most shots. Logos and large text held up, but tiny print didn't. So if your shoe has a detailed label that matters to the listing, show it in a real, close-up photo, not a generated one.