The short answer
Start with a sheet of plain matte card or paper, curved into a sweep so it runs from your table up the wall with no line where the two meet. That's the whole starting kit. Pick a colour that contrasts with your product: light products on a mid or dark sheet, dark products on a light one. Done.
Add a real surface only when the product needs context. A candle looks better on a slab of wood-look board than on a bare sheet. A ceramic mug might want stone. But if you're unsure, stay plain. A clean backdrop never fights your product, and it's the one thing you can get right on the first day and keep using for years.
Paper and card
Matte paper, card and foam board are the workhorses of home product photography. They're cheap, they're clean, and when one gets marked you bin it and cut another. That last point matters more than it sounds. A backdrop that costs you real worry to replace is a backdrop you'll keep using long after it's grubby, and grubby shows.
Large paper rolls are the best option if you shoot often. Unroll enough to cover the table and climb the wall behind it, and you've got a seamless sweep with no joins to hide. When the bottom stretch gets scuffed, you pull down a fresh length and cut the old one off. Simple.
Sheets of card work just as well for small items. Jewellery, cosmetics, a handful of stationery: you don't need a roll for those. One large sheet, bent gently into a curve, will do.
Now the warning. Avoid glossy card. It looks smart in the shop and terrible in the picture, because it reflects your light straight back at the lens and puts bright patches exactly where you don't want them. Matte is the rule. If you can see yourself, or a window, in the surface, put it back.
Foam board is worth a mention too. It's rigid, so it holds a flat table top without sagging, and it comes in plain white and black. Cut it to fit, wipe it down, and you've got a surface that stays put while you shoot. For the lighting side of all this, the guide on product photography lighting covers how to get soft, even light onto whatever backdrop you choose.
Fabric, wood and stone surfaces
Paper is the clean option. Fabric, wood and stone are the contextual ones, and they do a different job.
Fabric first. Linen, cotton, muslin and felt can all look lovely under a product, especially soft goods, candles and anything that wants a homely feel. But fabric needs ironing. Every crease, fold and wrinkle will show, and in a close-up they look like small mountain ranges. Iron it flat, lay it down carefully, and check the edges before you press the shutter. If it won't lie flat, tape or clip it at the back where the camera can't see.
Wood and stone-look surfaces give you context and texture. A wooden board says handmade, natural, warm. A pale stone surface says clean, calm, a bit upmarket. You don't need real marble or a proper butcher's block. Tile offcuts and board offcuts work well as table tops, and they're often free or close to it if you ask at a builders' merchant or a tile shop. A single tile under a small product is a perfectly good stage.
Keep them clean. Dust, crumbs, water rings and fingerprints all read as dirt in a photograph, even when your eye skips over them in the room. Wipe the surface just before you shoot, and wipe it again if you've moved the product around.
One more thing, and it's the one people forget: keep the texture low in contrast. A surface with strong grain, deep veining or a bold pattern will compete with your product for attention. You want the texture to sit quietly behind it. If your eye goes to the table first, the table is too loud.
Choosing a colour
Colour is where most people overthink it. So here's the plain version.
Contrast with the product. Light products look best on a mid or dark backdrop, and dark products look best on a light one. A white ceramic jar on a white sheet vanishes at the edges. Put it on a soft grey or a muted green and it stands up off the page. The same goes in reverse: a black leather wallet on charcoal is a puddle, but on pale stone or cream it reads instantly.
Colours that echo your brand can work well, as long as they don't overpower the product. If your packaging is a deep teal, a softer tint of that teal behind the product ties the pictures together across a shop. It makes a set of images look like they belong to one business. That counts for a lot when a buyer scrolls through a whole page of your listings.
Neutral is the flexible choice. Warm grey, soft beige, off-white and mid-grey go with almost everything, and they let you shoot new products without changing the backdrop each time. If you're building a catalogue and want consistency, neutral is the safest bet.
Avoid a colour close to the product's own. A tan leather bag on a tan sheet is the same mistake as white on white. The product disappears, and you spend editing time trying to bring it back.
And watch strong colours with shiny products. A bold red or deep blue backdrop will cast a tint onto anything glossy. Chrome, glass, polished metal and varnished wood all pick up colour from what's around them, and they'll pick up that red whether you want it or not. Strong colour is fine for matte products. For shiny ones, tone it down.
Sweeps, seams and horizon lines
The goal of a sweep is simple: no visible line where the table meets the wall. That line is called the horizon line, and it's the giveaway that you've photographed something on a table in front of a wall. Remove it and the background reads as one smooth space.
Here's how to do it.
- Set your sheet of paper or card at the back of the table and tape it to the wall, as high as you need to cover the camera's view.
- Let the sheet fall forward and curve down onto the table top, rather than folding it at a hard angle.
- Tape the front edge to the table so the curve holds its shape.
- Check the curve through the camera, not just by eye, because the camera sees what you tend to miss.
A gentle curve is the aim. A tight fold makes a visible crease, and a crease catches light and draws a line right across your background. If you see one, loosen the curve and try again.
Then there's distance. Keep the product forward from the backdrop, rather than pushed up against it. That gap does two jobs. It lets the background go soft and slightly out of focus, which hides small flaws like faint marks and paper texture. And it stops your product's shadows landing on the backdrop, where they'd show as dark smudges behind the item.
A few centimetres can be enough on a small table. More is better if you have the room. Move the product forward, look through the camera, and watch the background settle down. It's one of the cheapest improvements you can make.
If you're after the cleanest possible white finish, the guide to white background product photography goes through that setup step by step.
Backdrop mistakes that show
Most backdrop problems are small, and they're easy to fix before you shoot. They're much harder to fix afterwards. Here are the ones that give people away.
Creases. In paper, fabric or card, a crease catches light and shows as a bright or dark line. Iron fabric, replace creased paper, and curve your sweep gently so it doesn't fold.
Dust. Tiny specks look invisible in the room and obvious in a sharp photo. Wipe the surface, and keep a soft brush or cloth near the set.
A visible seam. If two sheets meet in the frame, you'll see the join. Use one continuous piece wherever the camera looks, and hide any joins behind the product or outside the shot.
Colour spill on glossy products. A coloured backdrop reflects into shiny surfaces and tints them. If your product looks oddly green or pink, check what's sitting next to it.
A busy pattern. Stripes, florals and strong prints pull the eye away from the product. Pattern is fine in a lifestyle scene. In a plain product shot, it's a distraction.
A backdrop in a different colour temperature to the light. This is the sneaky one. If your light is warm and your backdrop was chosen under cool daylight, the two won't agree in the photograph, and the colours will look off. Judge the backdrop under the light you'll actually shoot with.
None of these takes long to check. Look at your set through the camera, slowly, before you take the first frame. Ten seconds of looking saves a lot of reshooting.
When a real backdrop is not needed
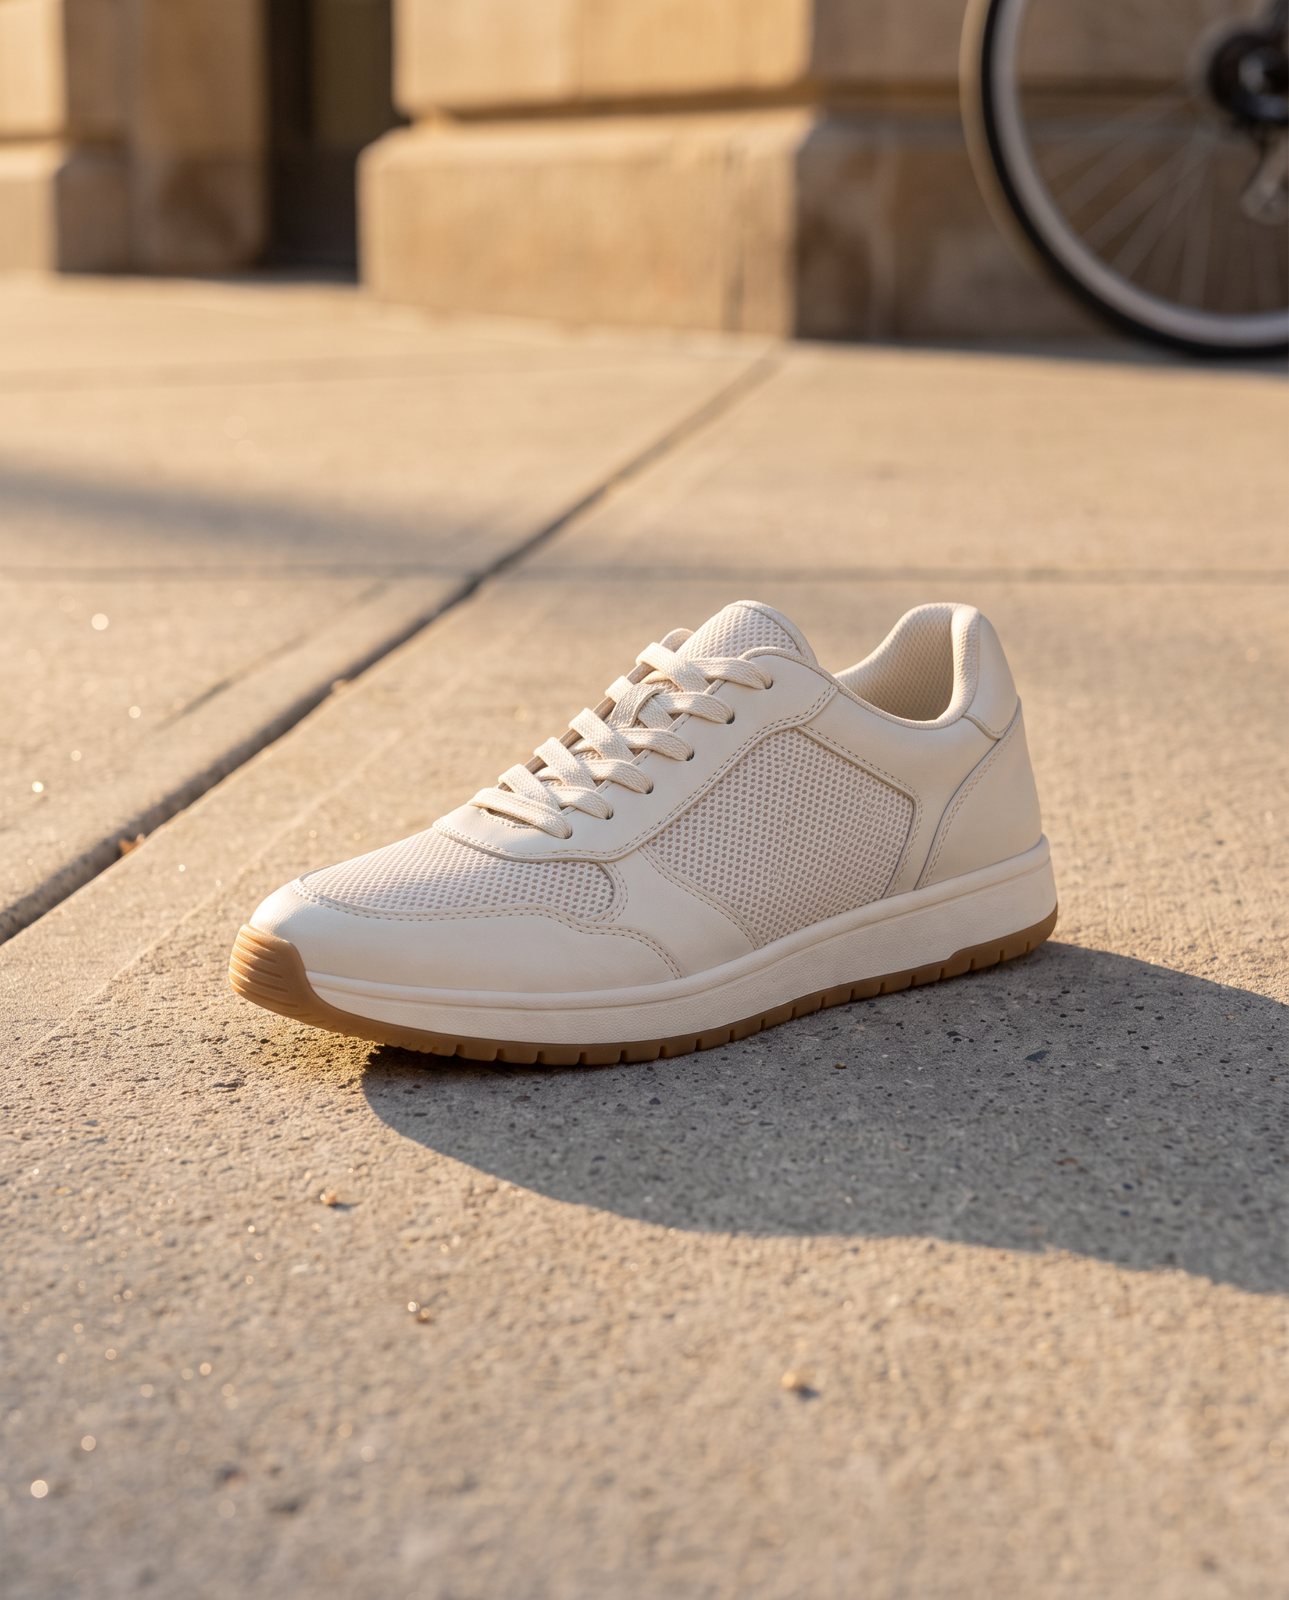
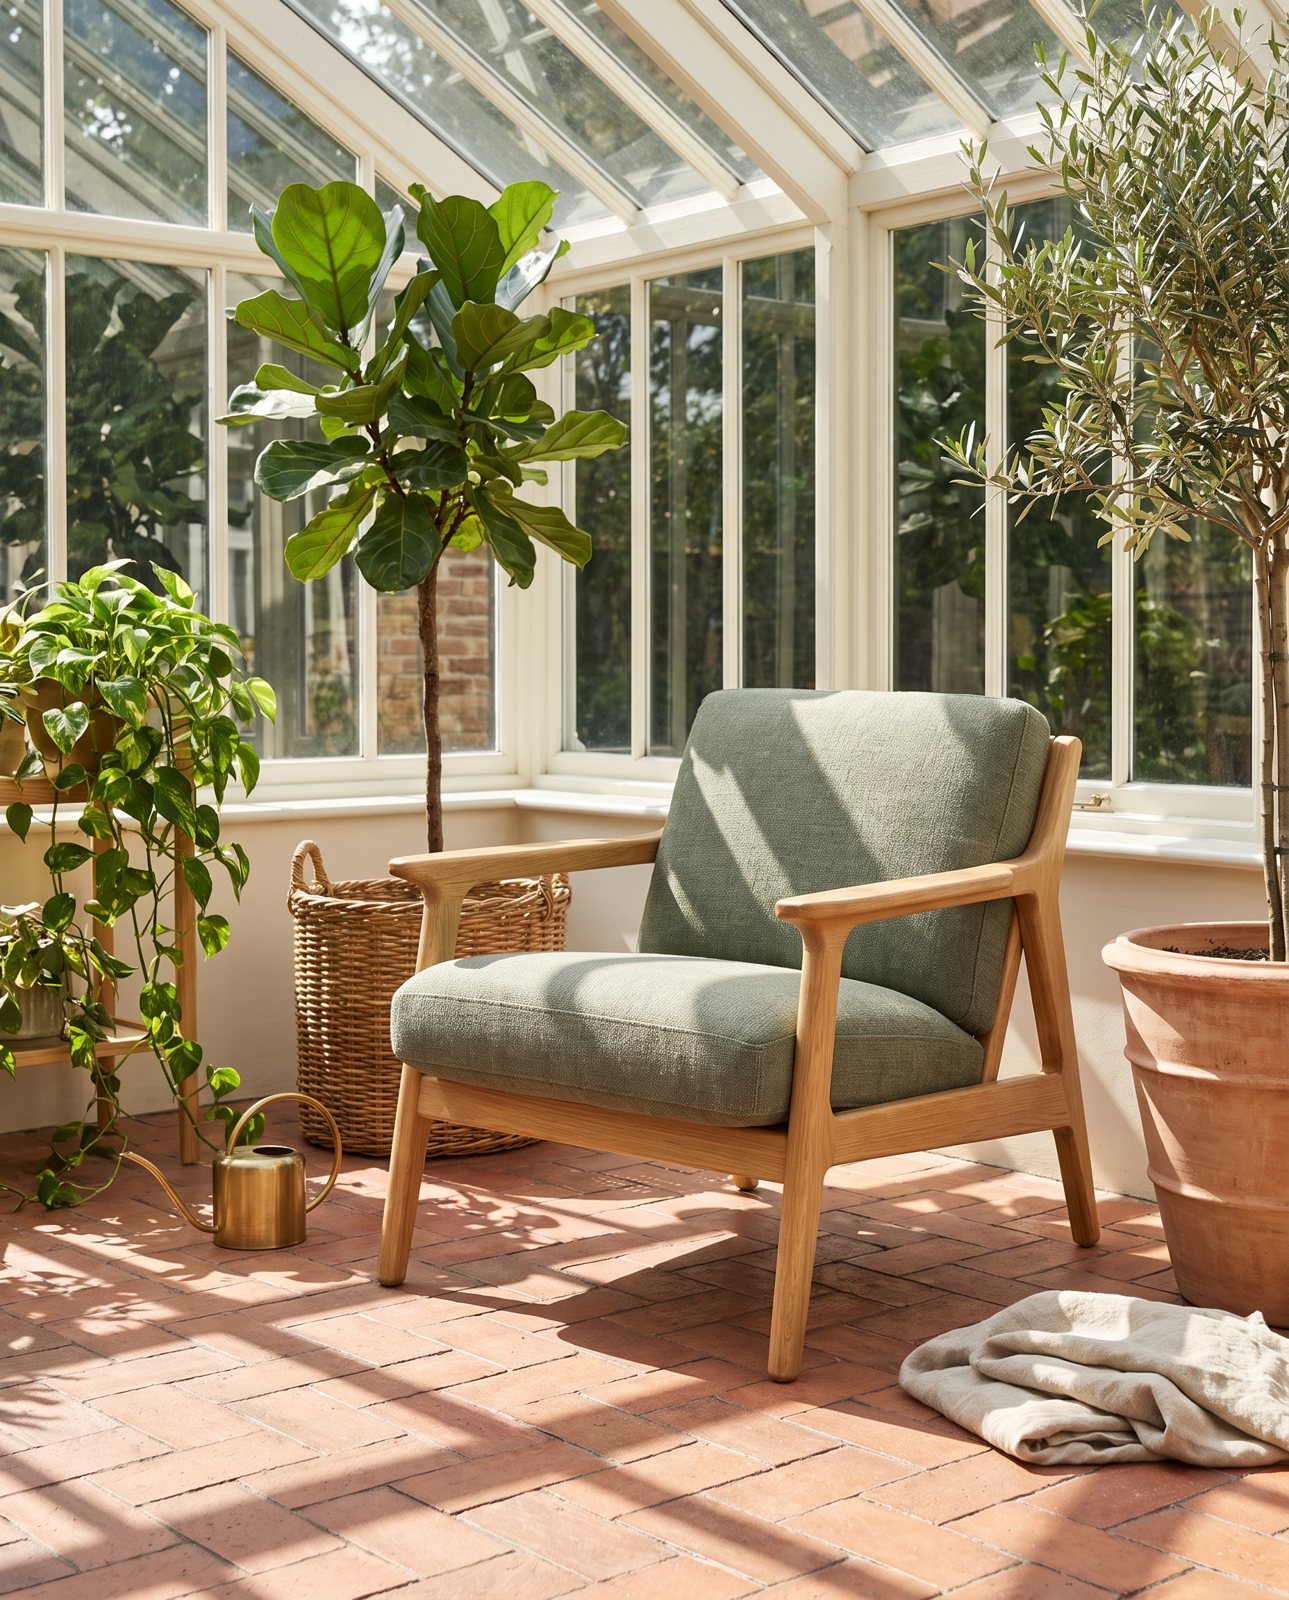
Sometimes the backdrop barely matters. If your final picture is going to be a lifestyle scene, with your product on a kitchen worktop, a bedside table or a sunlit shelf, then the backdrop you shoot against only needs to be clean. The scene replaces it.
That changes how much effort to put in. You don't need a perfect sweep or a carefully chosen colour. You need a flat, tidy, evenly lit background that gives a clear edge around the product, with no clutter or reflections confusing where the product ends and the background begins.
If that's your plan, two guides are worth a look. The one on changing a product photo's background explains how a plain shot becomes a finished scene, and the one on lifestyle photos covers what makes a scene believable rather than pasted on.
So the question to ask first is: what's the final picture? If it's a plain packshot, the backdrop is the picture, and every detail counts. If it's a scene, the backdrop is just a starting point, and clean is enough.
How Product Photo Shots helps (and what it doesn't do)
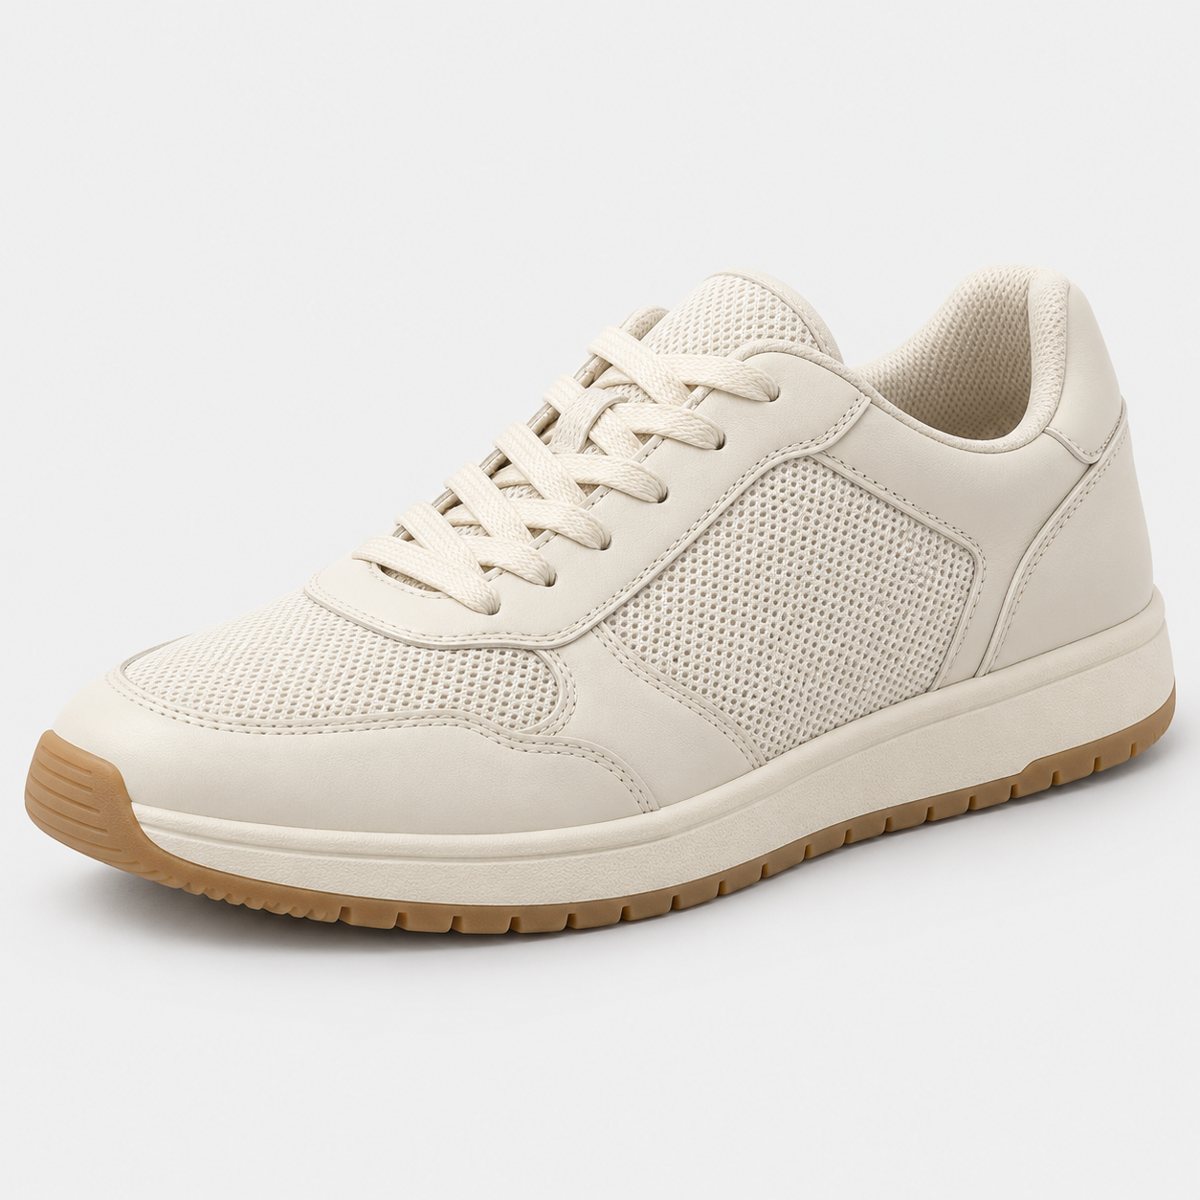
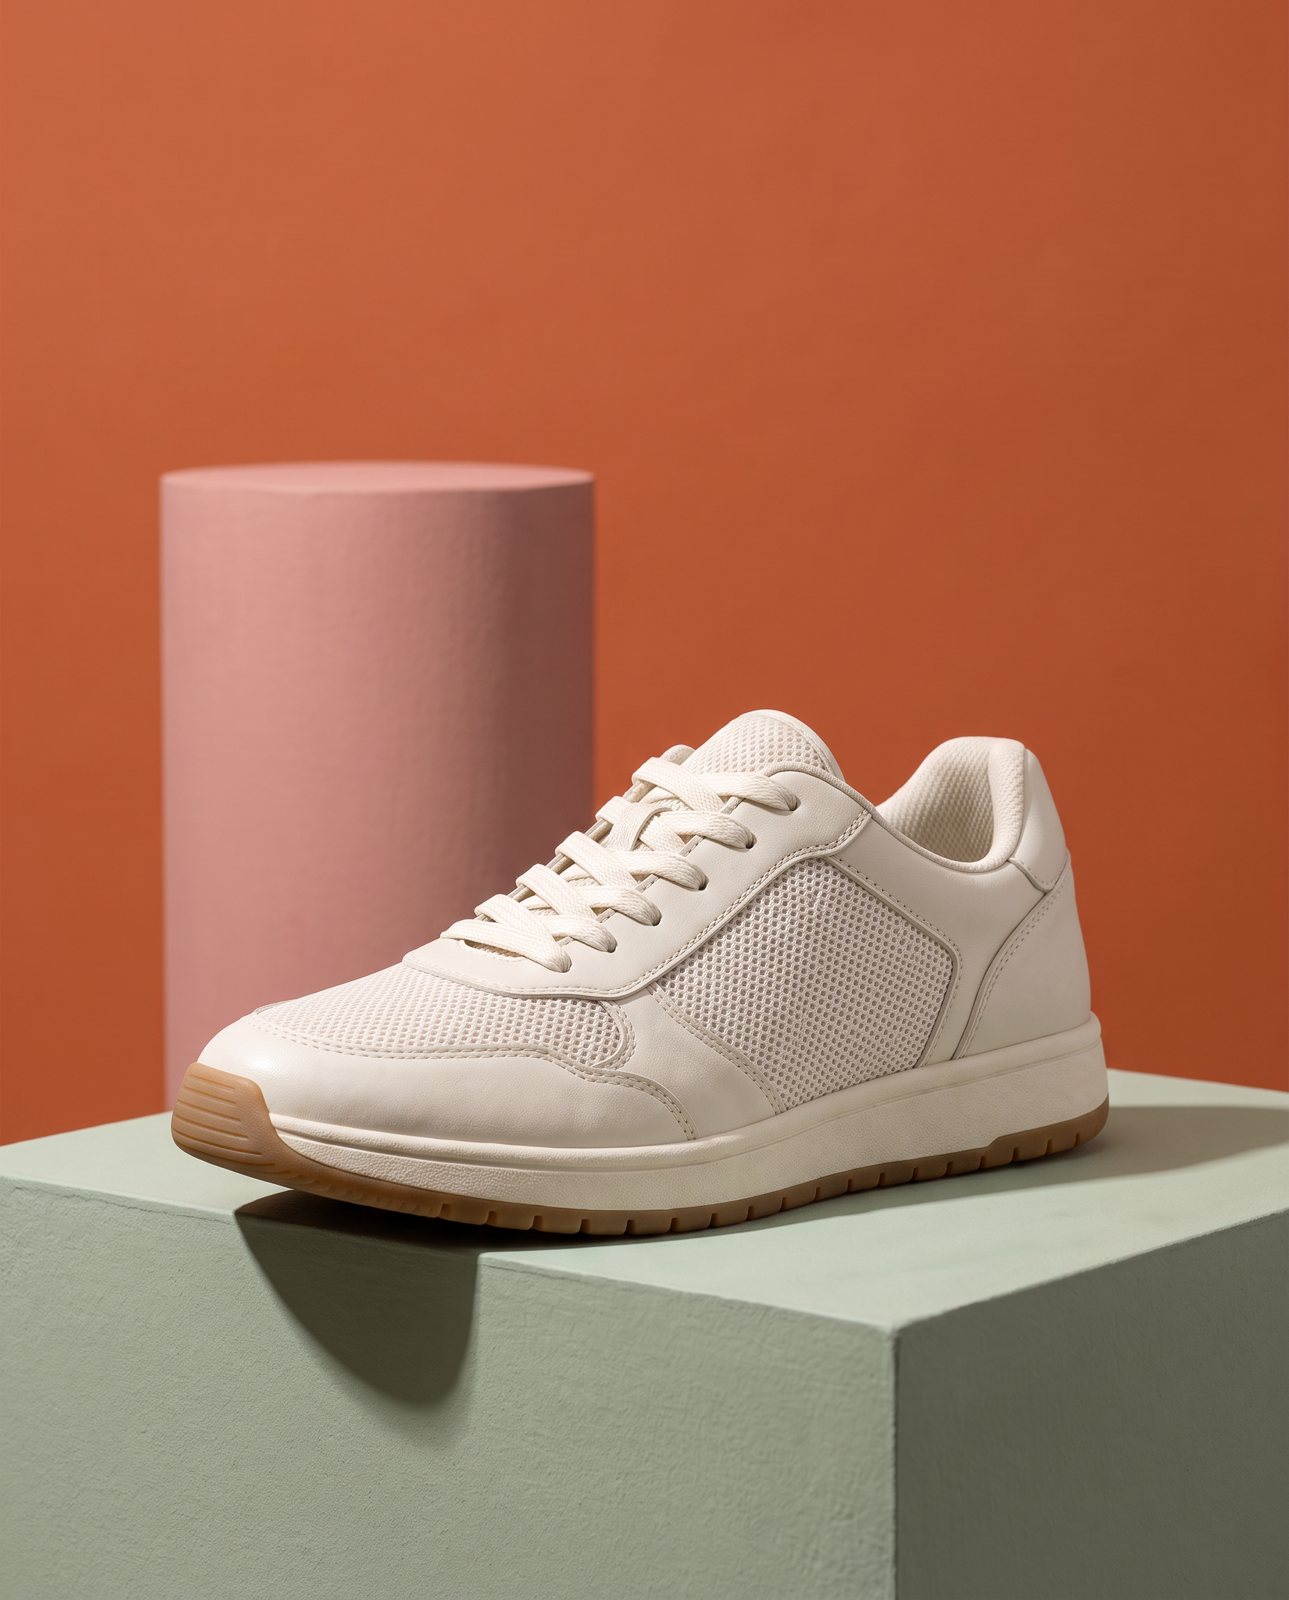
To be fair, we should be straight about this one. Product Photo Shots needs a plain, clean backdrop from you, and that's all. We take your photo and place your product in new scenes. You don't need a studio, a roll of paper in an exact shade, or a perfect sweep.
Before you pay, we study your photo and list what must stay the same about the product. That check is free and takes about a minute. If a shot comes back with the product changed, we remake it with a specific fix, up to three attempts in all. If it's still wrong, a person checks it. It's never delivered as is. You also get one free redo per delivered shot.
Shots come in four shapes: square 1:1, portrait 4:5, story 9:16 and wide 16:9. Every shot is reimagined with AI and labelled as such, and the files carry standard AI-provenance metadata.
Pricing is simple, and all prices include VAT. Three shots cost £19, which is £6.33 a shot. Five shots cost £29, or £5.80 a shot. Ten shots cost £49, or £4.90 a shot. If you need more, a custom order of 11 to 40 shots comes in at £4.50 a shot.
Here's what we don't do. We don't sell backdrops. And we can't make a white packshot better than a cheap lightbox can. If a clean white image is what you need, a simple lightbox and a bit of care will do that job well, and we'd rather tell you so. If you want to put the product in a new scene, that's where we come in.