The short answer
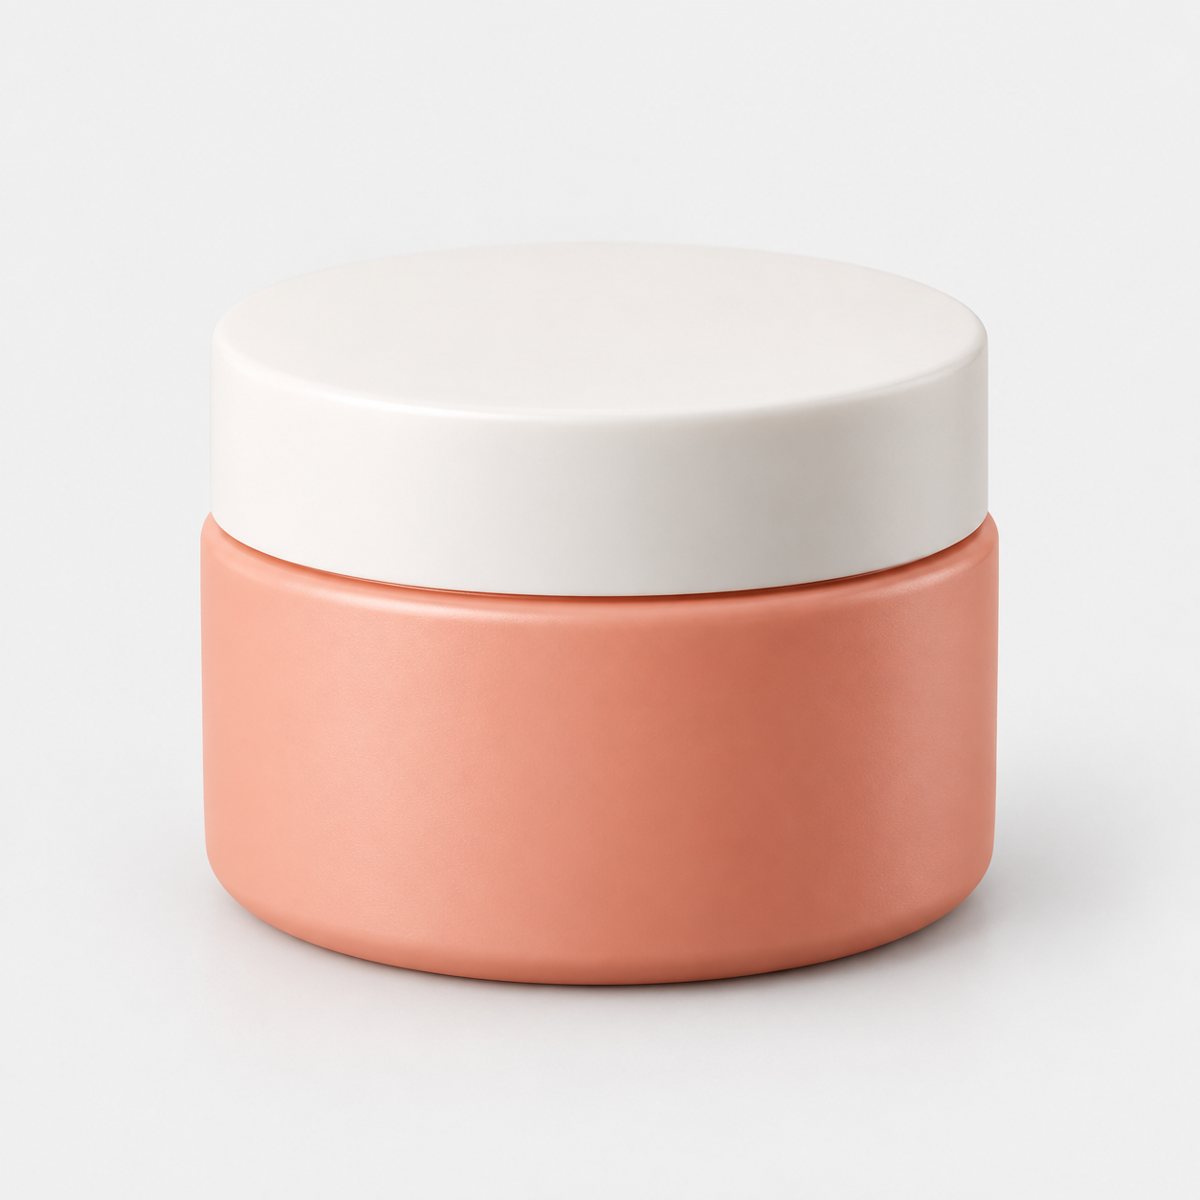
Sometimes. A light box earns its place if you sell small, shiny or fiddly things, and if you've got no decent window to work beside. Rings, earrings, small jars, tiny tins, anything that looks dreadful under a ceiling bulb. For those, it's a good fit.
For bigger items, or any look with a bit of mood in it, you can do just as well with window light and a sheet of white card. So the honest answer depends on what you sell. Read on and you'll know which camp you're in.
What a light box does
Think of a translucent tent or box with the lights sitting outside it. The light passes through the walls and arrives soft, even and almost shadowless. Inside, you get a plain backdrop, usually a white sweep that curves from the floor up the back, so there's no visible edge to distract the eye.
That's the whole trick. And it's a useful one.
The biggest benefit is consistency, more than softness. Your lamps don't care what the weather is doing. They don't care if it's three in the afternoon or eight at night. Shoot a product on Monday and another on Friday, and the colour and brightness match. If you've ever tried to photograph a whole range by a window over several days, you'll know how much that matters. Cloud comes and goes. The sun moves. Your first jar looks warm and your fifth looks grey, and now your shop page looks like it was put together by two different people.
A light box removes all of that. You switch the lamps on, and the conditions are the same every time. For a small brand building a catalogue one product at a time, that sameness is worth a great deal.
Where a light box falls short
It only fits small products. That's the obvious limit, and it's a hard one. A candle, a ring, a lip balm: fine. A cushion, a lamp, a pair of boots: forget it. You can buy or build bigger boxes, but at some point you're just constructing a tent in your spare room.
Then there's the light itself. Soft, flat, even light is lovely for showing a product clearly. It's less lovely for showing what the product is actually like. Flat light hides texture. It smooths out shape. A chunky knit can look like a grey smudge, and a hammered silver cuff loses its hammering. The very thing that makes the box forgiving also makes things look a bit dull.
Built-in lights can be a problem too. Many boxes come with a strip of lamps, and those lamps often vary in colour from one to the next, or drift as they age. One side leans warm, the other leans cool. You end up correcting it afterwards, and that's a faff you didn't sign up for.
Glossy products still reflect their surroundings. Put a polished metal or glass item in a box and you'll see the walls in it, plus the front opening, plus a small dark shape that turns out to be you and your camera. The box doesn't cure reflections. It just changes what's reflected.
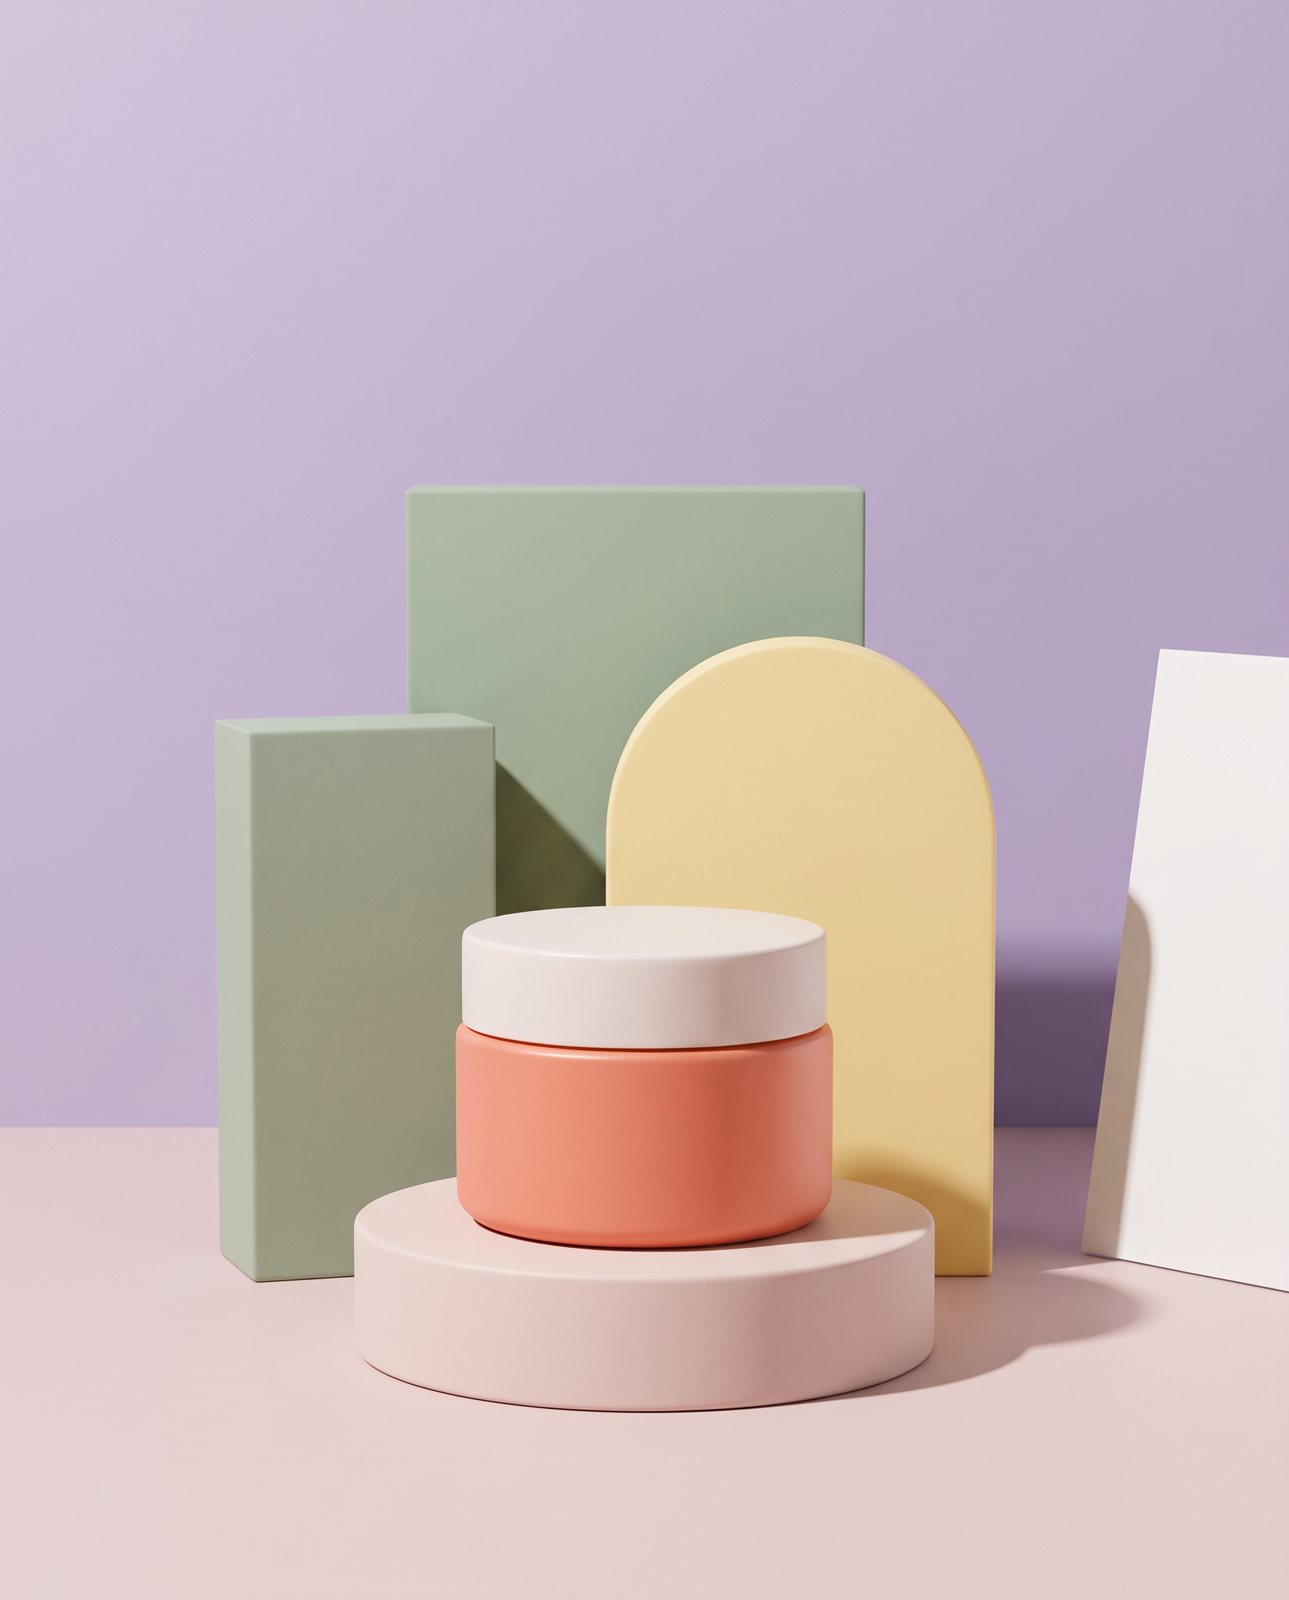
And finally, the look. That clean white seamless result is a packshot. It's what a product looks like when you want it identified clearly, with nothing around it. It isn't a lifestyle shot. It won't show your candle on a kitchen shelf or your necklace on a bare shoulder. If you want that kind of picture, a light box can't give it to you, and no amount of fiddling will change that.
Making a light box at home
You don't have to buy one. A homemade version does the same job, and it's a good way to find out whether the approach suits you before you commit to anything.
Here's the build:
- Find a cardboard box big enough for your product plus a bit of room around it. Sturdy is better than flimsy.
- Cut a large window in each side and one in the top. Leave a border of cardboard around each so the frame keeps its shape.
- Cover the windows with something white and thin: tissue paper, baking paper or a thin white fabric. Tape or glue it down smoothly. Wrinkles show up as patches of uneven light.
- Lay a white sheet inside as a sweep, curving it from the floor up the back wall so there's no hard line where the two meet.
- Set up lamps outside the box, one at each side and one above. Use lamps of the same colour, so the light matches from every direction.
One safety note, and it matters. Keep hot bulbs away from paper and fabric. Tissue and baking paper are not friends with heat. Use cool lamps, the kind that stay barely warm to the touch, and leave a gap between the lamp and the covering. If you can smell anything warming up, switch off and rethink.
That's it. An afternoon, some bits from the kitchen drawer, and you've got a working light box.
Using a light box well
Owning a box doesn't make the pictures good. A few habits do.
Put lamps on both sides plus one on top. That gives you even light from three directions, and it's what keeps shadows soft. Then add white card to fill. Prop a sheet of it just inside the box, or against the open front, to bounce light into the darker parts of your product. It's a small step with a big effect.
Shoot through the front opening, and keep the camera steady. A tripod is ideal; a pile of books will do at a push. A shaky camera in soft light gives you soft pictures, and that's a different thing from soft light. Take your time over focus.
Check white balance. Even good lamps can tint a picture slightly, so adjust it until the white backdrop looks properly white and the product's colour looks right. Do it once and keep the settings, and your whole set will match. This is where the consistency of a light box pays off: set it once, reuse it.
Clean the product before you shoot. Fingerprints, dust and fibres all show up in even light, because there are no shadows to hide them. Wipe it down, and keep a soft cloth to hand.
Take several angles. Front, side, top, a close detail. Buyers can't pick your product up, so give them as much as you can.
And watch for reflections of the camera. If you're shooting something glossy, move the camera a touch, tilt the product, or hang a piece of white card with a small hole cut in it in front of the lens. Little shifts make a surprising difference.
Light box or window light?
Neither one wins every time. The right choice depends on the product. Here's how to weigh it up.
Size first. A light box suits small things. Anything bigger than the box needs another approach, and window light with a bit of card handles larger items nicely.
Shininess next. Very reflective products, like jewellery and polished metal, are easier to control in a box, where the light surrounds the item and you can manage what it reflects. A window gives you a single bright direction, which can cause harsh glare on glossy surfaces.
Consistency. The box wins here, no contest. Window light changes through the day and through the week, so if you shoot lots of items over several sessions, you'll fight the variation. If you only shoot the odd product now and then, it matters less.
Then the look you want. A box gives you the clean, even packshot. A window gives you directional light, with gentle shadows that show shape and texture, which is why it suits lifestyle pictures and chunkier products so well.
So, plainly: small, shiny and repeat-shot, go for a box. Large, textured or mood-led, go for a window. And plenty of sellers use both, depending on the product on the table that day. For more on getting the light right either way, see the lighting guide, and if you're aiming for a clean backdrop, the white background guide goes through it step by step.
How Product Photo Shots helps (and what it doesn't do)
Let's be straight about this, because it's a short section.
A light box photo, with a white background and even light, is a fine starting photo for us. We take it and place your product into new scenes. Same product, different setting. If you want to see how that works, here's how to put the product in a new scene.
What we don't do is make plain white packshots. A light box does that job well, for little money, so there's no sense paying us for it.
A few facts on how it works. Before you pay, we study your photo and list what must stay the same. That check is free and takes about a minute (we measured it at 11 seconds on 2026-10-01). If a shot changes your product, we remake it with a specific fix, up to three attempts in all. If it's still wrong, a person checks it, and it is never delivered as it is. You also get one free redo per delivered shot.
Shots come in four shapes: square 1:1, portrait 4:5, story 9:16 and wide 16:9. Every shot is reimagined with AI and labelled as such, and the files carry standard AI-provenance metadata.
On pricing, it's by the shot: 3 shots for £19 (£6.33 a shot), 5 for £29 (£5.80), 10 for £49 (£4.90), or a custom 11 to 40 shots at £4.50 a shot. Prices include VAT.