The short answer
Clear the space, find the biggest, softest window light you can, and put the camera at about the middle height of the piece so the lines stay straight. Then show the whole thing, plus a few angles and a handful of details. Finish with one room scene so buyers can judge the size and the style at a glance.
That's it, really. The rest of this page is just the detail behind those sentences, plus the mistakes that catch people out. If you've already read our ecommerce product photography guide, you'll know the basic listing plan; furniture just asks for a bit more of it, because the thing is big, the purchase is considered, and nobody can sit on it through a screen.
What buyers need to see
Think about what you'd want to know if you were about to spend real money on a chair you couldn't touch. You'd want the shape first. Is it rounded or square, high-backed or low, chunky or slim? Then size and proportion, which is the bit photos are worst at. A chair can look dainty in a close-up and turn out to be enormous in the flesh (or the other way round, which is just as annoying).
Then material and colour. Is that velvet or a flat weave? Is the wood pale or honey-coloured? Then build quality: do the joints look solid, are the legs sturdy, does the frame look like it will survive a toddler? And finally condition, which matters even for new pieces, because a buyer wants to see there are no scuffs or snags before they commit.
Here's the thing about furniture: it's a considered purchase. People don't buy a sofa on a whim at 11pm (well, some do, but they regret it). They look, they compare, they come back the next day and look again. That means more photos genuinely help. Where a mug might get away with a few shots, a chair or a table is usually better served by a fuller set, because every extra image answers a question the buyer would otherwise have to ask, or worse, not ask and just leave.
And remember, they can't sit on it. Your photos have to do the sitting for them. That's the job.
Space, light and backgrounds
Start by moving the piece away from clutter. I mean properly away: out of the corner with the laundry basket, off the rug with the cat toys, clear of the radiator and the cables. Any mess in the frame is a distraction, and it quietly tells buyers that the piece might be treated carelessly too.
Next, the background. A plain wall works well; so does a clean sheet hung behind and falling onto the floor in a gentle curve so there's no hard line where wall meets floor. Pale and neutral usually does the job. You want the furniture to be the loudest thing in the picture, not the wallpaper.
Light is where most home photos go wrong. Use a large window, ideally with soft, bright daylight rather than direct sun, which throws harsh shadows and burns out pale fabrics. Put the piece side-on or at an angle to the window so the light rakes across it and shows shape and texture. And switch off the lamps. Mixed lighting (warm bulbs fighting daylight) turns everything a muddy, uneven colour, and it's a pain to fix afterwards. Our lighting guide goes through this in more depth if you want to get fussy about it.
Now the bit people don't expect: camera height. Hold the camera at about the middle of the piece, so for a chair, roughly seat height or a touch above. If you shoot from standing, looking down, the chair's legs will splay and the verticals will lean inwards, and the whole thing looks like it's tipping over. Keep the camera level, keep it at mid-height, and the straight lines stay straight.
Distortion is the other quiet culprit. If you stand too close, a wide view makes the front of the chair look huge and the back look shrunken. So take a step back, and zoom in a little (a longer focal length) to fill the frame. It flattens that stretching and makes the proportions look honest. If you're working on a phone, our phone camera guide covers which lens to pick and how to keep things level.
Anyway, don't overthink it. A tidy corner, a window and a bit of distance get you most of the way.
Angles, colour and scale
Start with the front view, straight on, so the shape reads cleanly. Then the side, which shows depth and profile; this is the one people forget, and it's often the one buyers want most, because it tells them how deep the seat is and how the back leans. Then a three-quarter view, which is usually the most flattering and tends to make the best main image. Then the back, because buyers like to know what they're getting from every direction, and a nicely finished back says a lot about quality.
For tables, desks and anything with a flat surface, add a top view. Stand on a stable step or use a tripod if you've got one, and shoot straight down so the shape and the surface are clear. It's an easy shot to skip and it's one buyers actually use.
Colour needs care. Upholstery in particular shifts under warm lamps: a sage green goes olive, a cream goes yellow, a grey goes brownish. This is why daylight matters. Take your photos near that window, check them on a screen rather than just on the camera, and if the colour looks off compared with the real thing in front of you, fix it before you list. A buyer who receives a chair that's a different green from the photo is a buyer who sends it back.
Scale is the trickiest bit of all. A chair on its own against a plain wall could be any size. There are two honest ways to help. One is to put a familiar object nearby (a book, a cushion, a mug on a table) so the eye can compare. The other, and the better one, is to give the real measured dimensions in the listing text. Do both if you can. The object gives a feel for the size; the numbers give certainty.
Last thing here: shadows. A soft shadow on the floor under and behind the piece grounds it. Without one, furniture can look like it's floating, as if it's been cut out and pasted in. Don't blast it with flash to remove the shadow; let the window light leave a gentle one.
Detail shots and condition
Close-ups are where a buyer decides whether to trust you. Get in near the fabric so the weave is visible, because "linen-look" can mean a dozen different things. Get the wood grain, so they can see whether it's solid timber or something thinner. Photograph the joints, where the arms meet the frame or the legs meet the seat, since that's where cheap furniture gives itself away. Show the legs and feet, including any glides or caps. And if there's a label, a maker's mark or a stamp underneath, photograph that too, because it's a quiet signal of quality and origin.
Then the honest bit: condition. If a piece has marks, scratches, fading, a worn arm or a bit of frayed piping, show it. Take a clear photo of each flaw and mention it in the description. I know it feels counterintuitive to photograph the bad bits (every instinct says hide them), but second-hand furniture sells on trust. A buyer who sees an honest scuff and a fair price will often go ahead; a buyer who finds a hidden scuff on delivery will not be a happy one.
The same goes for new pieces, in a lighter way. Show that the upholstery is clean and that the finish is even. It reassures people, and it saves you a few "is it definitely in perfect condition?" messages.
Room scenes that sell furniture
A plain-background shot tells buyers what the piece is. A room scene tells them what it would feel like to own it. Both jobs matter, and the second is the one that gets people imagining it in their own home.
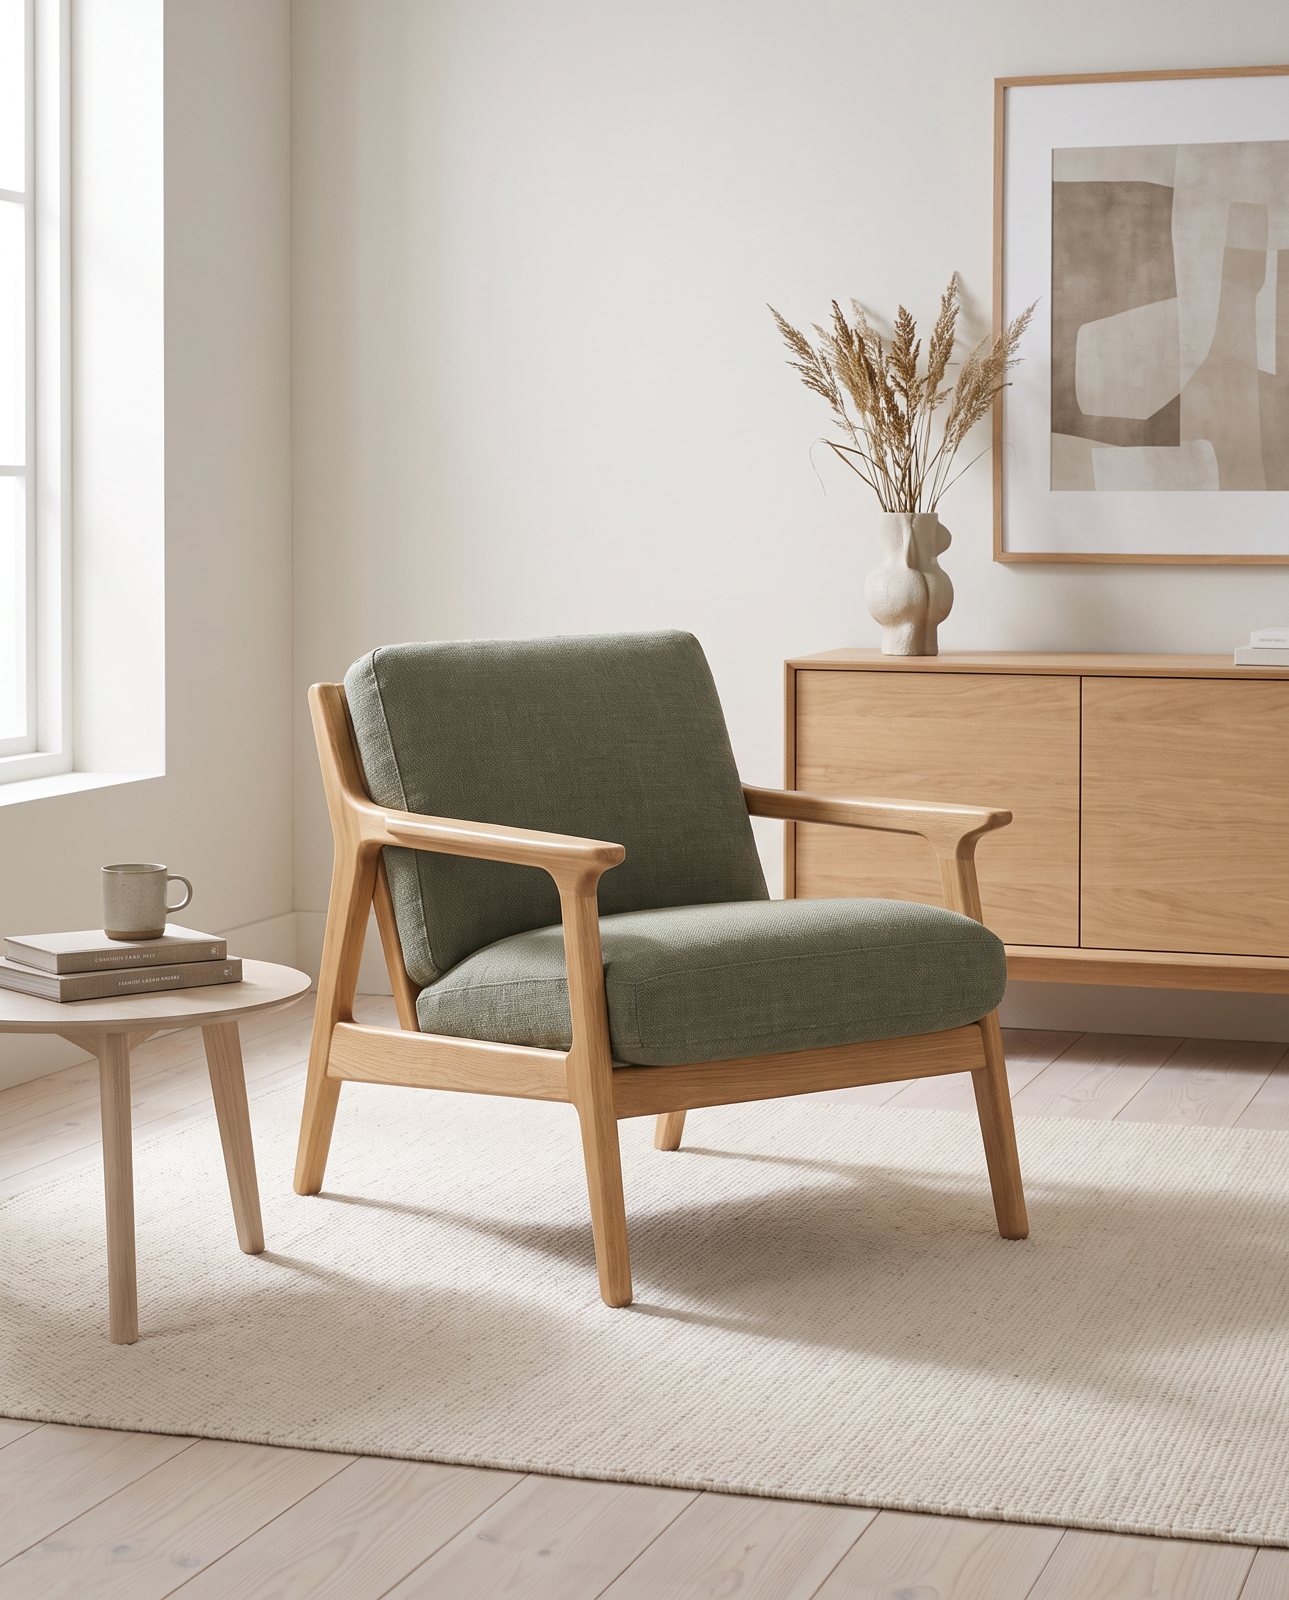
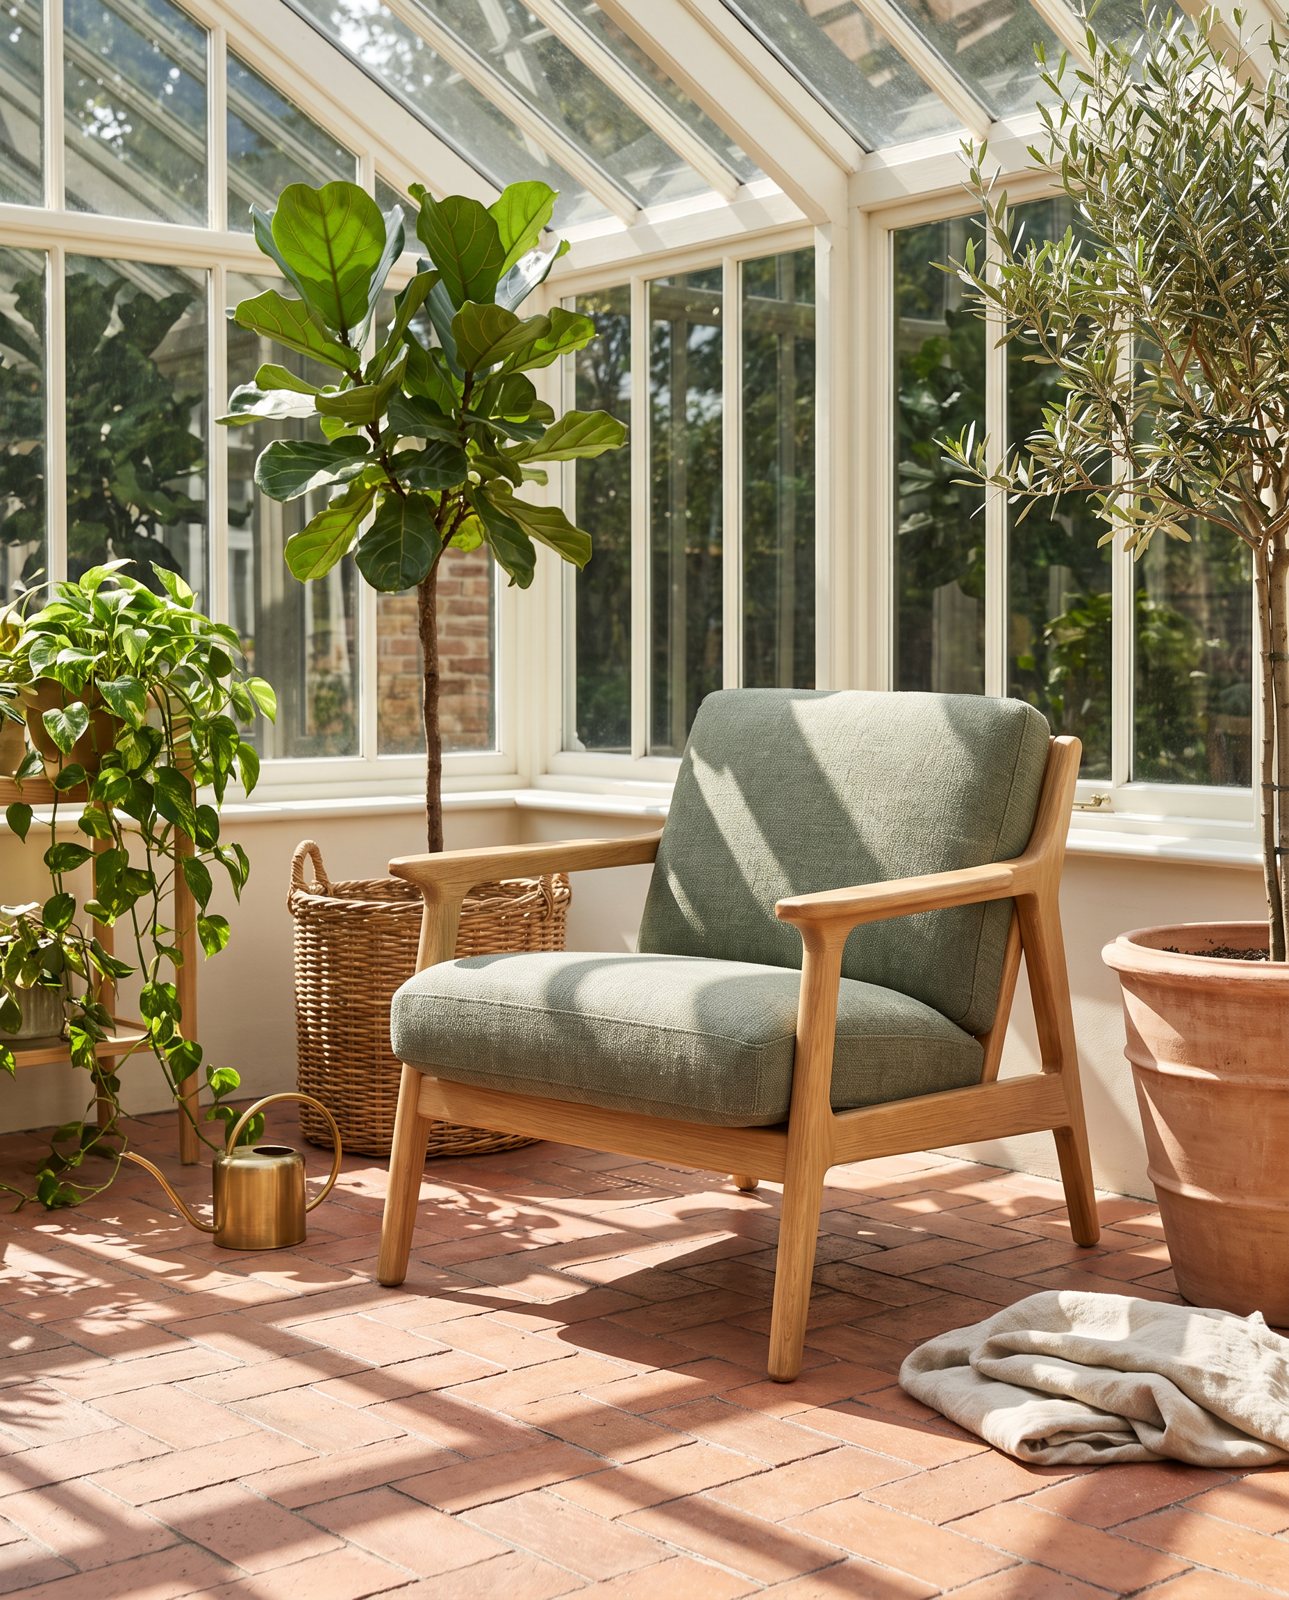
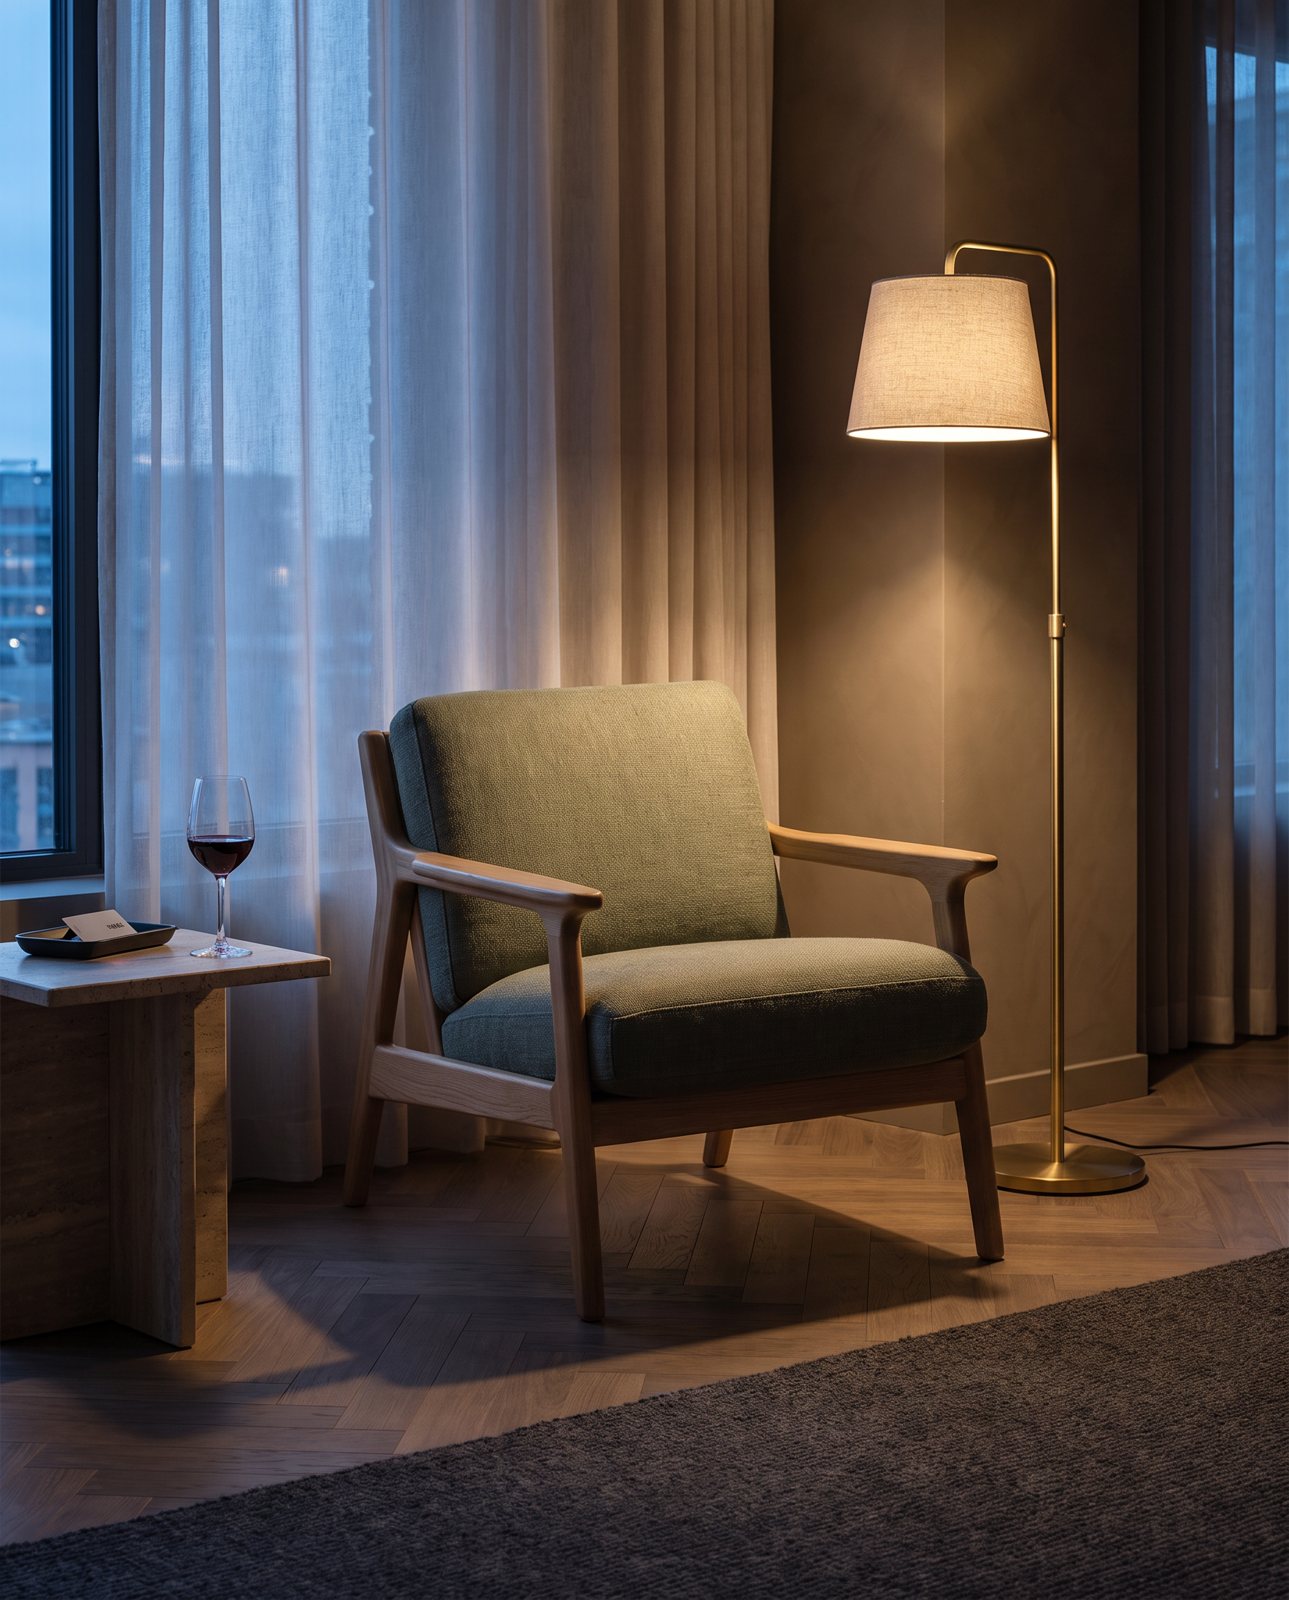
Think of a living room with soft textiles and a bit of greenery, a bright conservatory with plants and a tiled floor, or a hotel-style corner with a side table and a considered lamp. Each one gives the piece a different personality, and a buyer can pick the one closest to their own taste.
Whatever the scene, keep the furniture the focus. It should be the biggest, clearest thing in the frame, not lost behind a mountain of props. And match the style: a rustic oak chair looks odd in a glossy, chrome-heavy room, and a sleek modern piece looks lost in a cluttered cottage. The scene should flatter the piece, not fight it.
One more thing that's easy to miss: the light in the scene should look believable. If the window is on the left and the shadows fall to the left, something's off, and buyers notice even when they can't say why. The light direction, the shadow under the piece and the way the floor catches the glow should all agree.
For a wider look at this idea, our lifestyle product photos guide covers how scenes work for any product, not just chairs.
Setting up a real room scene yourself is possible, and plenty of sellers do it well. But it takes a tidy room, a good eye and a lot of shuffling of cushions. Which brings me to the next section.
How Product Photo Shots helps (and what it doesn't do)
Right, our bit, and I'll be straight about it.
We start from your one photo of the piece and put it into new scenes. You upload the shot you've already got, and we build room settings around it. Before you pay, we study the photo and list what must stay the same (the shape, the colour, the materials, the details that make the piece yours). That check is free and takes about a minute; ours measured at 11 seconds on 2026-10-01.
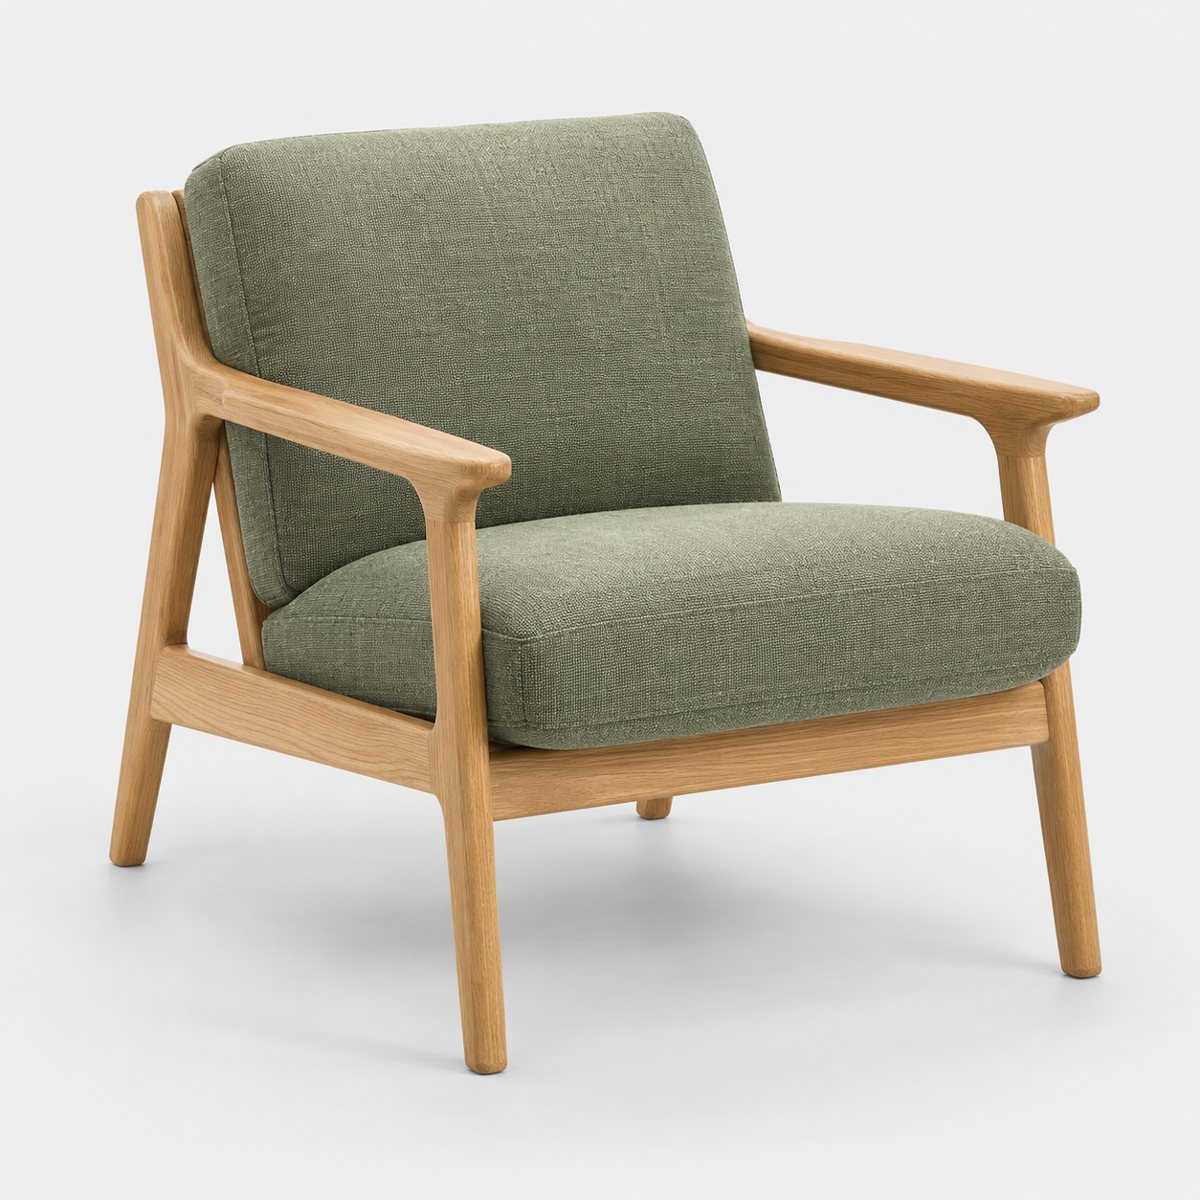
To show how that works, we ran a demo on 2026-10-02: ten products, three scenes each, 30 shots in all. The chair was one of them: an accent chair with sage upholstery and an exposed oak frame, placed in a Scandinavian living room, a sunlit conservatory and a boutique hotel. All three were delivered, and all three passed on the first attempt. Across the whole run, 27 shots were delivered and 3 were held back by the check, and the trainer, the chair and most of the mug, headphones and necklace scenes passed first time.
Large objects are a useful test case. Scale, perspective and floor shadows are the things that make or break a furniture scene, which is why a chair is one of our demo products.
If a shot changes the product, it's remade with a specific fix, up to three attempts in all. If it's still wrong after that, a person checks it, and it's never delivered as it is. You also get one free redo per delivered shot.
Now what we don't do. We don't show the real dimensions of your piece, so put those in the listing text. We don't photograph your real room. And we don't show wear: if a piece has marks, you'll need to photograph those yourself, honestly, as above.
Every shot is reimagined with AI and labelled as such, and the files carry standard AI-provenance metadata. We only work on products you own or sell. Well-known brands' products can't be shot, because the image services refuse them, and you're told that before you pay.
Pricing is simple, and the prices are in US dollars, before any sales tax: 3 shots for $26 ($8.67 a shot), 5 shots for $40 ($8 a shot), 10 shots for $67 ($6.70 a shot), or a custom run of 11 to 40 shots at $6.10 a shot.